After a few months of working on the design in the background, I’m ready to get the first prototype frame cut. Check below the break for images of the current design!
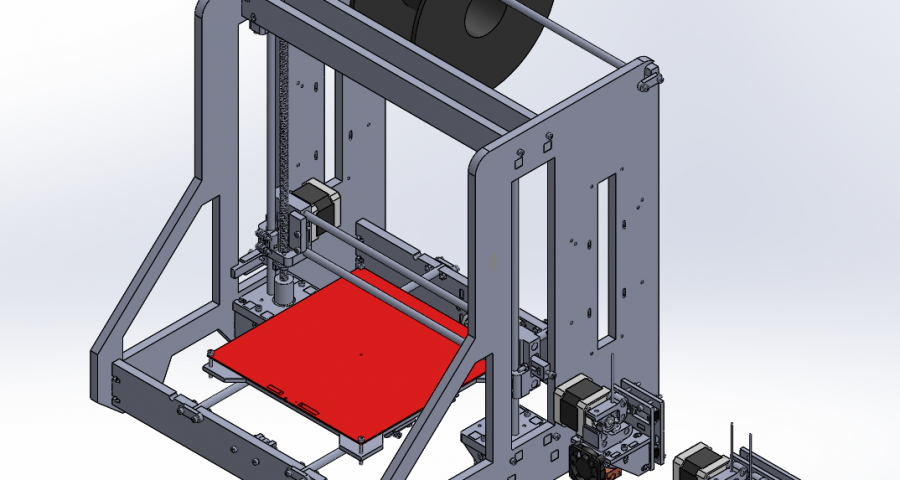
Let’s start with an overview of the frame. Though things look aesthetically similar to the old design, this printer has been freshly designed from the ground up. I’ve tried to keep visually consistent with the old design where possible.
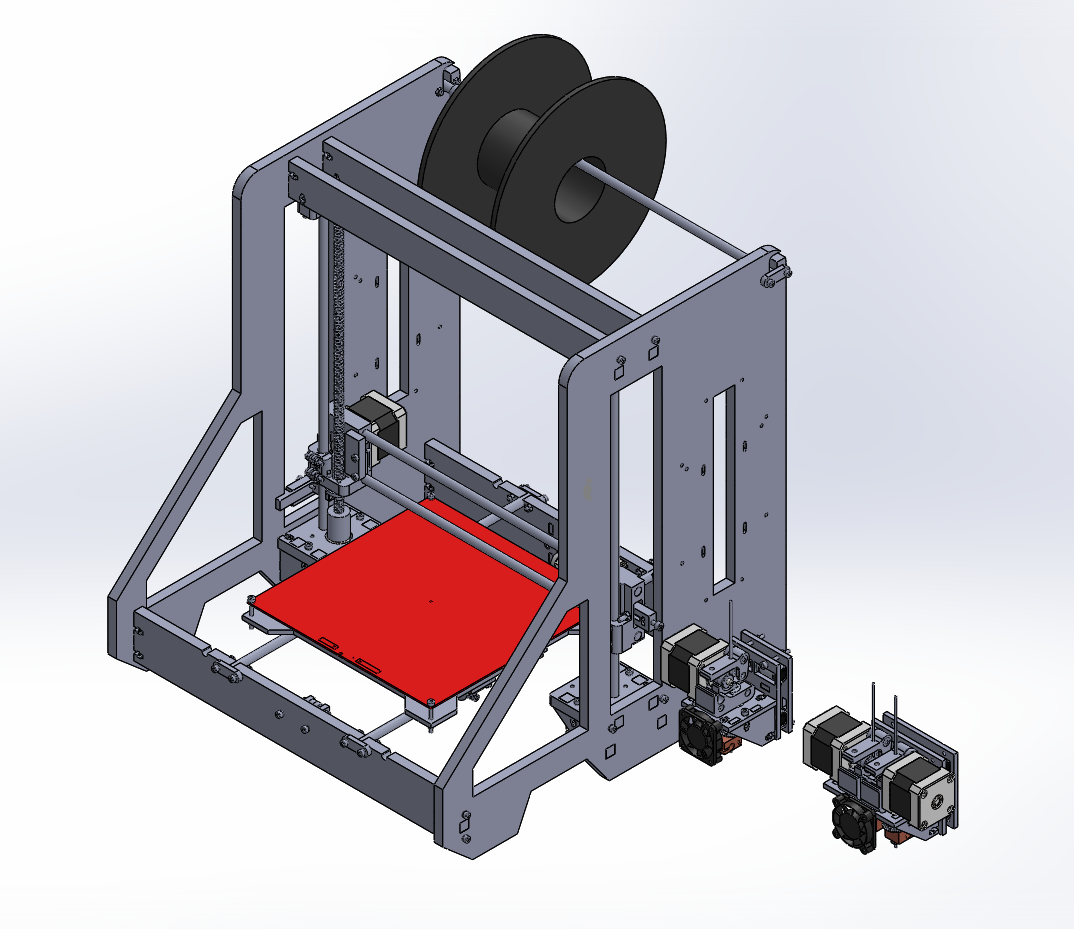
The new design has been built from the ground up to achieve the full 200x200x200mm build area. There’s also a modification I’m working on that will expand that out to 300x200x200 quite easily – but that’s for a future post.
Both single and dual extruders are pictured. The extruders (as with the rest of the frame) are still very much a work in progress. They currently lack a fan for cooling the print, and I think the 40mm fans they use for cooling the hotends might present problems unless the airflow is directed (I had this setup on a previous printer, and found the fan could cool the hotend too quickly, causing PLA to jam frequently). Still, as a starting point I’m looking forward to playing around with them.
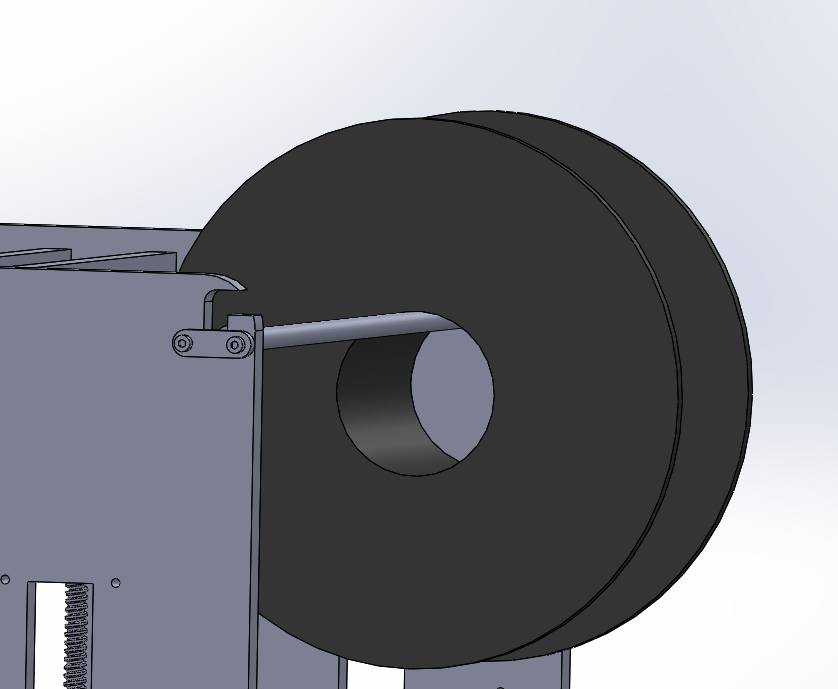
I’m pretty happy with the design of the integrated spool holder. It requires a lot less hardware than the older design, can hold up to five spools at a time, and shouldn’t unbalance the printer at all. I’m looking forward to trying it out.

The bed support plate uses printed parts to hold the linear bearings in place. I’m in two minds about this approach – on the one hand, it should be a lot more solid than using cable ties to hold the bearings in place (a common approach). On the other hand, it adds significant bulk / mass to the Y axis (potentially slowing it down or decreasing performance in high-speed / vibration prone prints), and also increases the overall cost of the printer. I’ll have to play around with this solution to see if the benefits outweigh the potential downsides.
The belt clamps on the Y axis are currently as basic as they could be – they’re simply clamps that crush the belt in place. There’s no mechanism to tighten the belt yet – something I plan to fix before the frame arrives later in the week. I’ve got a few different ideas on how to approach this, and again – it’s something I look forward to playing around with.
It’s going to be roughly a week before the laser-cut parts are ready – I’ll post an update once I’ve got them on hand.
Leave a Reply