As I’ve mentioned previously, I recently put together a Printrbot Simple Makers Kit 1405 for a weekend project. In my earlier post, I discussed designing and printing feet to fit the 1405 in order to stabilise it, without interfering with a mounted Raspberry Pi running OctoPi.
Swapping to a Raspberry Pi B+ proved to be more challenging than I expected.
Initially, I was using a Raspberry Pi B running OctoPi, attached using Solenoid’s excellent mount here. This mount attaches the Pi B to the right side of the Printrbot 1405, and orients it nicely so that all the ports are facing the right way.
Solenoid’s thing also includes an excellent Pi Camera mount and cable clips, both of which I am still using – they’re really handy!
Annoyingly, I was having issues with my Raspberry Pi B not being able to supply sufficient current to the wifi dongle I was using – I swapped to a low-power dongle, but unfortunately that led to continuous drop-outs from insufficient signal strength.
A quick bit of research tells me that the Raspberry Pi A & B are pretty limited in terms of the current they can supply to attached devices: 1A comes in through the on-board power supply diode, most of which is chewed up by the Pi itself – and quite a bit by the camera if that’s attached – not much is left for attached USB devices.
However, the original Pi A & B are old news now – there’s the Pi A+ and B+, not to mention the recently released Raspberry Pi 2.
Both the A+ and B+ (I’m not sure about the Pi 2, but I assume it too) feature significantly improved power supply circuitry. The old linear regulator that always got too hot for my liking is replaced with a fancy new more efficient switch-mode regulator, which just so happens to be able to supply much higher current to the rest of the board. You’ll still need a USB power supply capable of more than 1A, but that’s not a big deal.
So – with the Raspberry Pi B+, our problem is solved, right? Well, yes and no. The B+ will happily run the high-power wifi antenna without issues – great. However, the Raspberry Pi Foundation redesigned the mounting holes for the B+/A+/2.
This isn’t a bad thing – the mounting holes on the B were pretty weirdly placed, and originally the Pi didn’t even have mounting holes at all – progress!
However, this means our shiny new B+ is not compatible with the previous Printrbot 1405 mount – damn. Time to design a new mount then.
So, here’s what I came up with. The first mount there is a straight swap for Solenoid’s mount, but with screw holes for the B+. In theory, that should solve all of our problems – I certainly thought it would.
This mount does work – however, there are other changes from the B to the B+ that cause a bit of trouble. The previously nicely placed (for our purposes) microUSB power port has been moved from the rear of the Pi to one of the sides – this means that instead of our power cable exiting to the rear of the Printrbot, it now exits directly up into the moving Y axis – not something we want.
There are a few solutions here. You can try and cable tie the cable out of the way – I did this, and it worked for a while, but eventually my Printrbot managed to unplug the Pi during a homing move – I think it just wanted to be free.
You can use washers or something similar to space the Pi further away from the printer – this can work, but the cable is still dangerously close to the moving parts.
You can also buy a right-angle microUSB adaptor – or a cable. I ordered an adaptor, but got fed up with my Printer overthrowing the Pi that I redesigned the mount before the adaptor arrived.
The redesigned mount – also in the same Thing on Thingiverse – moves the Pi to the other side of the Printrbot, further away from the Y axis. Now, there are a few disadvantages to this: the Pi is now further away from the Printrboard microUSB port, so you end up with a bit more cable running around the place. This might also be disadvantageous with where the Pi Camera has been installed, but that’s an easy thing to swap around (using Solenoid’s mount).
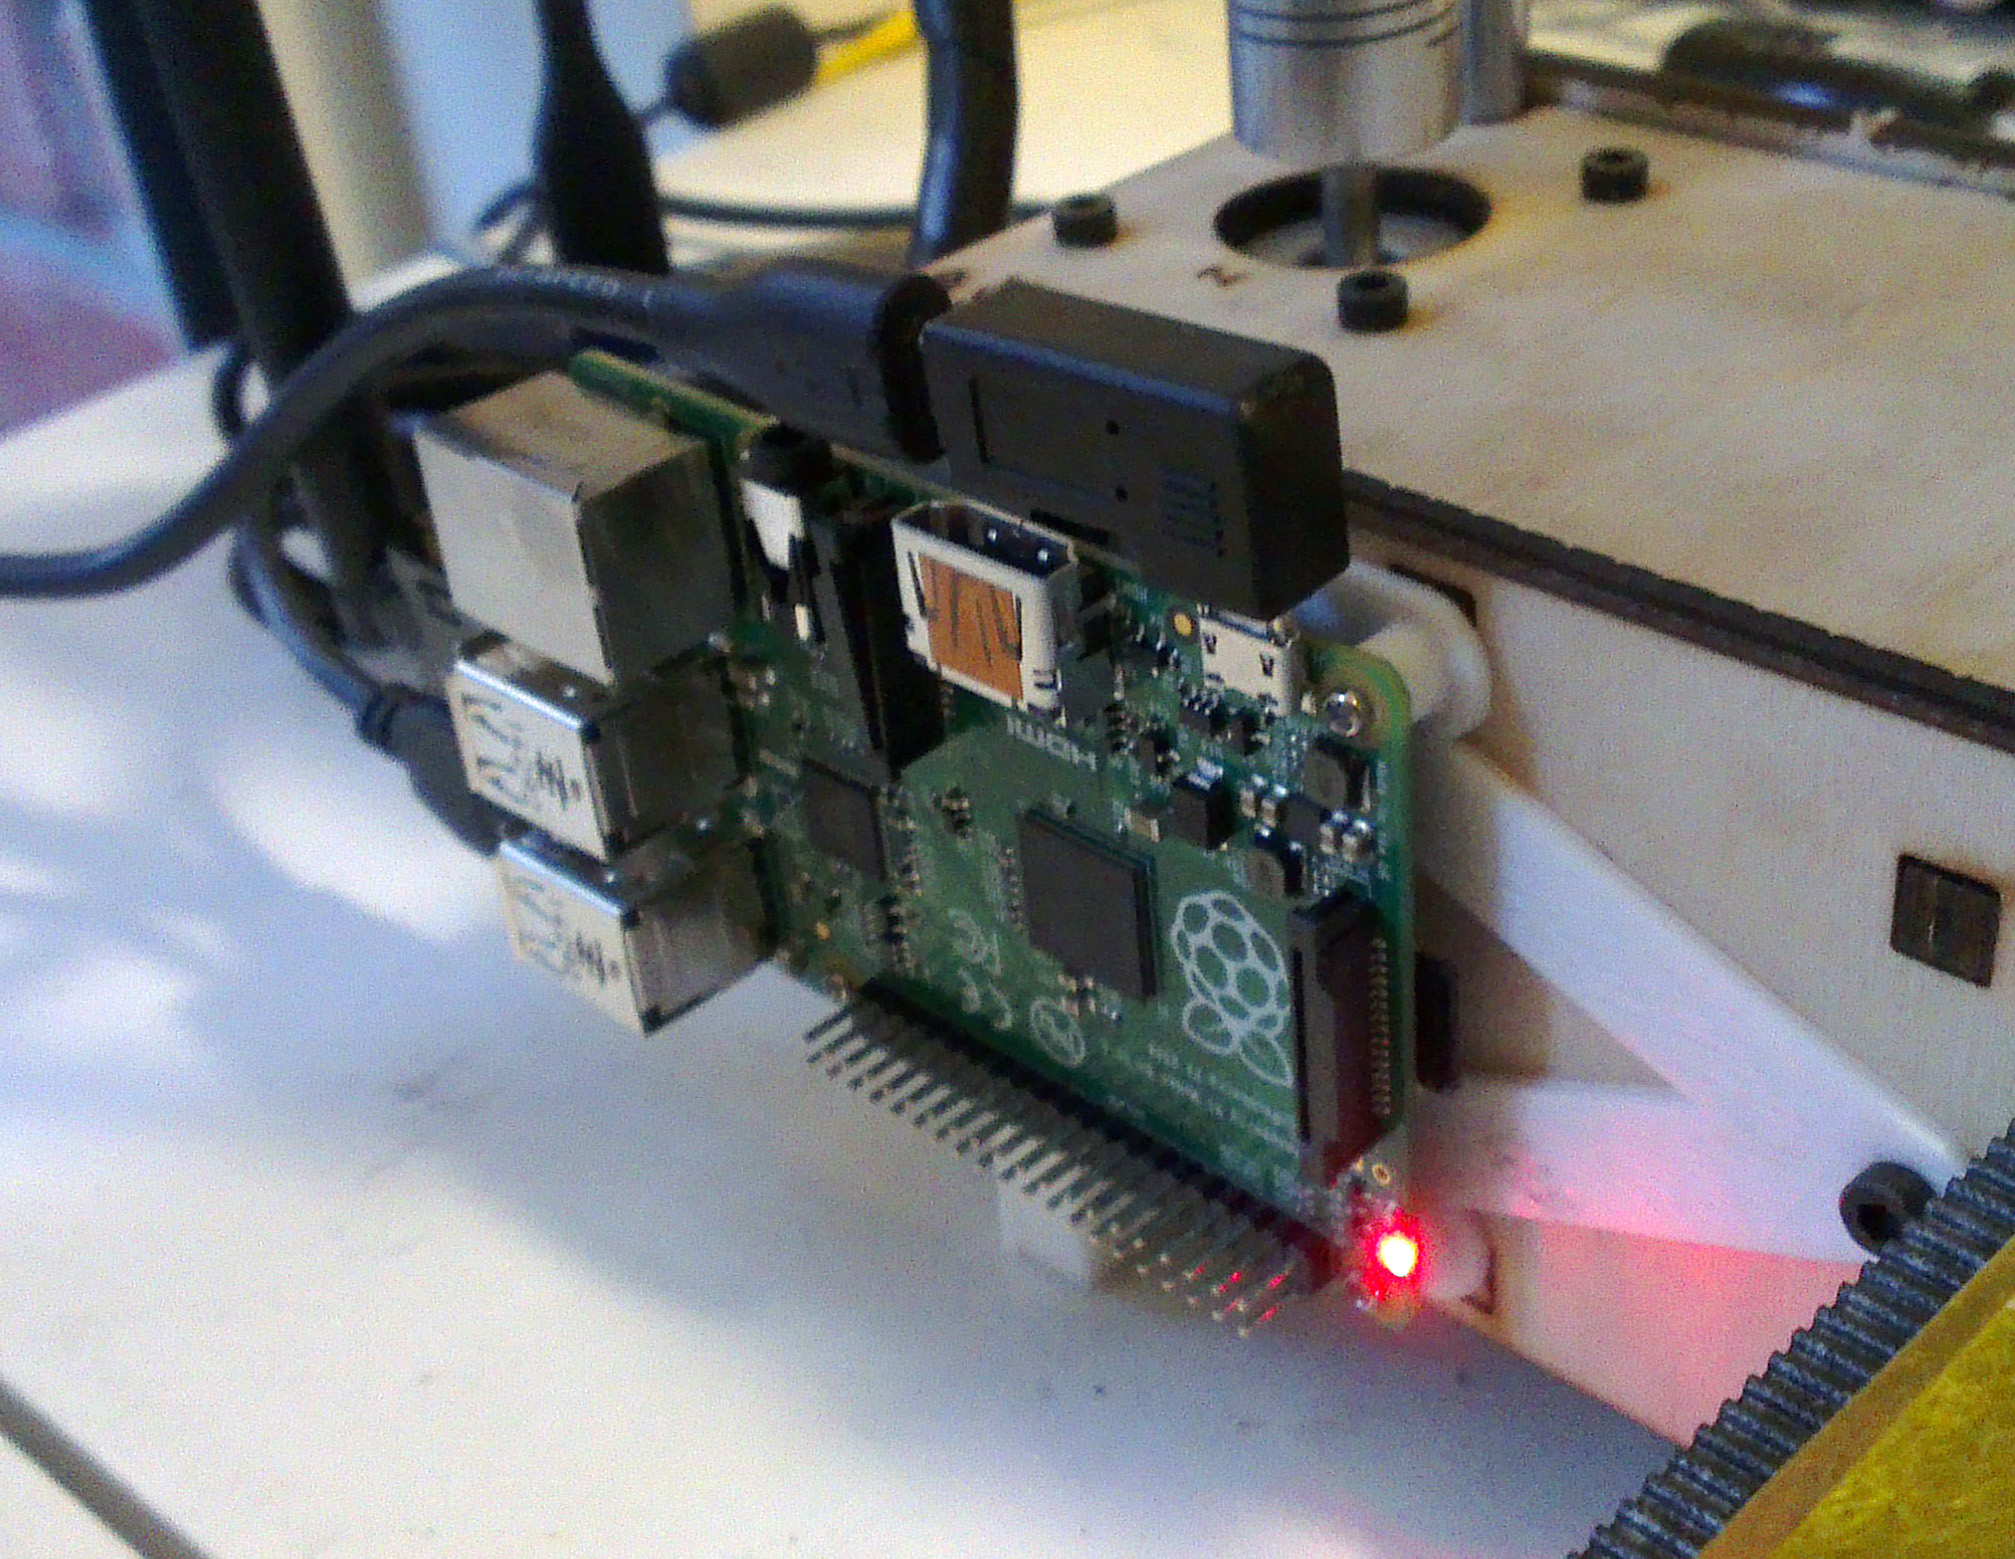
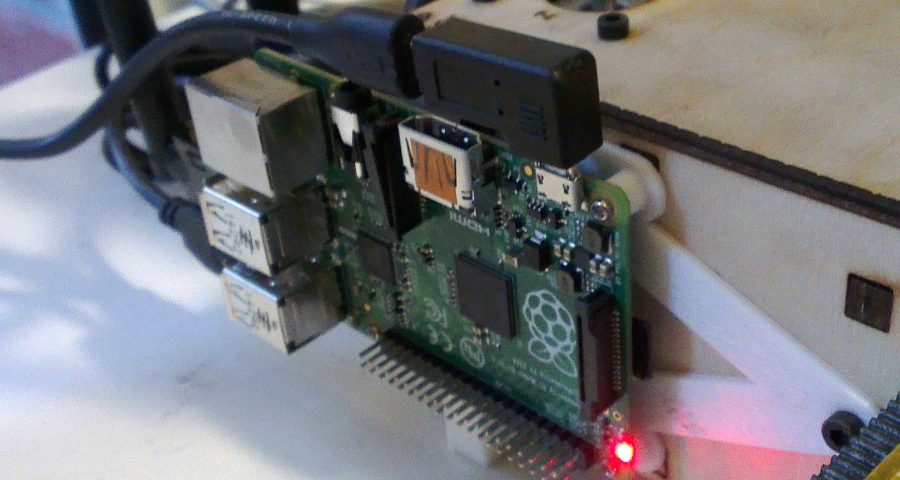
Using this mount, the Pi B+ attaches so that the USB ports are facing towards the rear of the printer – allowing you to use a USB wifi dongle with a large antenna, as I’ve done, without any chance of interfering with the Printrbot’s motions. The microUSB power port still faces upwards, but with the additional clearance between the Y axis and the board, this shouldn’t be a problem.
This solved my problems. The new mount prints on the standard 100x100mm 1405 build plate, attaches to the side of the Printrbot with the stock screws, and holds the Pi B+ firmly and securely in place. All cables and ports are positioned so they work correctly.
That said, when it arrived I still attached the right-angle adaptor. It looks neater that way.
Leave a Reply