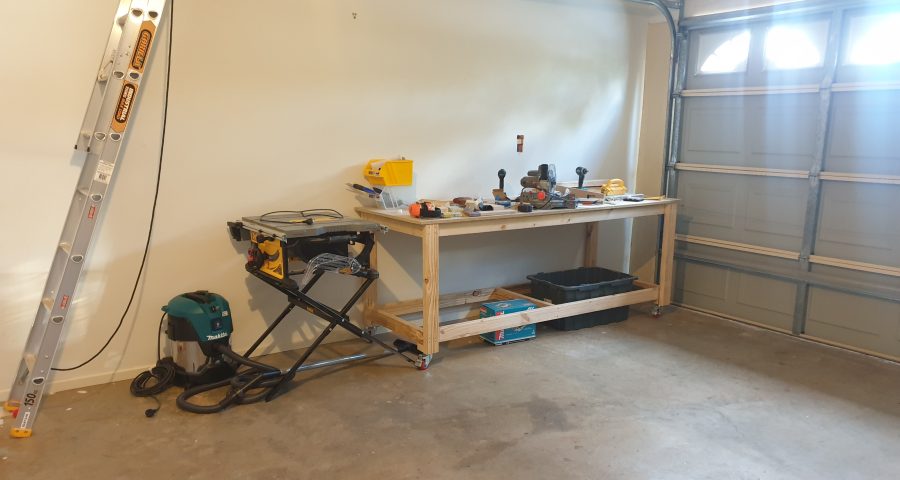
I recently moved into a new house, and wanted to put together a quick-and-easy garage workbench for DIY projects, home improvement tasks, and maybe some general woodworking.
I decided to build rather than buy, as I thought I could put together something simple and sturdy to meet my requirements for a reasonable price.
Requirements
The main requirements I had in mind were:
- Simple – something I could put together in a day or two without needing any new tools or skills
- Sturdy – something that I’d feel comfortable putting 100kg+ of tools, equipment, material etc on
- Affordable – something under $200 – $300 in parts
- Big – At least 2m wide, and at least 80cm deep
- Movable – I wasn’t set on my garage layout yet, and wanted something I could easily move around when needed
- Storage – Something that allowed full use of the space under the workbench for storage.
Design
First Thoughts
With the above requirements in mind, I went through the first pass of a design process:
- I decided to go with a frame constructed from structural pine. This would be readily available from my local Bunnings, and would be easy to cut to length as required.
- The top should be a large, single piece – probably MDF, or something similar.
- A lower shelf would meet the requirement for usable storage space. It could be the same material as the upper work surface.
- A set of high-strength lockable castor wheels would allow the workbench to be mobile when required.
Materials
Looking at the readily-available material options, I decided to construct the frame from 90x45mm structural pine (roughly equivalent to the imperial 2×4). In Australia this is typically sold as MGP10 or MGP12 grade, which describes the strength/stiffness of the timber. For the purposes of the design I had in mind, 90x45mm MGP10 would be more than sufficient.
90x35mm was another suitable option – it would be a little cheaper, but I decided to err on the side of sturdiness and went with the 90x45mm.
For the work surface, I decided not to worry about going with anything too fancy – this is a general purpose workbench, and I’m probably going to damage the surface over time. I had a space piece of Medium Density Particleboard (MDP) that measured 2380 x 860 x 18mm – this would do the job. If I were going to buy something to do this, I’d have grabbed a 2400x1200x16-18mm MDF and cut it down to size.
Detailed Design
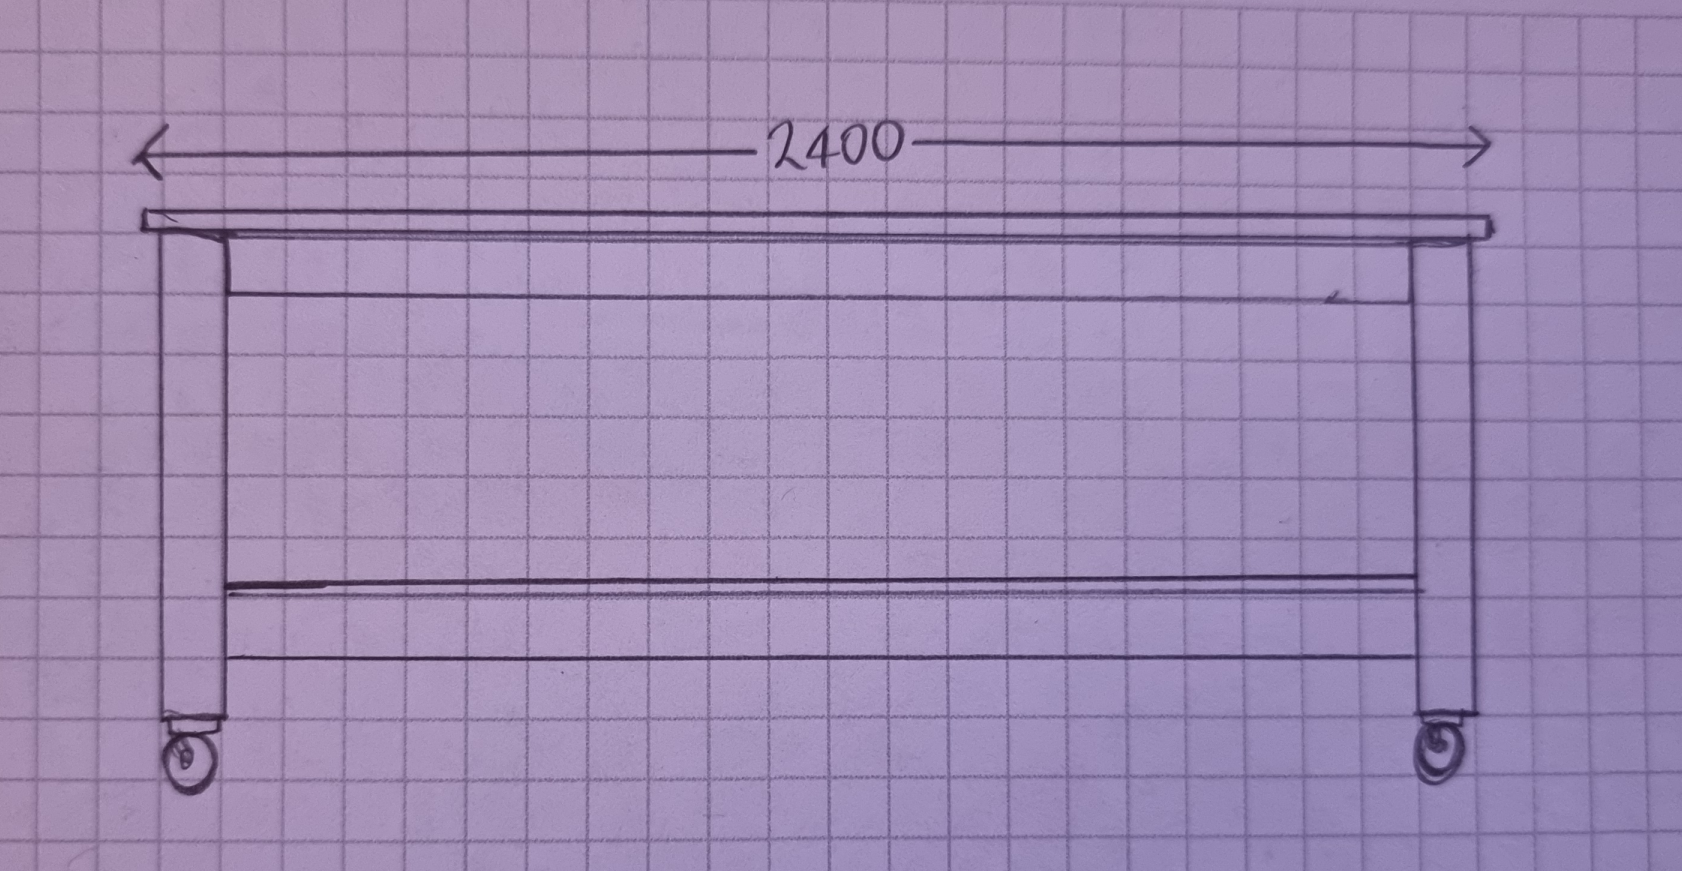
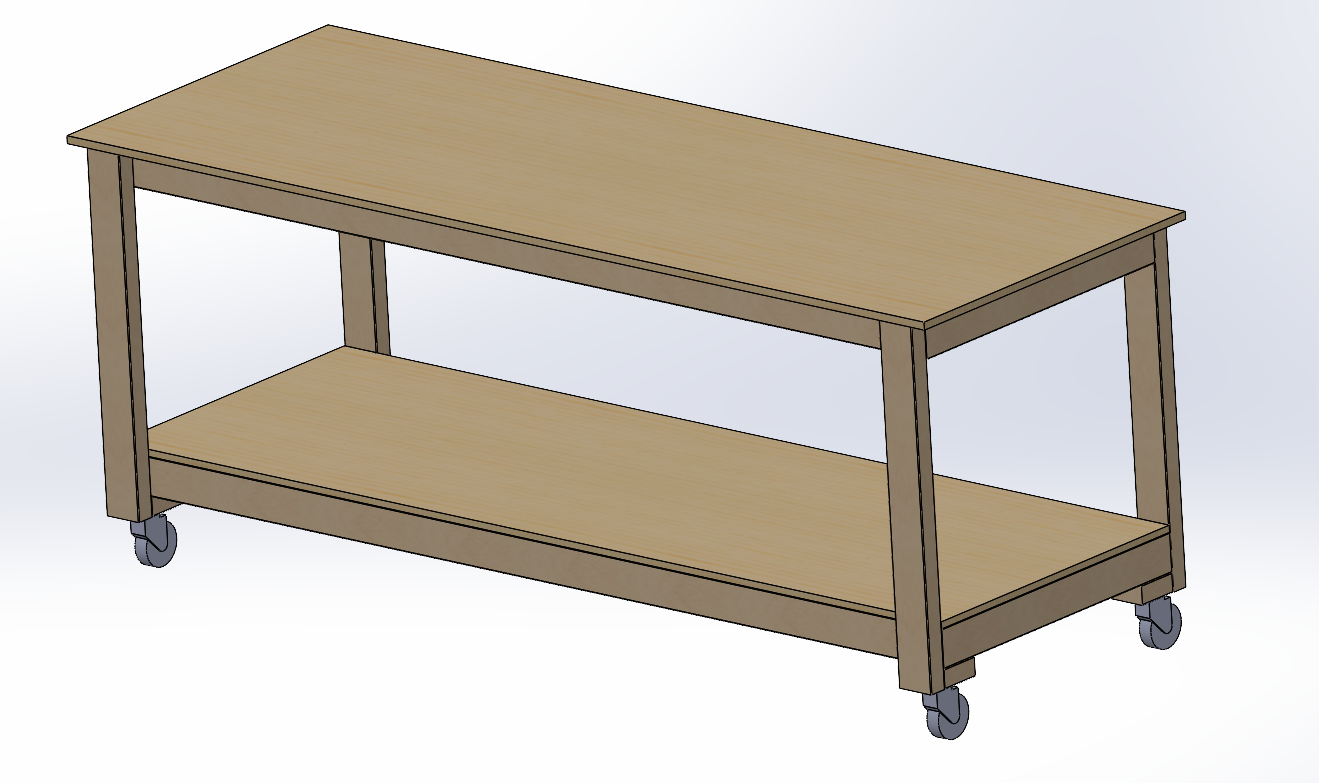
After a bit of CAD work, I’d put together the overall design:
- Width: 2380mm, to match the spare piece of MDP
- Depth: 860mm, as above
- Height: 940mm, to match the height of my tablesaw’s surface (perhaps this bench can serve as an outfeed table at times?)
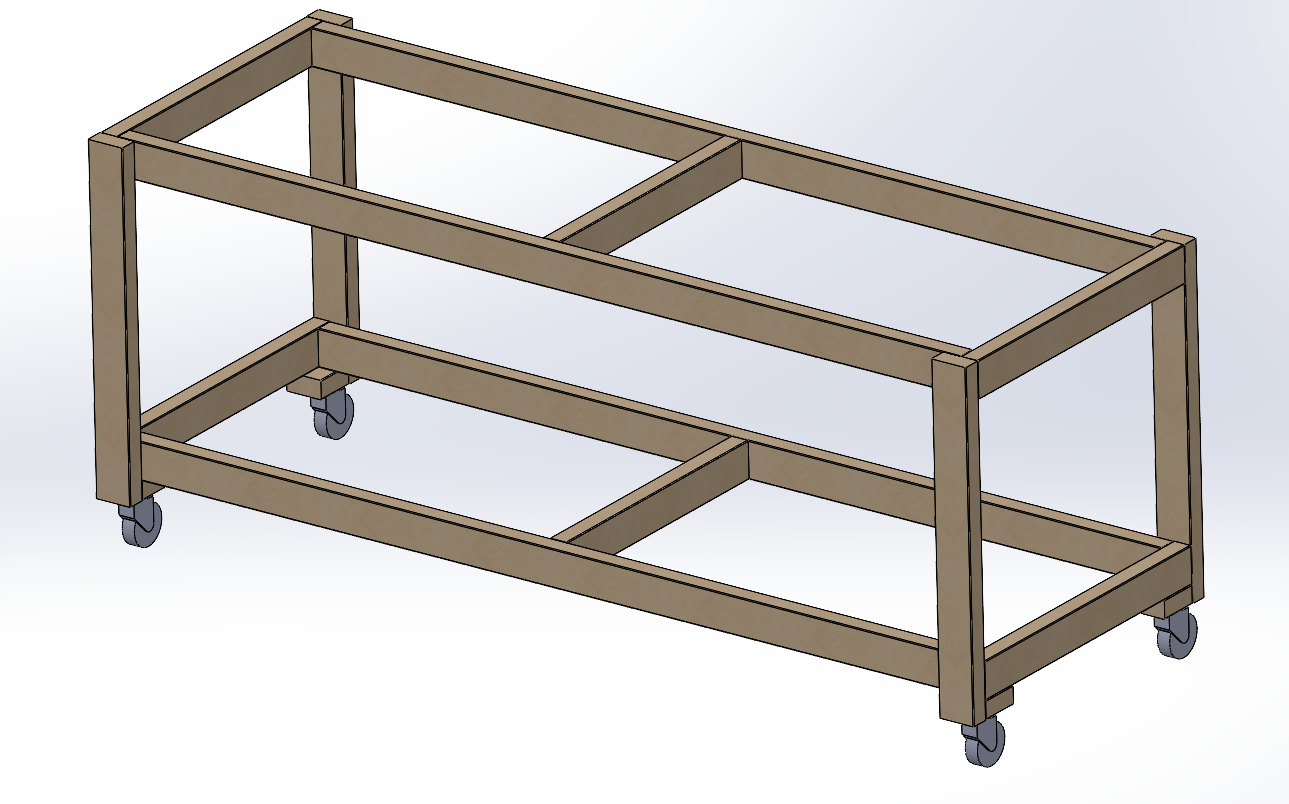
- Frame: 90x45mm MGP10 Pine
- Upper Benchtop: 2380x860x18mm MDP
- I left an overhang around the edges of the benchtop so that it would be easy to clamp things down to the surface
- Lower Shelf: 2290x750x18mm MDF
- Wheels: 100mm Lockable Swivel Castors (150kg rating each)
Dimensioned drawings are as below:
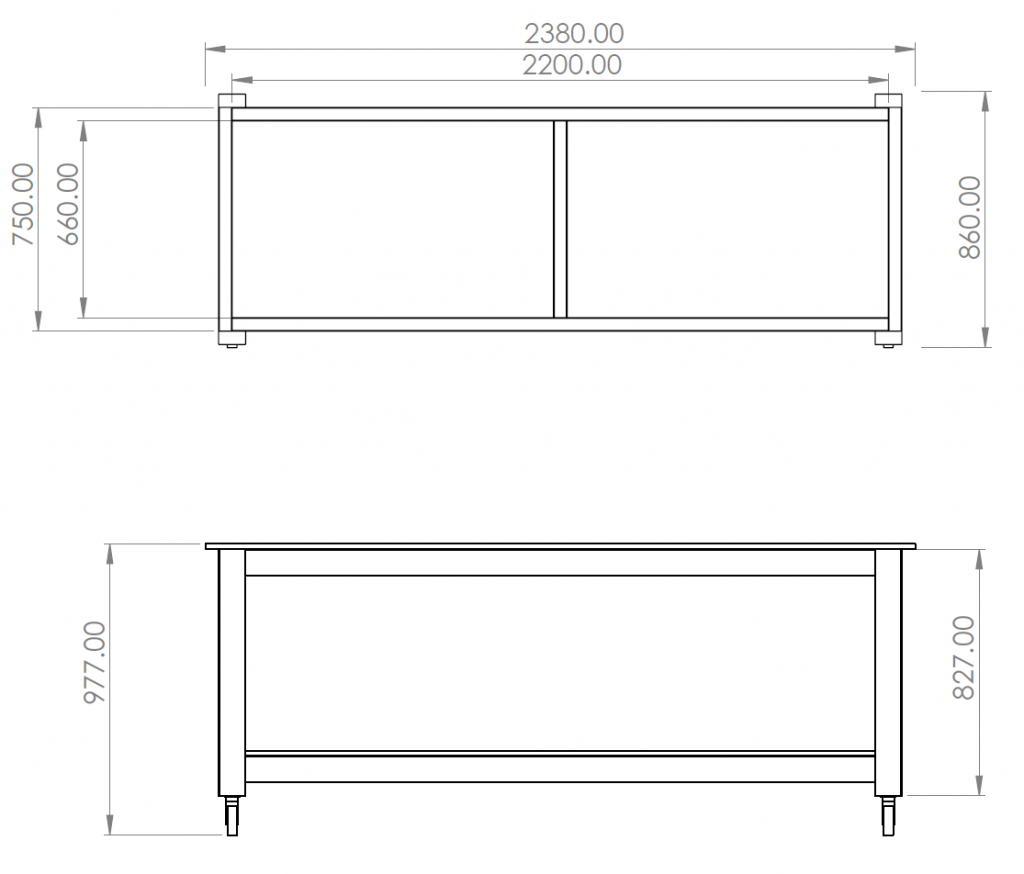
The full list of 90x45mm timber elements for the frame:
- 4 x 2200mm (Main horizontals)
- 4 x 750mm (Outer elements of upper/lower box)
- 2 x 660mm (Inner element of upper/lower box)
- 4 x 827mm (Vertical legs)
Adding up the cuts required to construct the frame, it looked like 8 x 2400mm lengths of the structural pine would do the job.
Full materials list if you were doing this from scratch:
- 8 x 90x45x2400mm MGP10 Structural Pine
- 2 x 2400x1200x16-18mm MDF (or similar to cut 1 x 2400×860 and 1 x 2290×750)
- 64 x Timber Screws
- Max 80mm depth for attaching the legs to the box elements (32 screws). You could use longer screws (say up to 140mm) for the rest of the frame.
- I used 8G x 80mm screws with a Philips head drive. I usually prefer to use screws with a square/Robertson drive, but had a box of these already and decided to use them. 10% through I remembered why I prefer the square drive, but didn’t want to mix the styles.
- 15+ Chipboard Screws
- For fixing the worktop and shelf in place. I used 8G 40mm chipboard screws, but anything similar would do.
- 16 x 8mm Lag Screws + 8mm washers
- For attaching castor wheels
Build
I set out to get the whole build done in one Saturday. Let’s see how it goes!
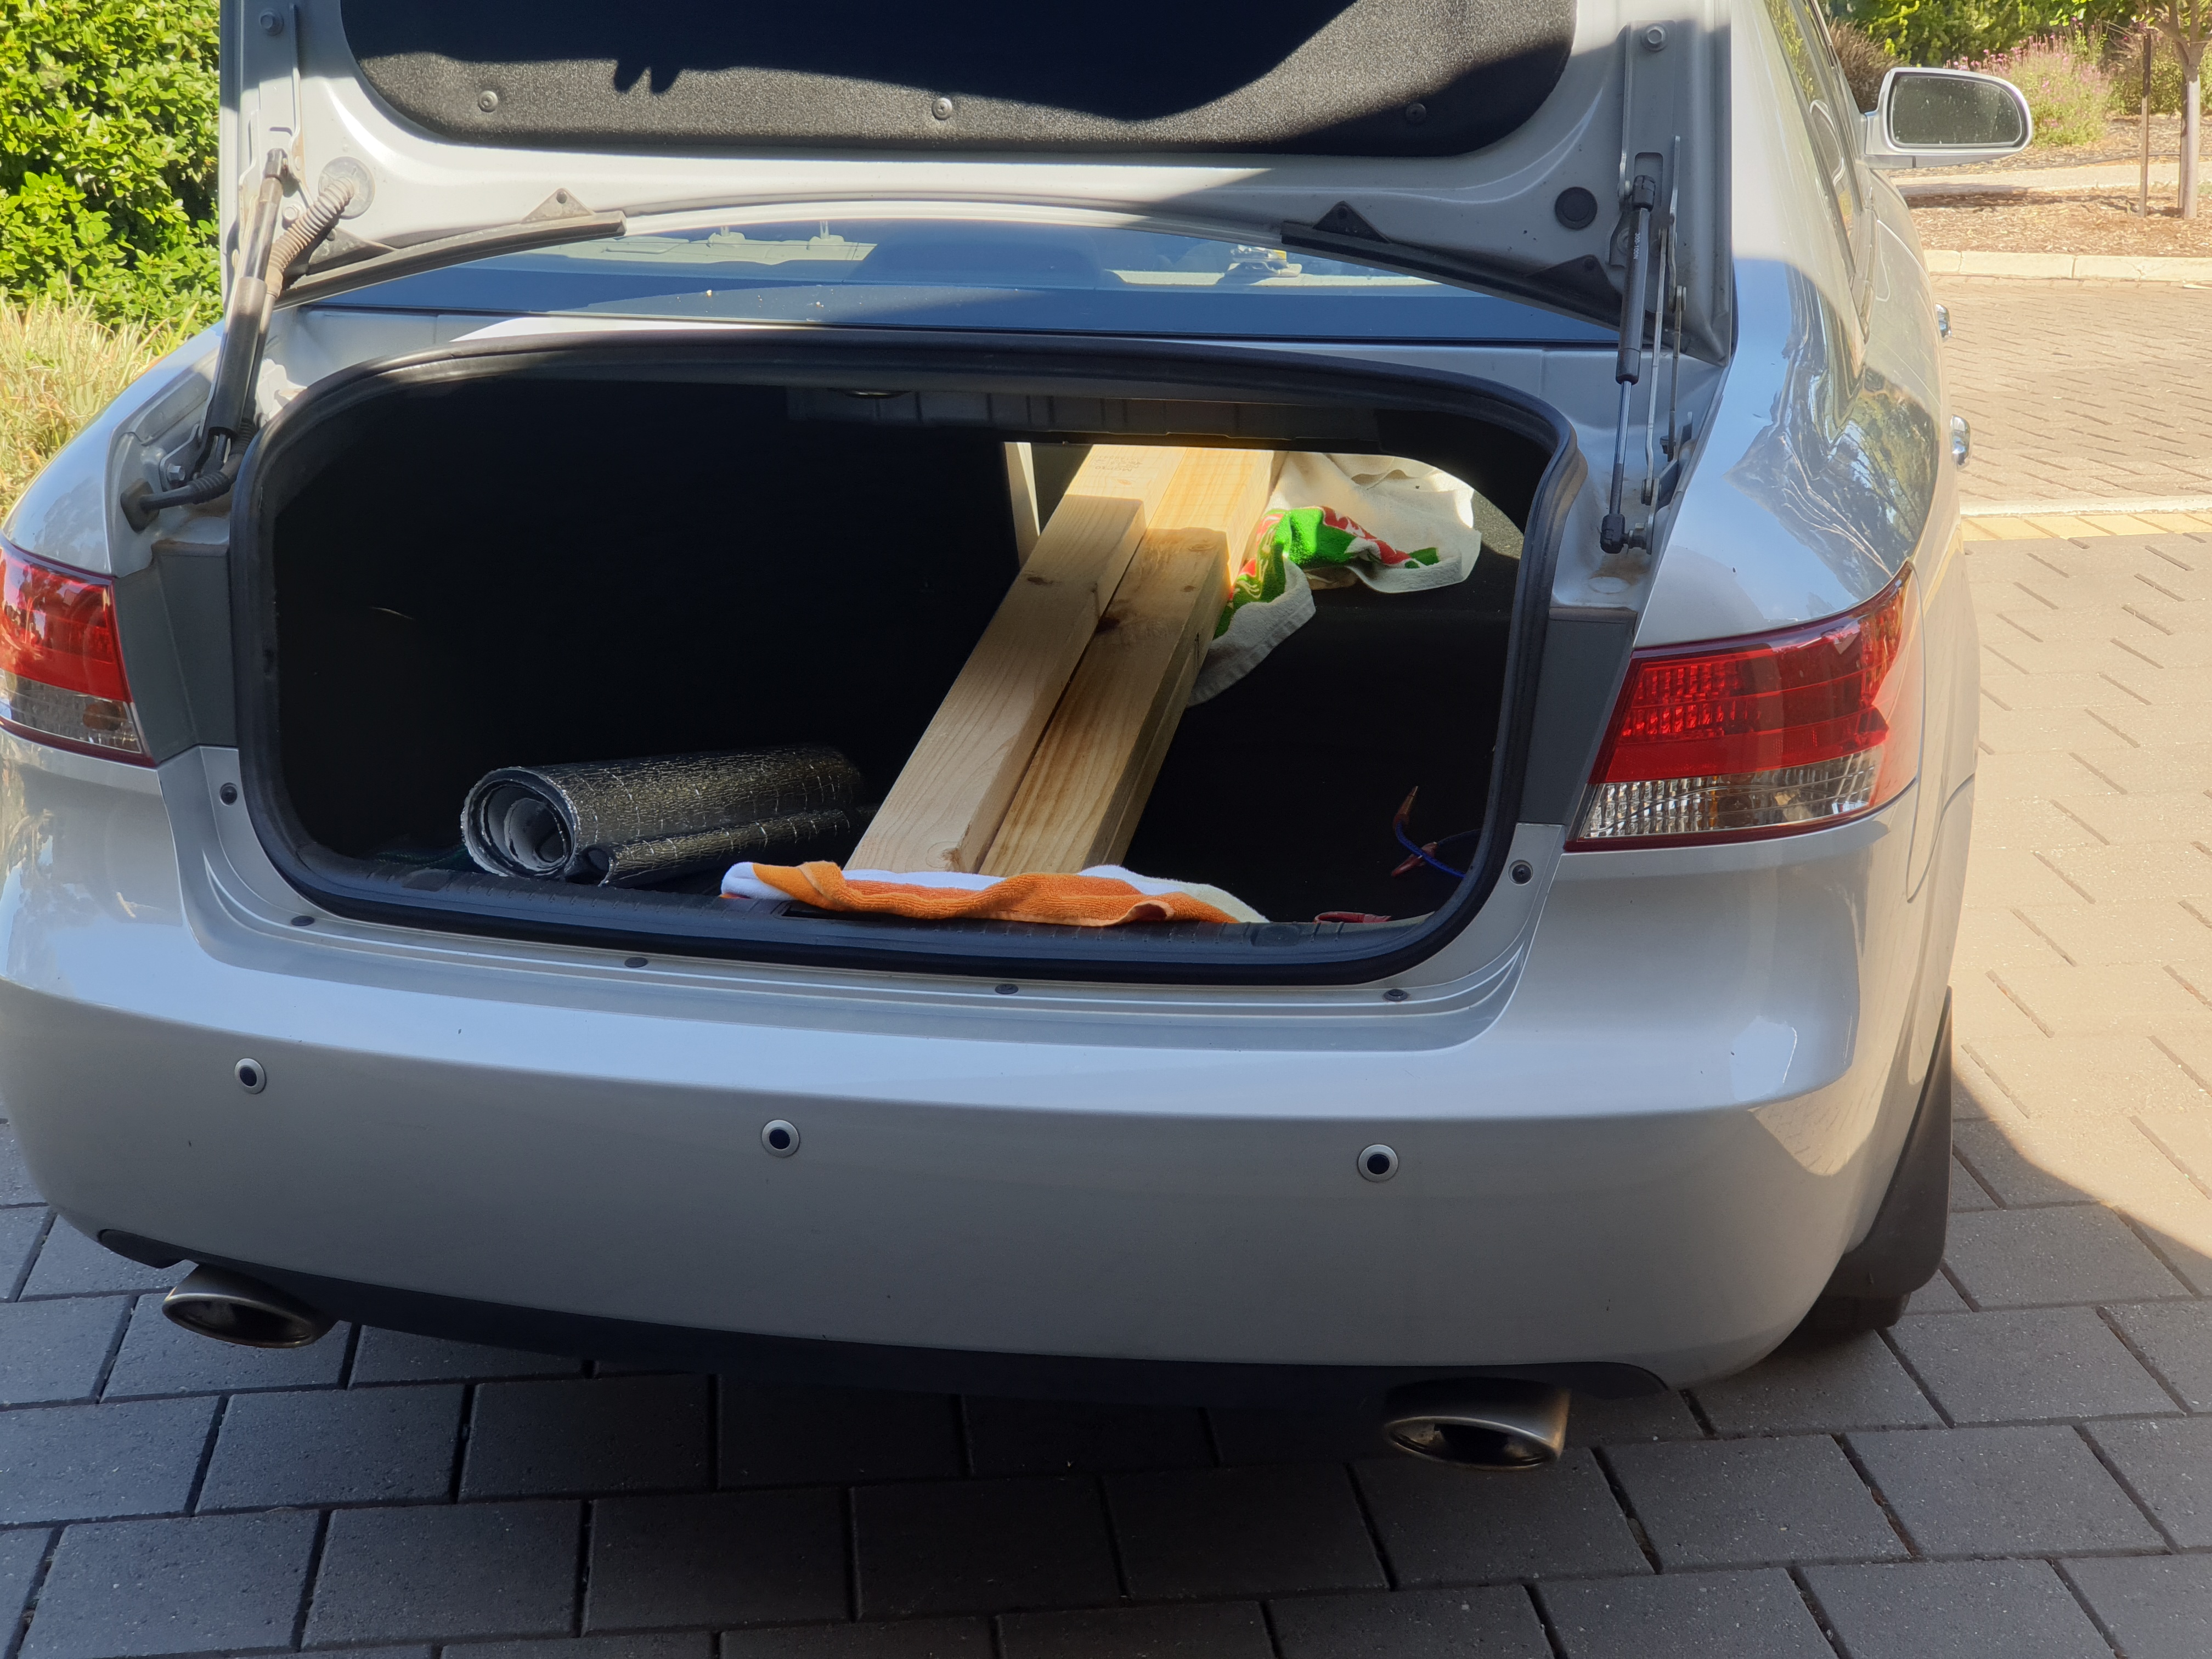
Trip to Bunnings to get the timber. I decided to only grab the frame timber this time, as transporting the larger MDF sheet for the shelf would be tricky.
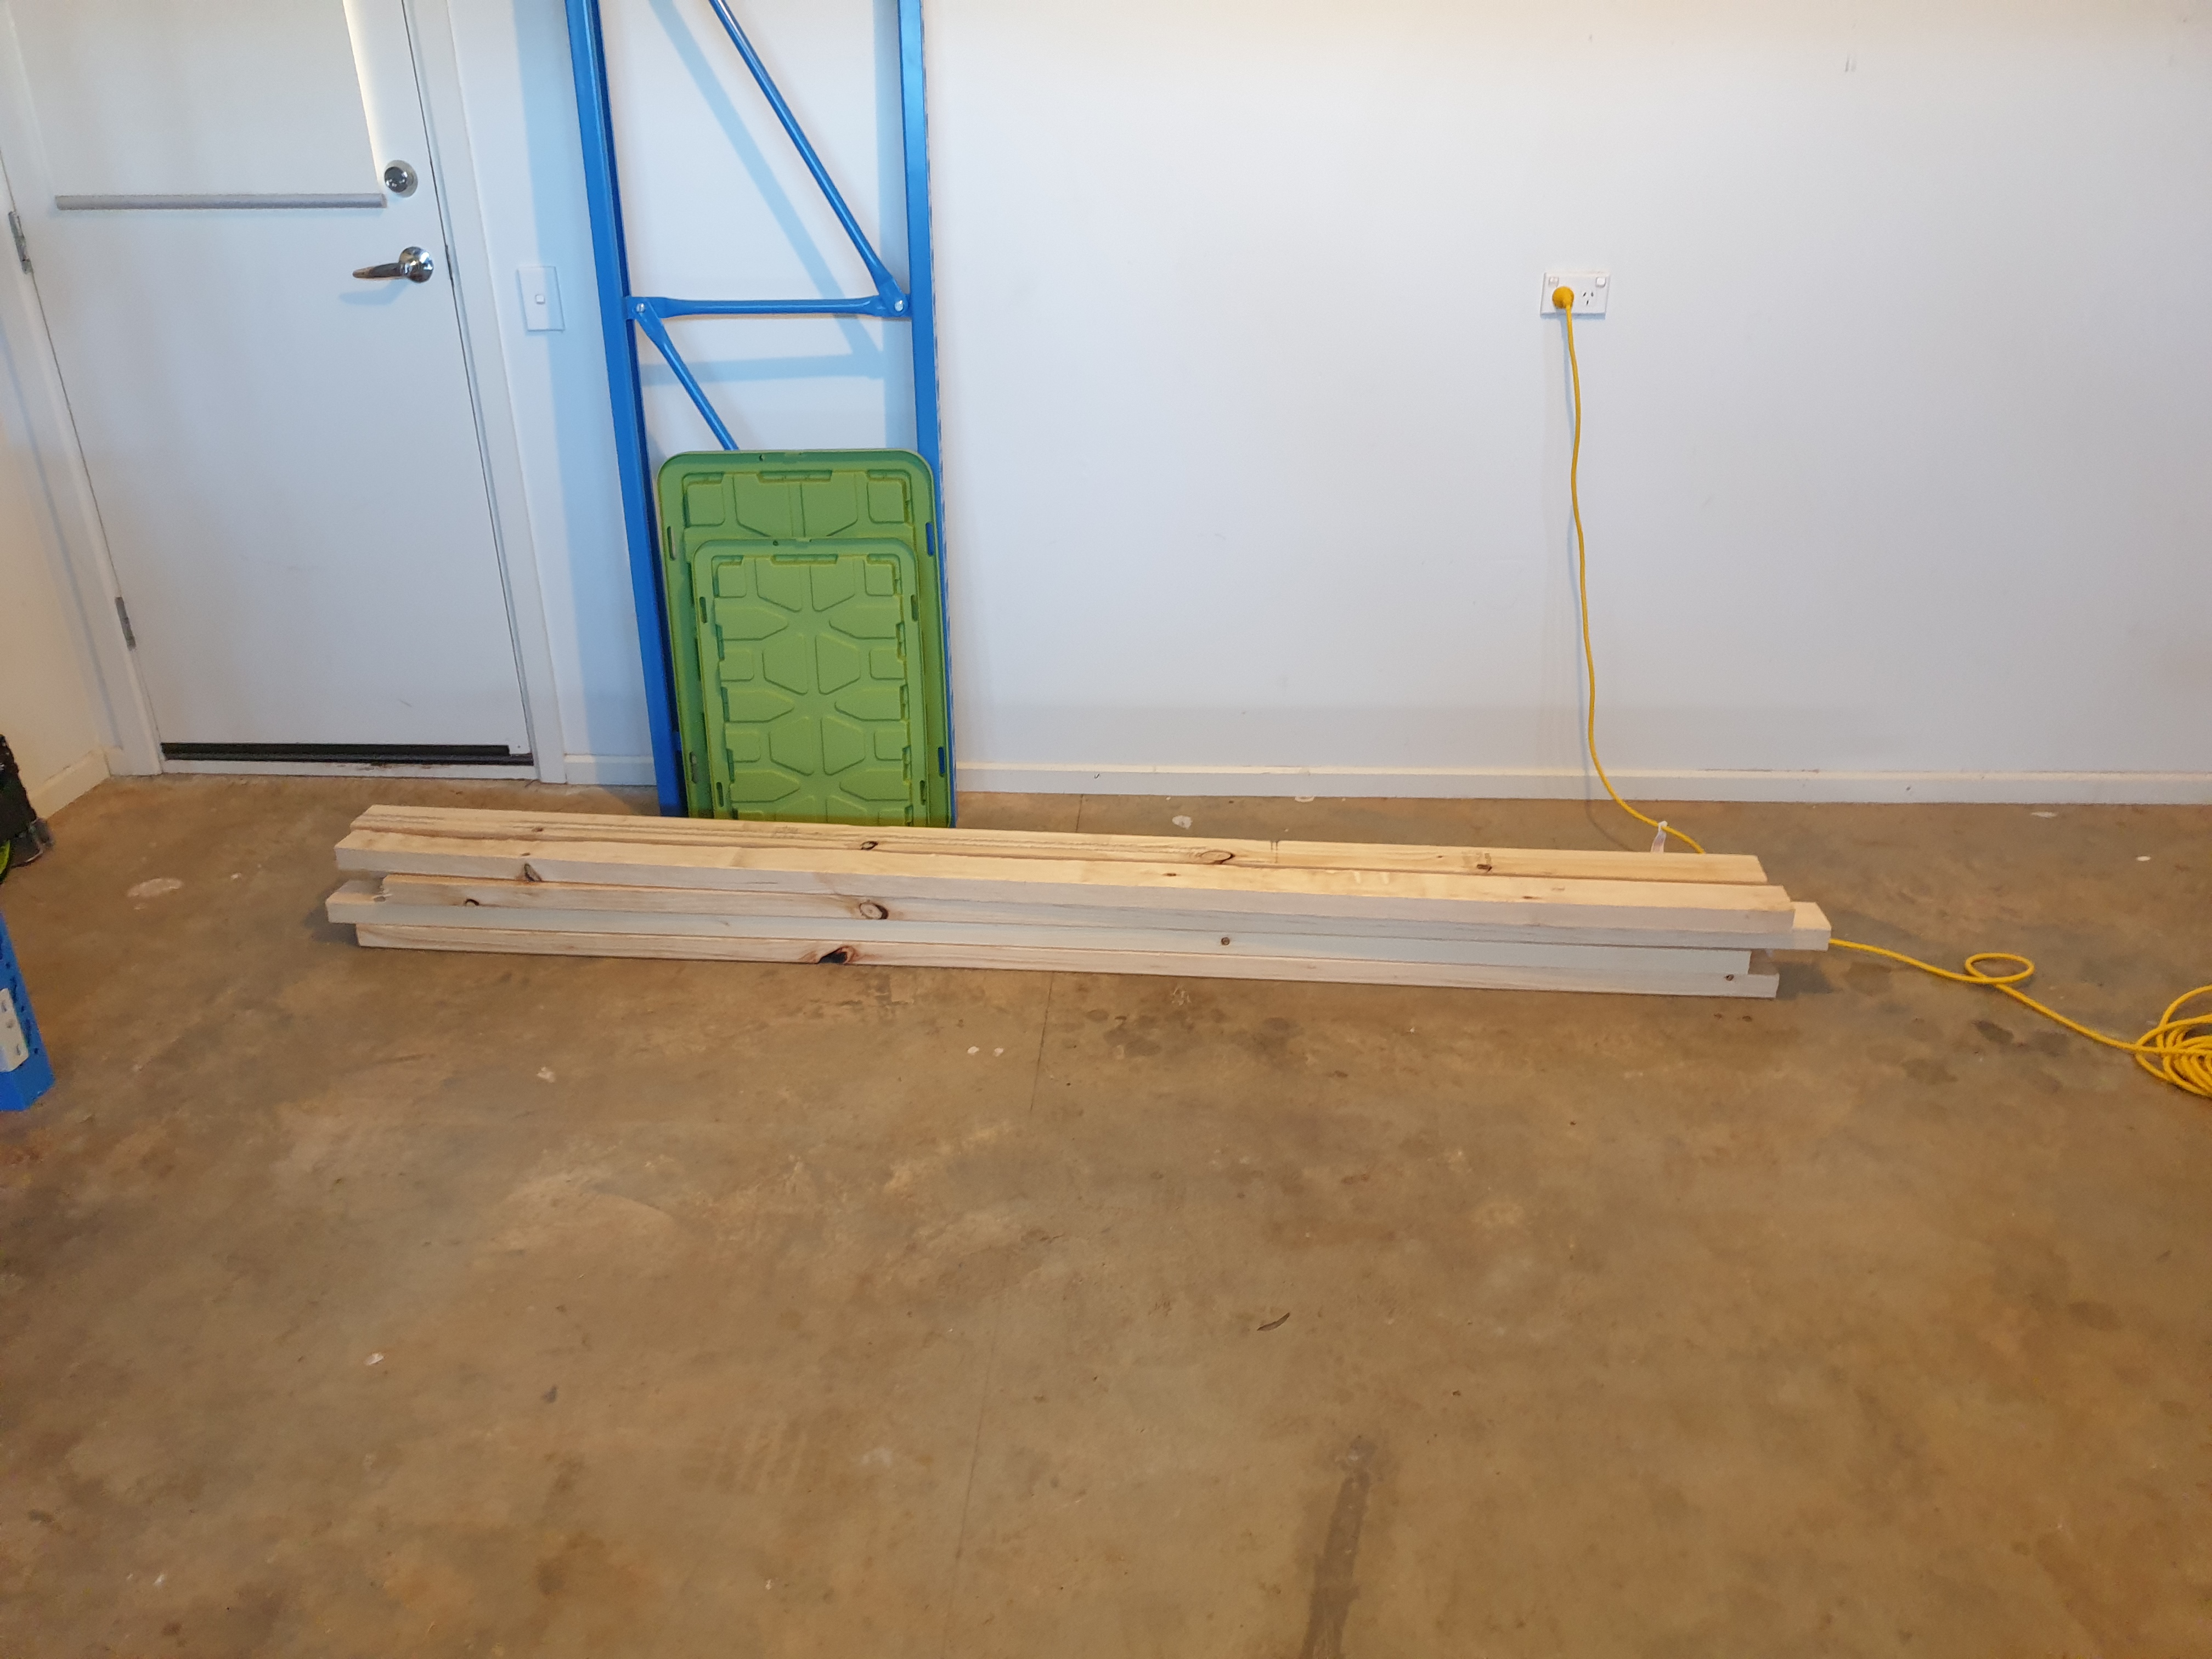
Unloaded, it really doesn’t look like a lot of material.
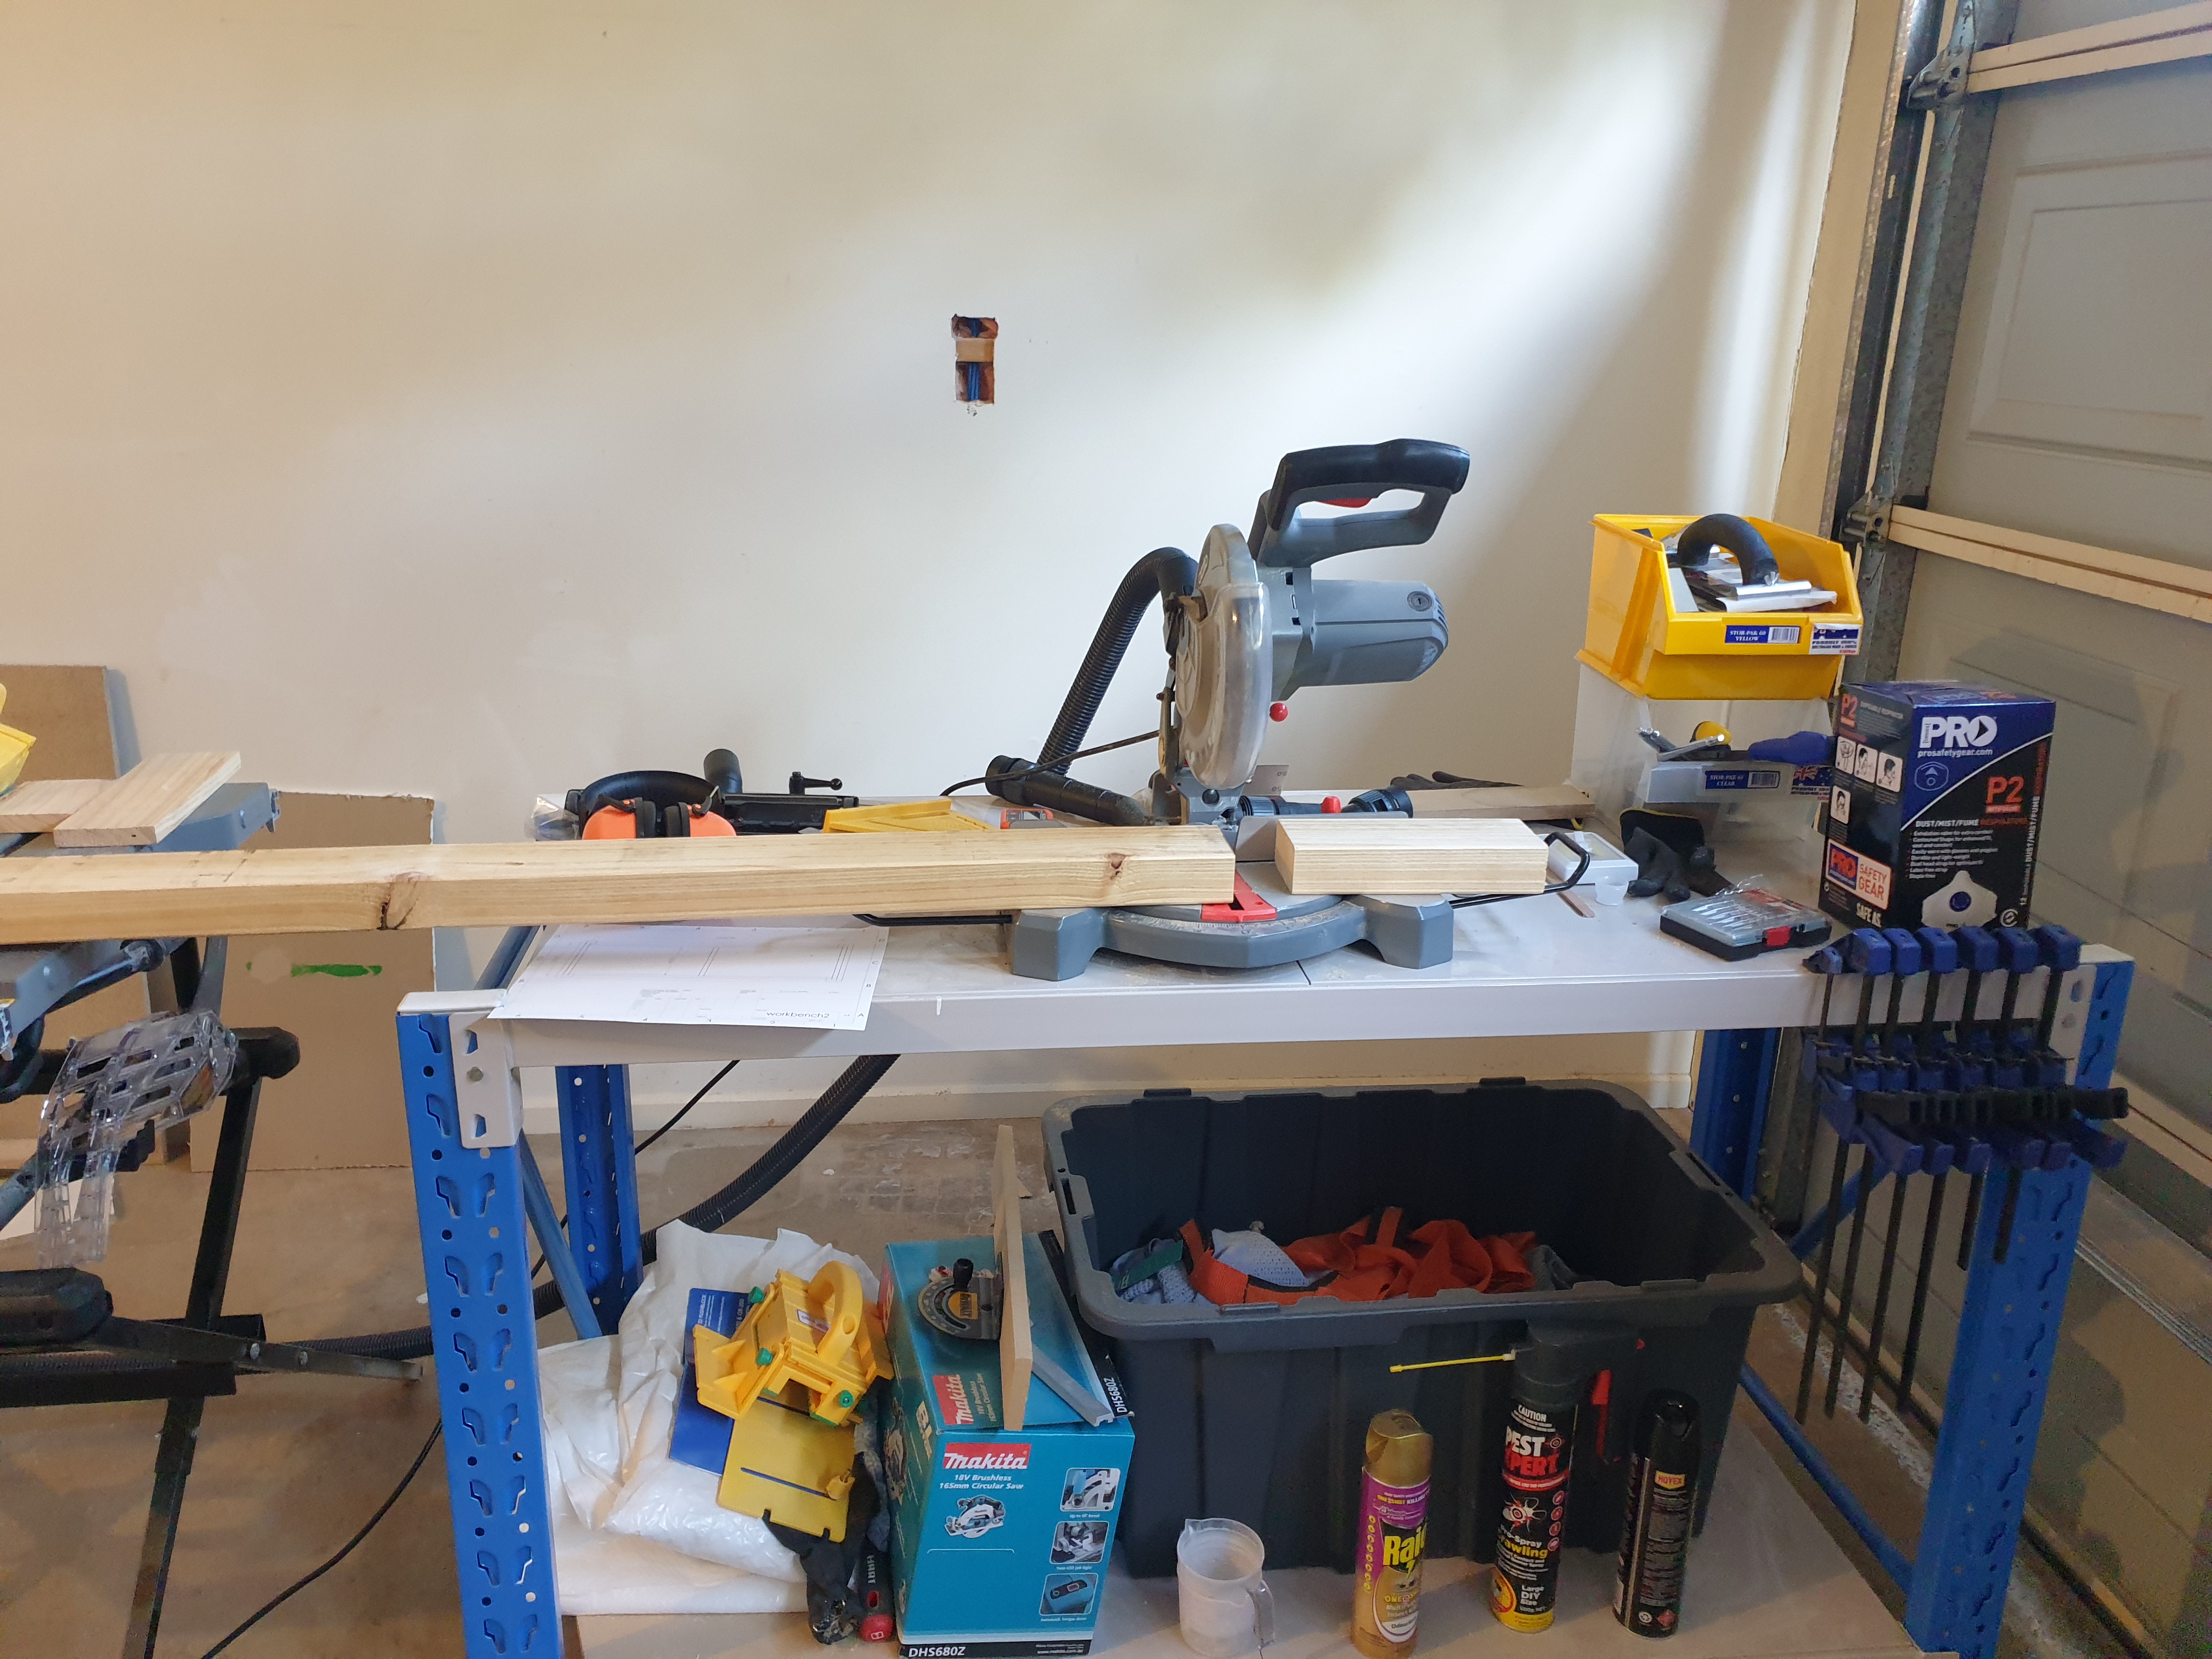
Timber was cut to length using a mitre saw.
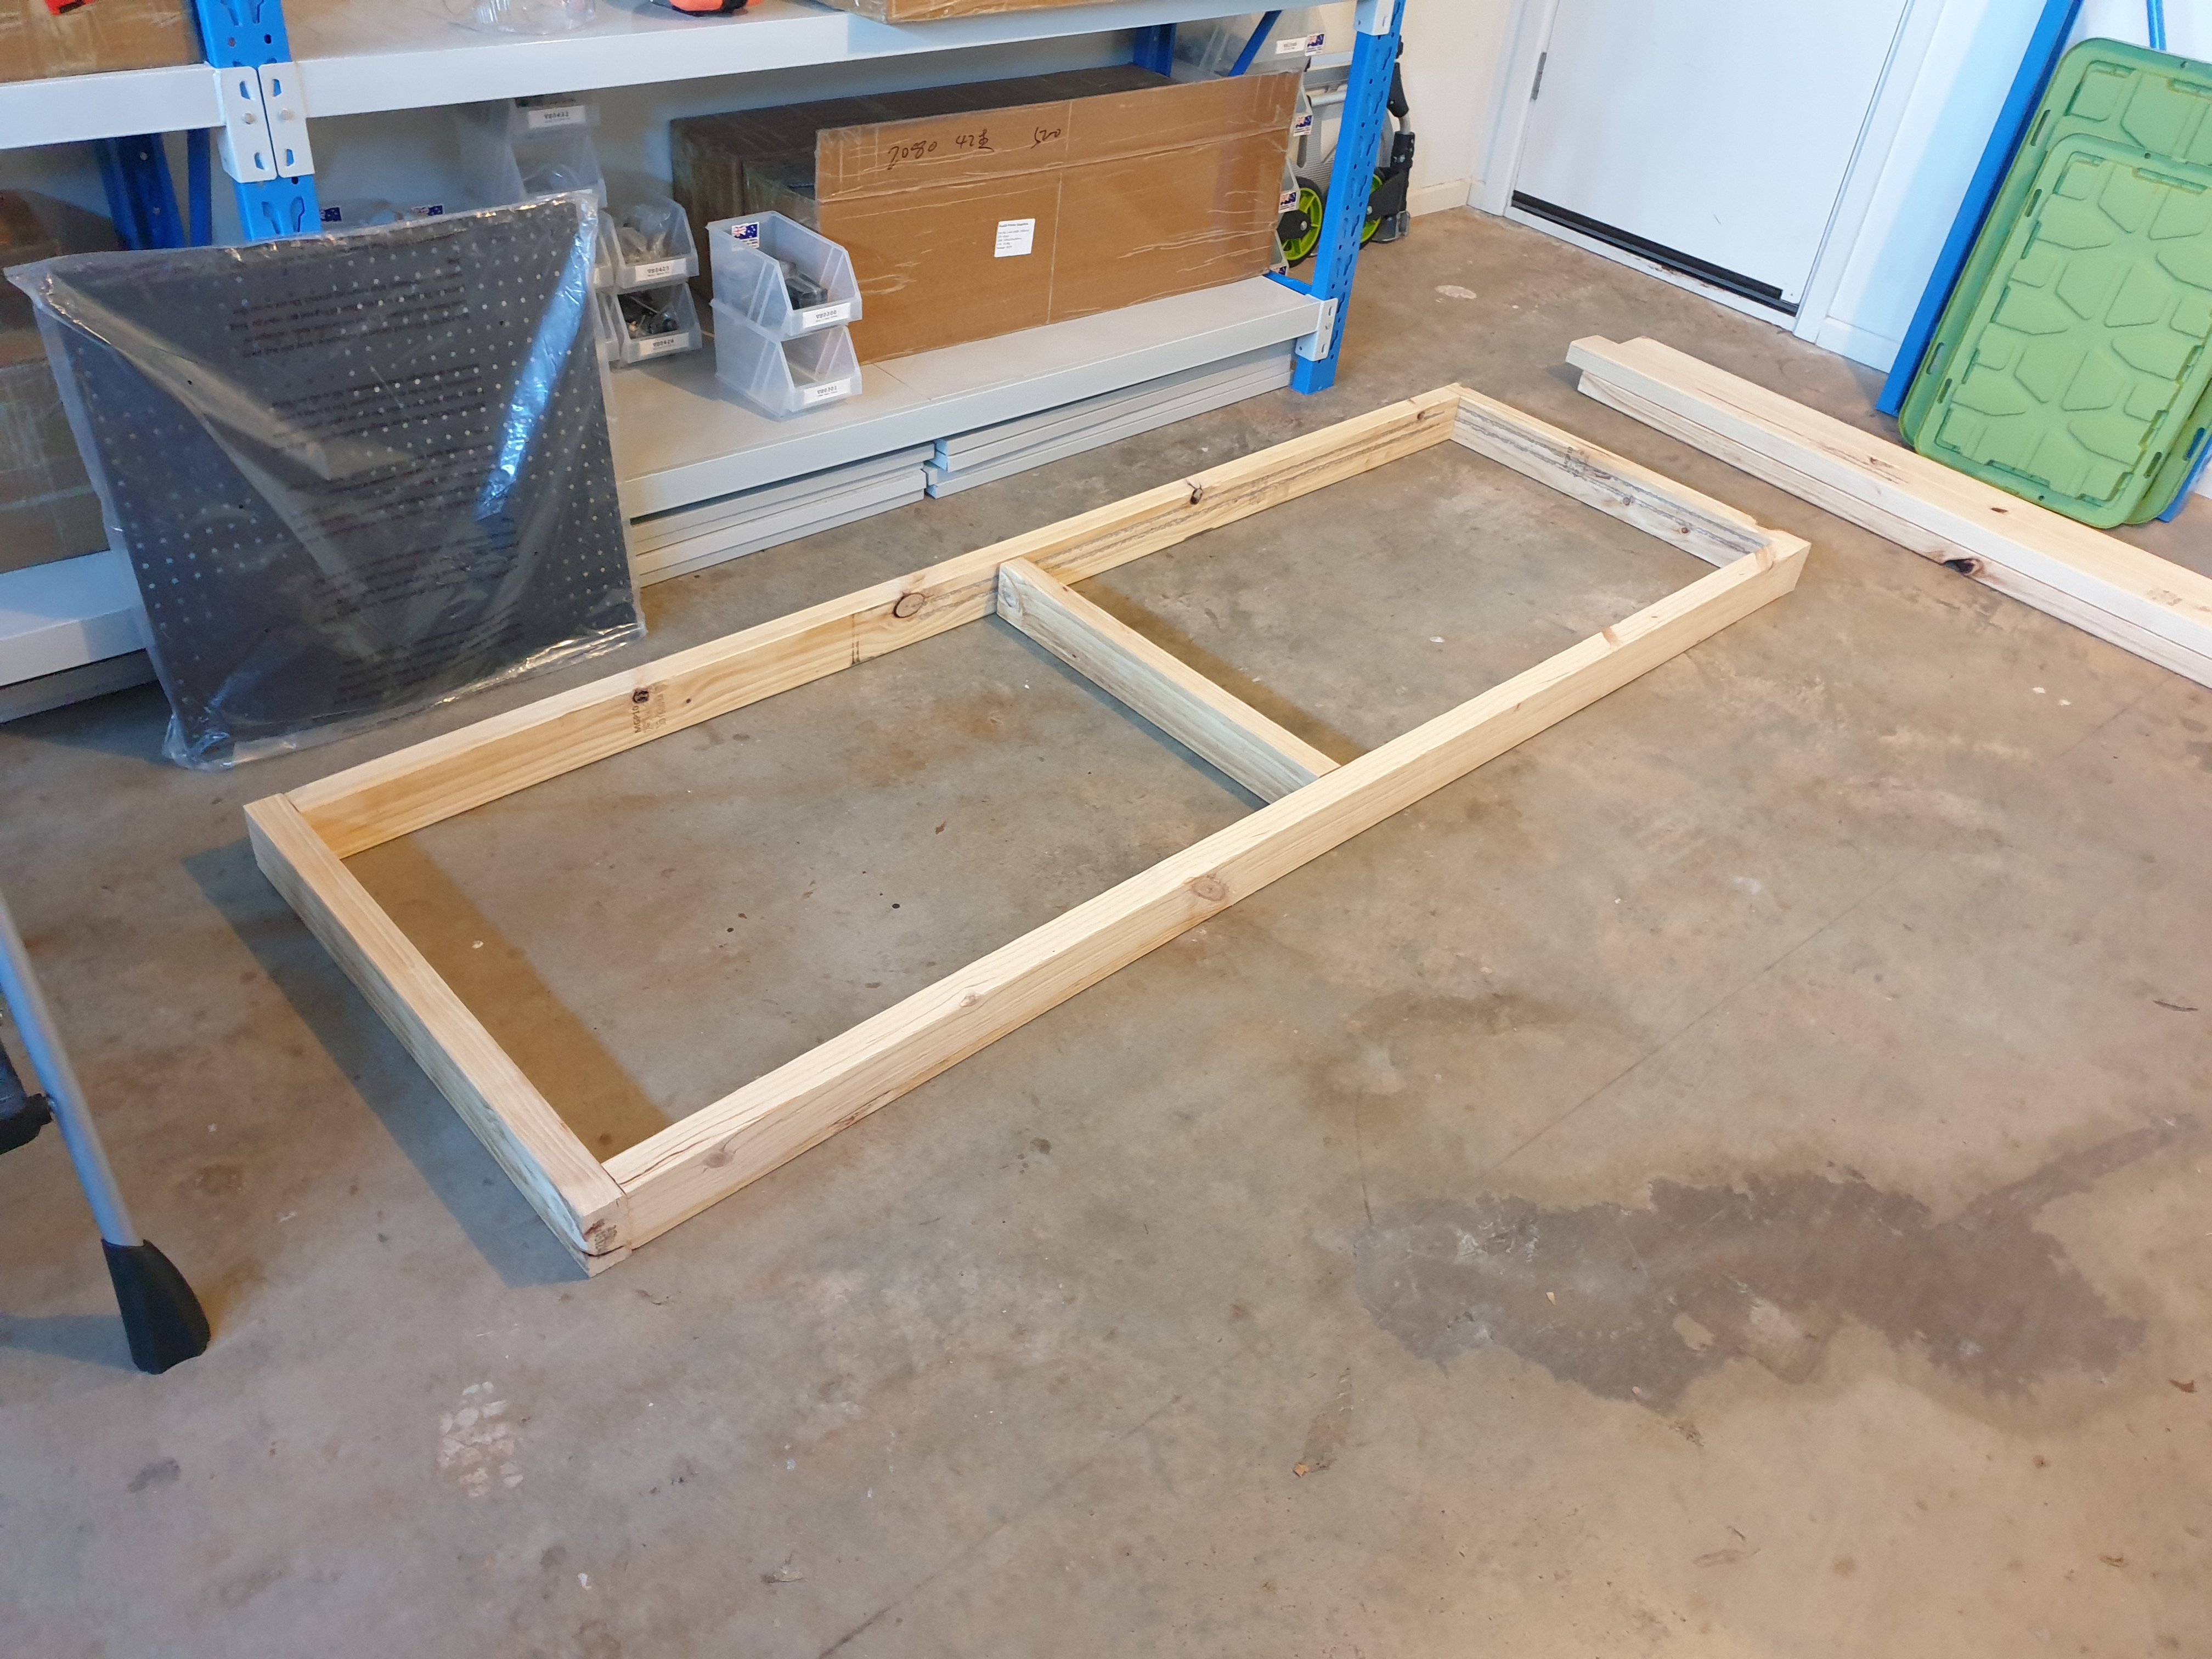
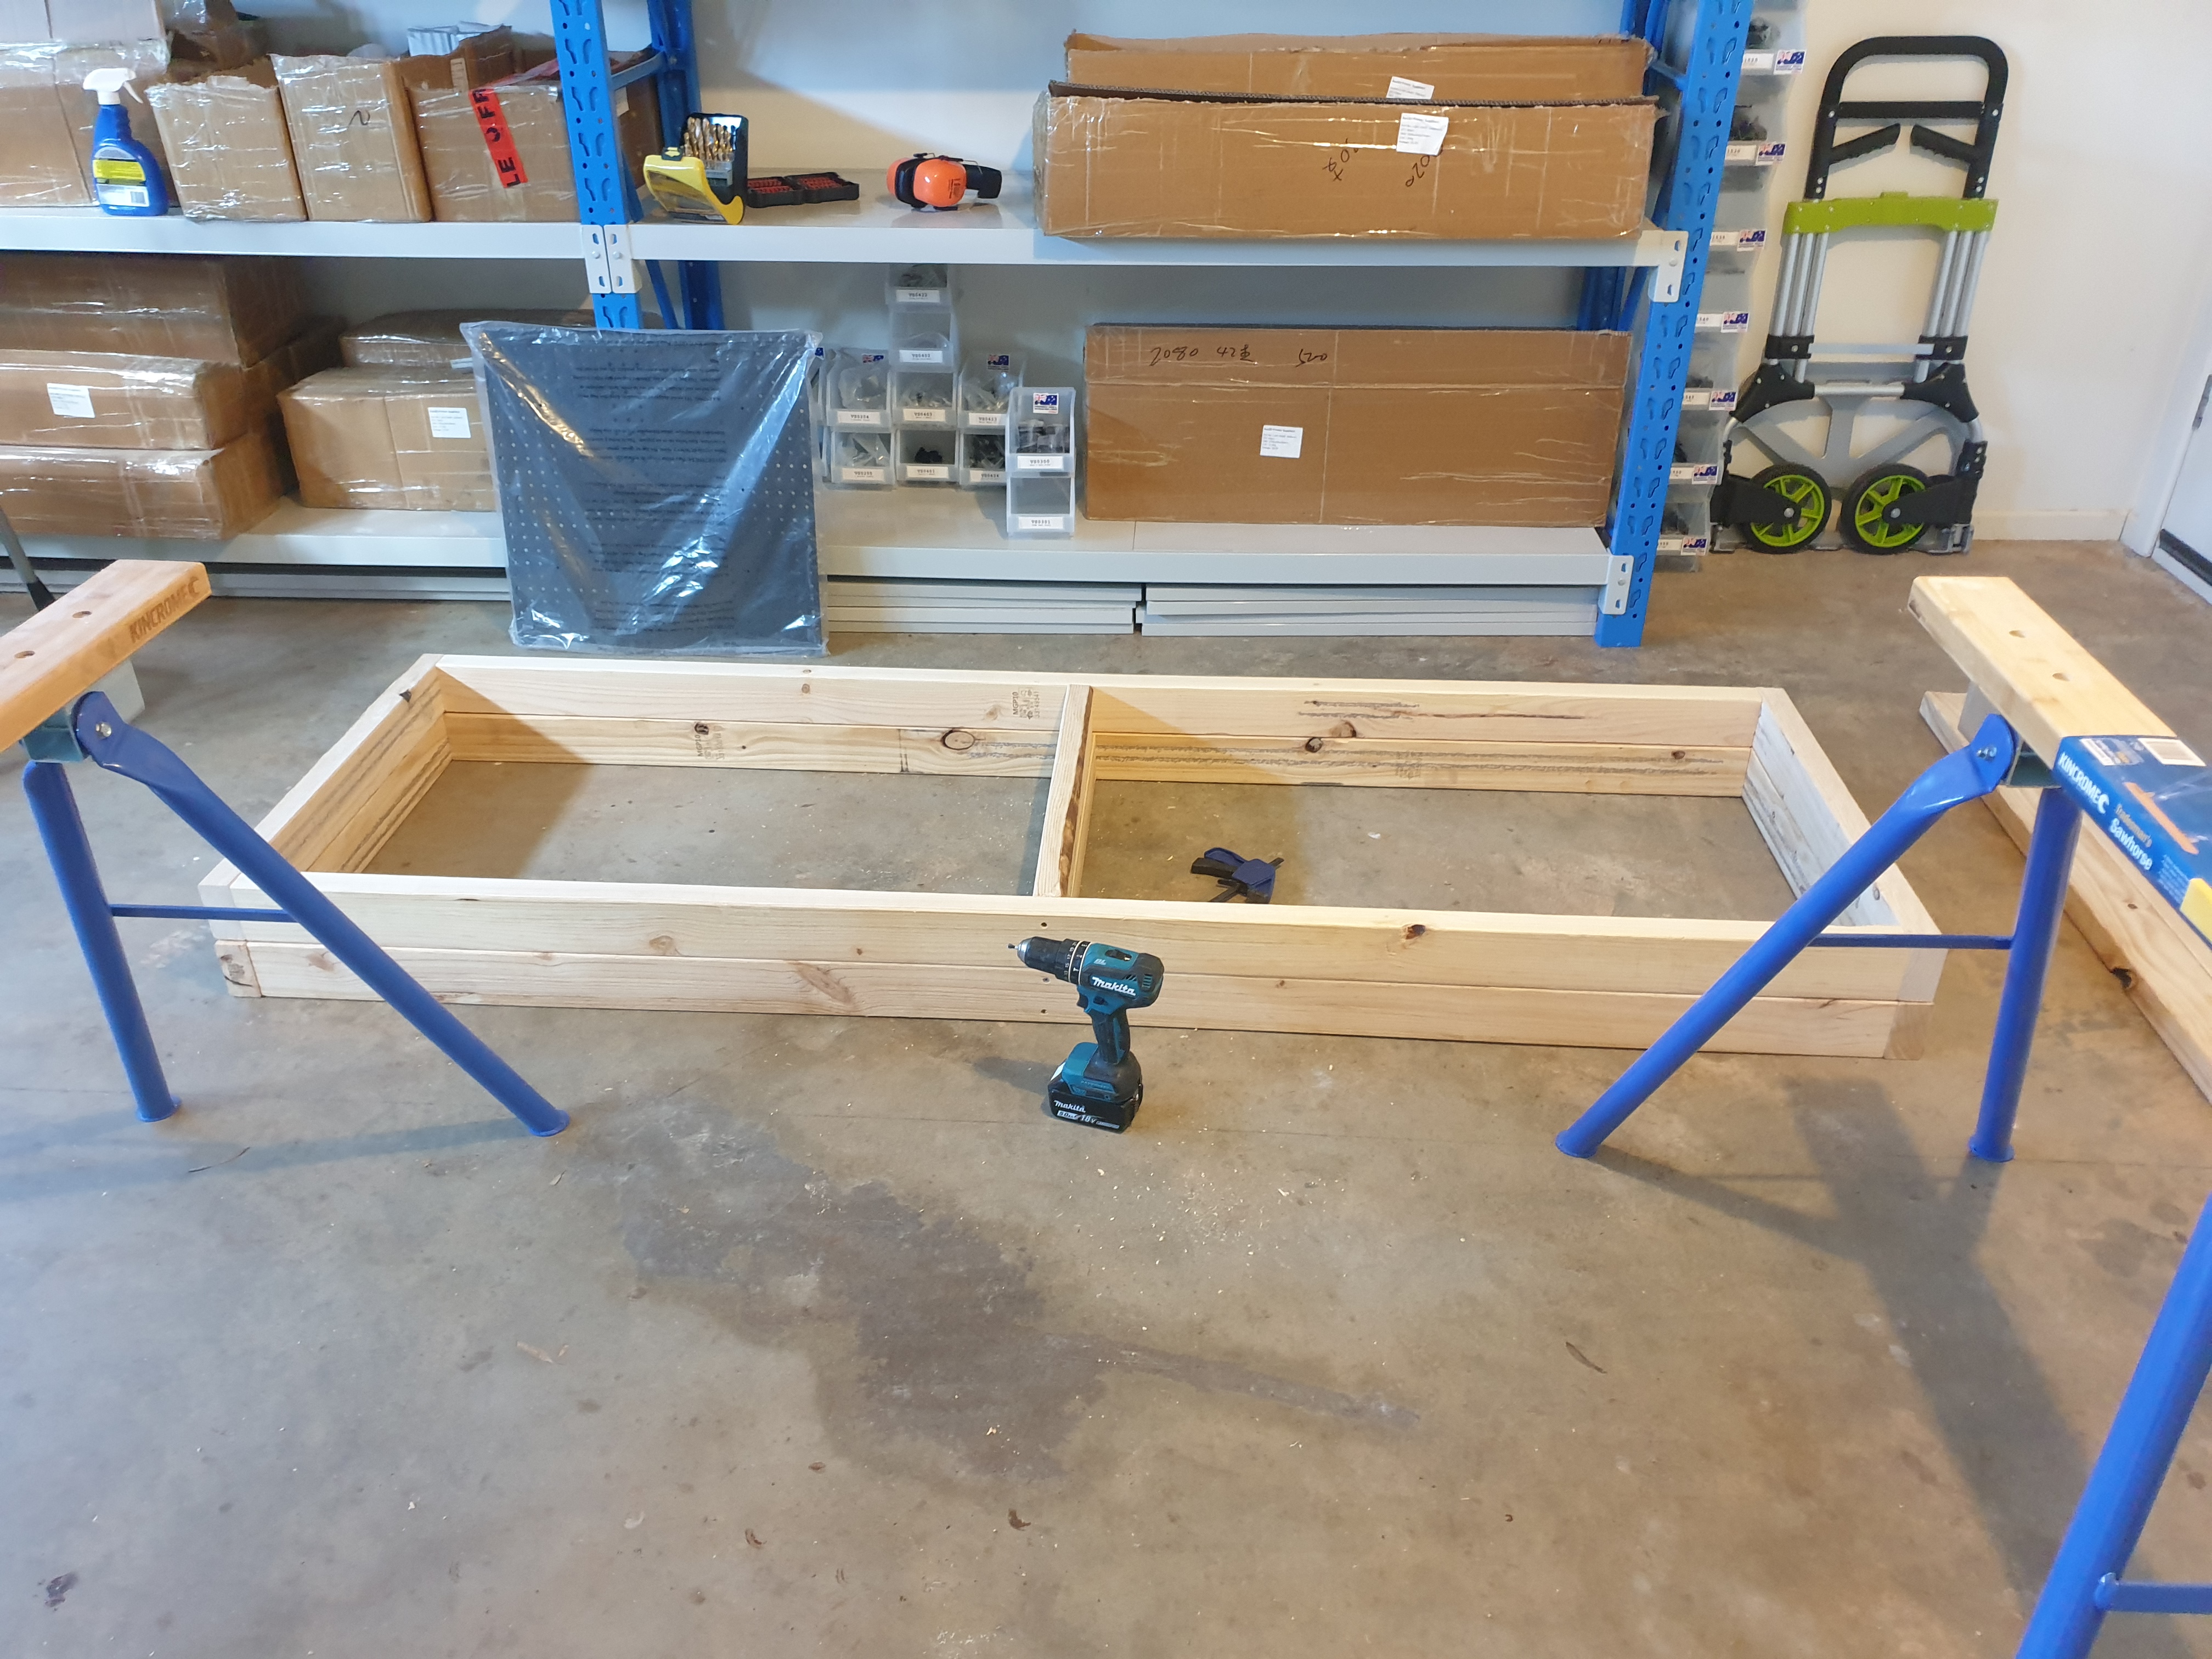
Test layout for the first box element.

First box element all screwed together! 2 screws to fix each end. The screws going into the endgrain isn’t going to be the strongest joint in the world, but with decent length screws I had no problem. I do recommend drilling a pilot hole for each screw, though!
The second box assembled! Both align reasonably well, there’s 1-2 millimetres difference length-wise that seemed to be caused by a tiny bit of twist in some of the timber, but nothing that should cause any big problems.
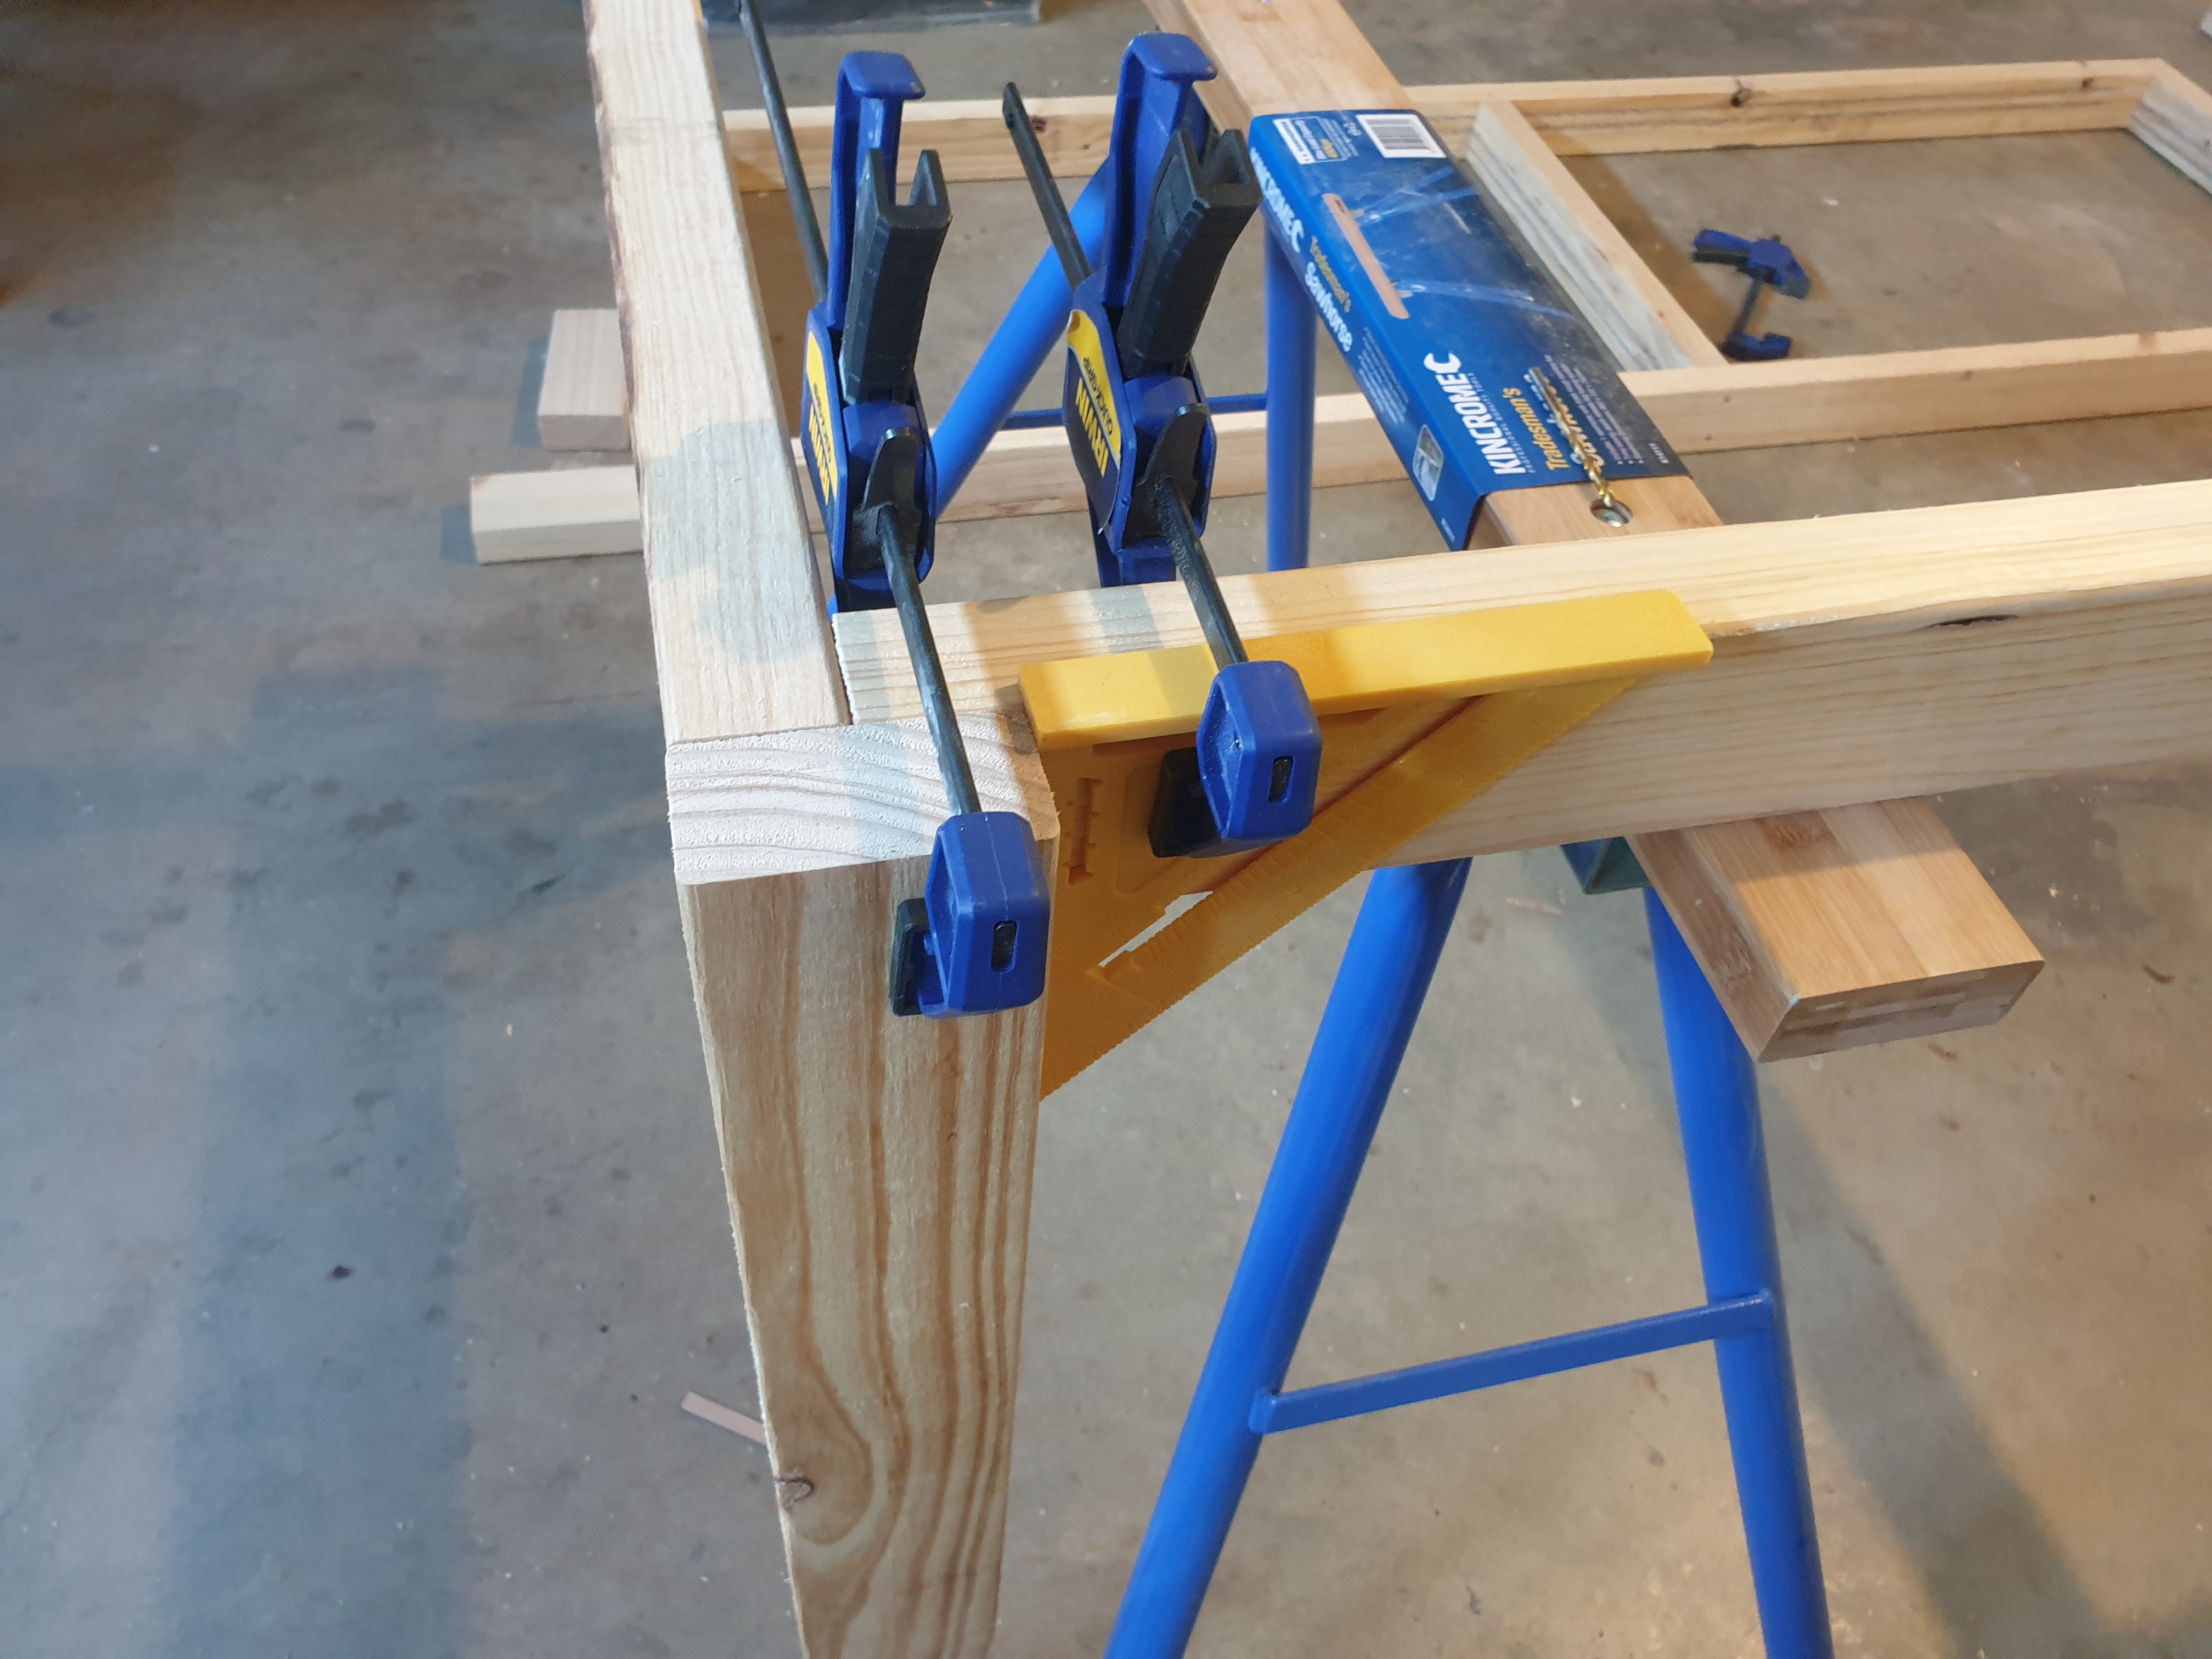
First leg is clamped and aligned, ready to be screwed in place.
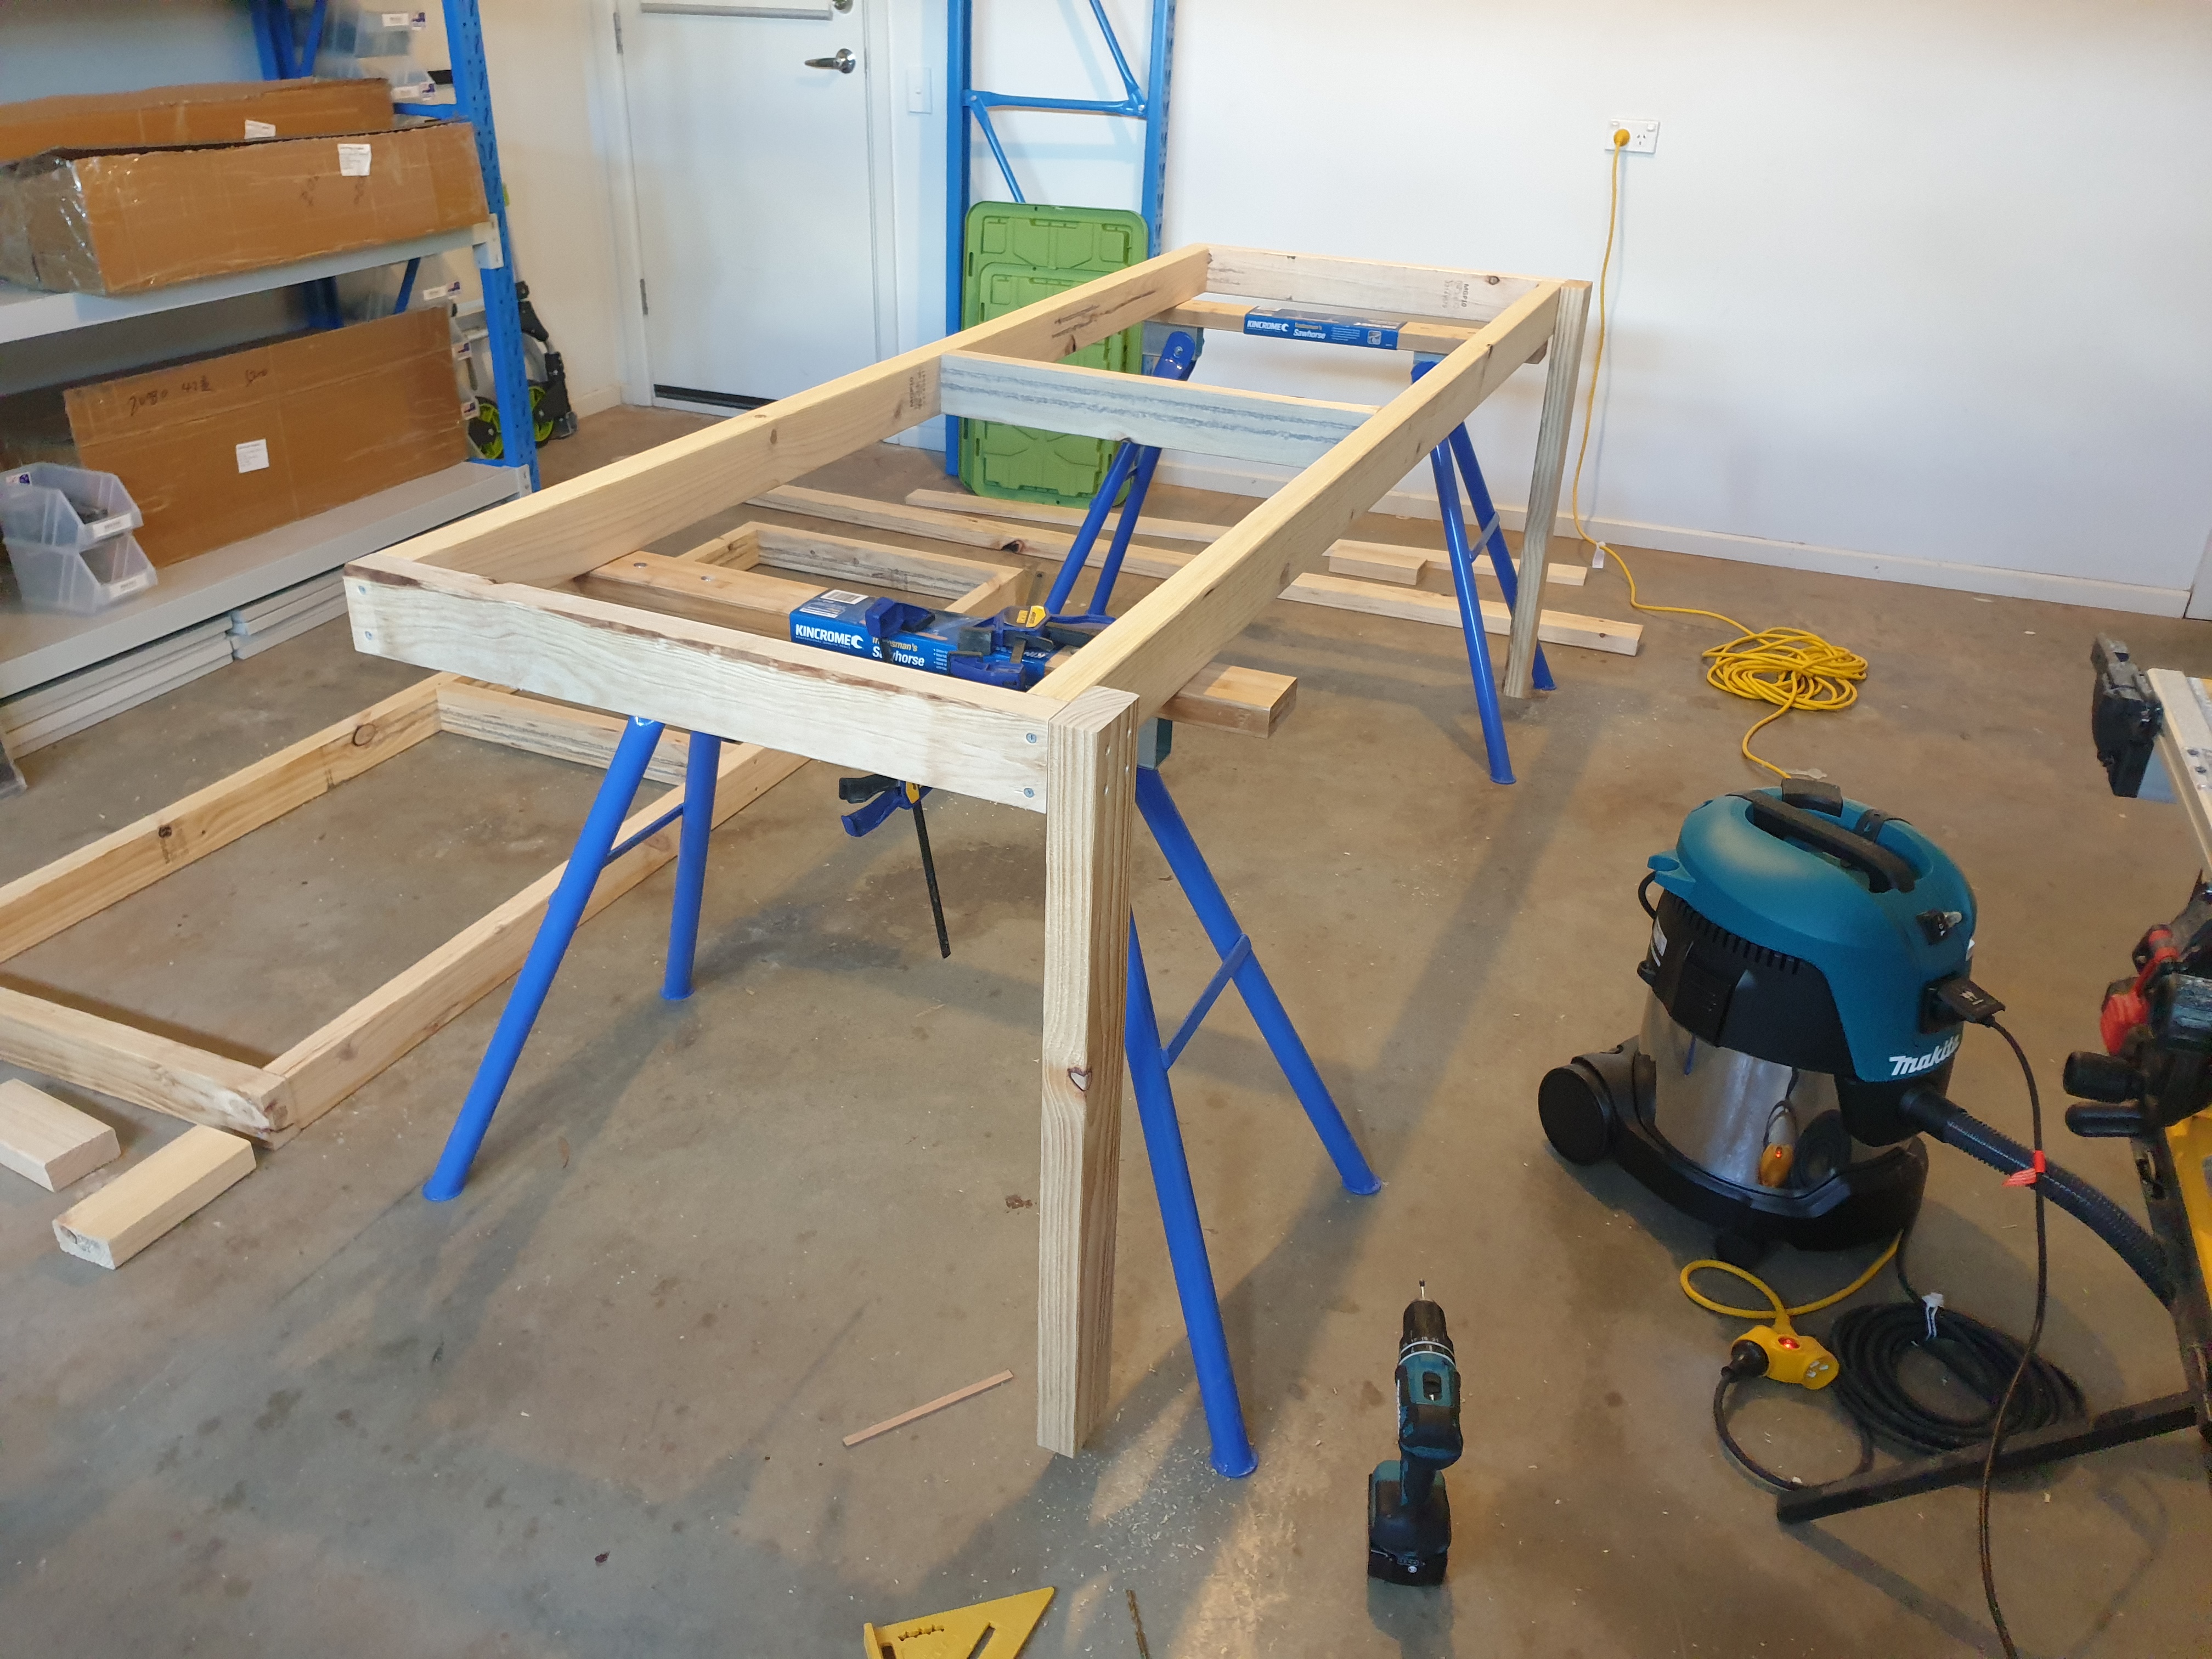
Leg secured with 4 screws. Note the position of the existing screws for the box element and avoid running into them.
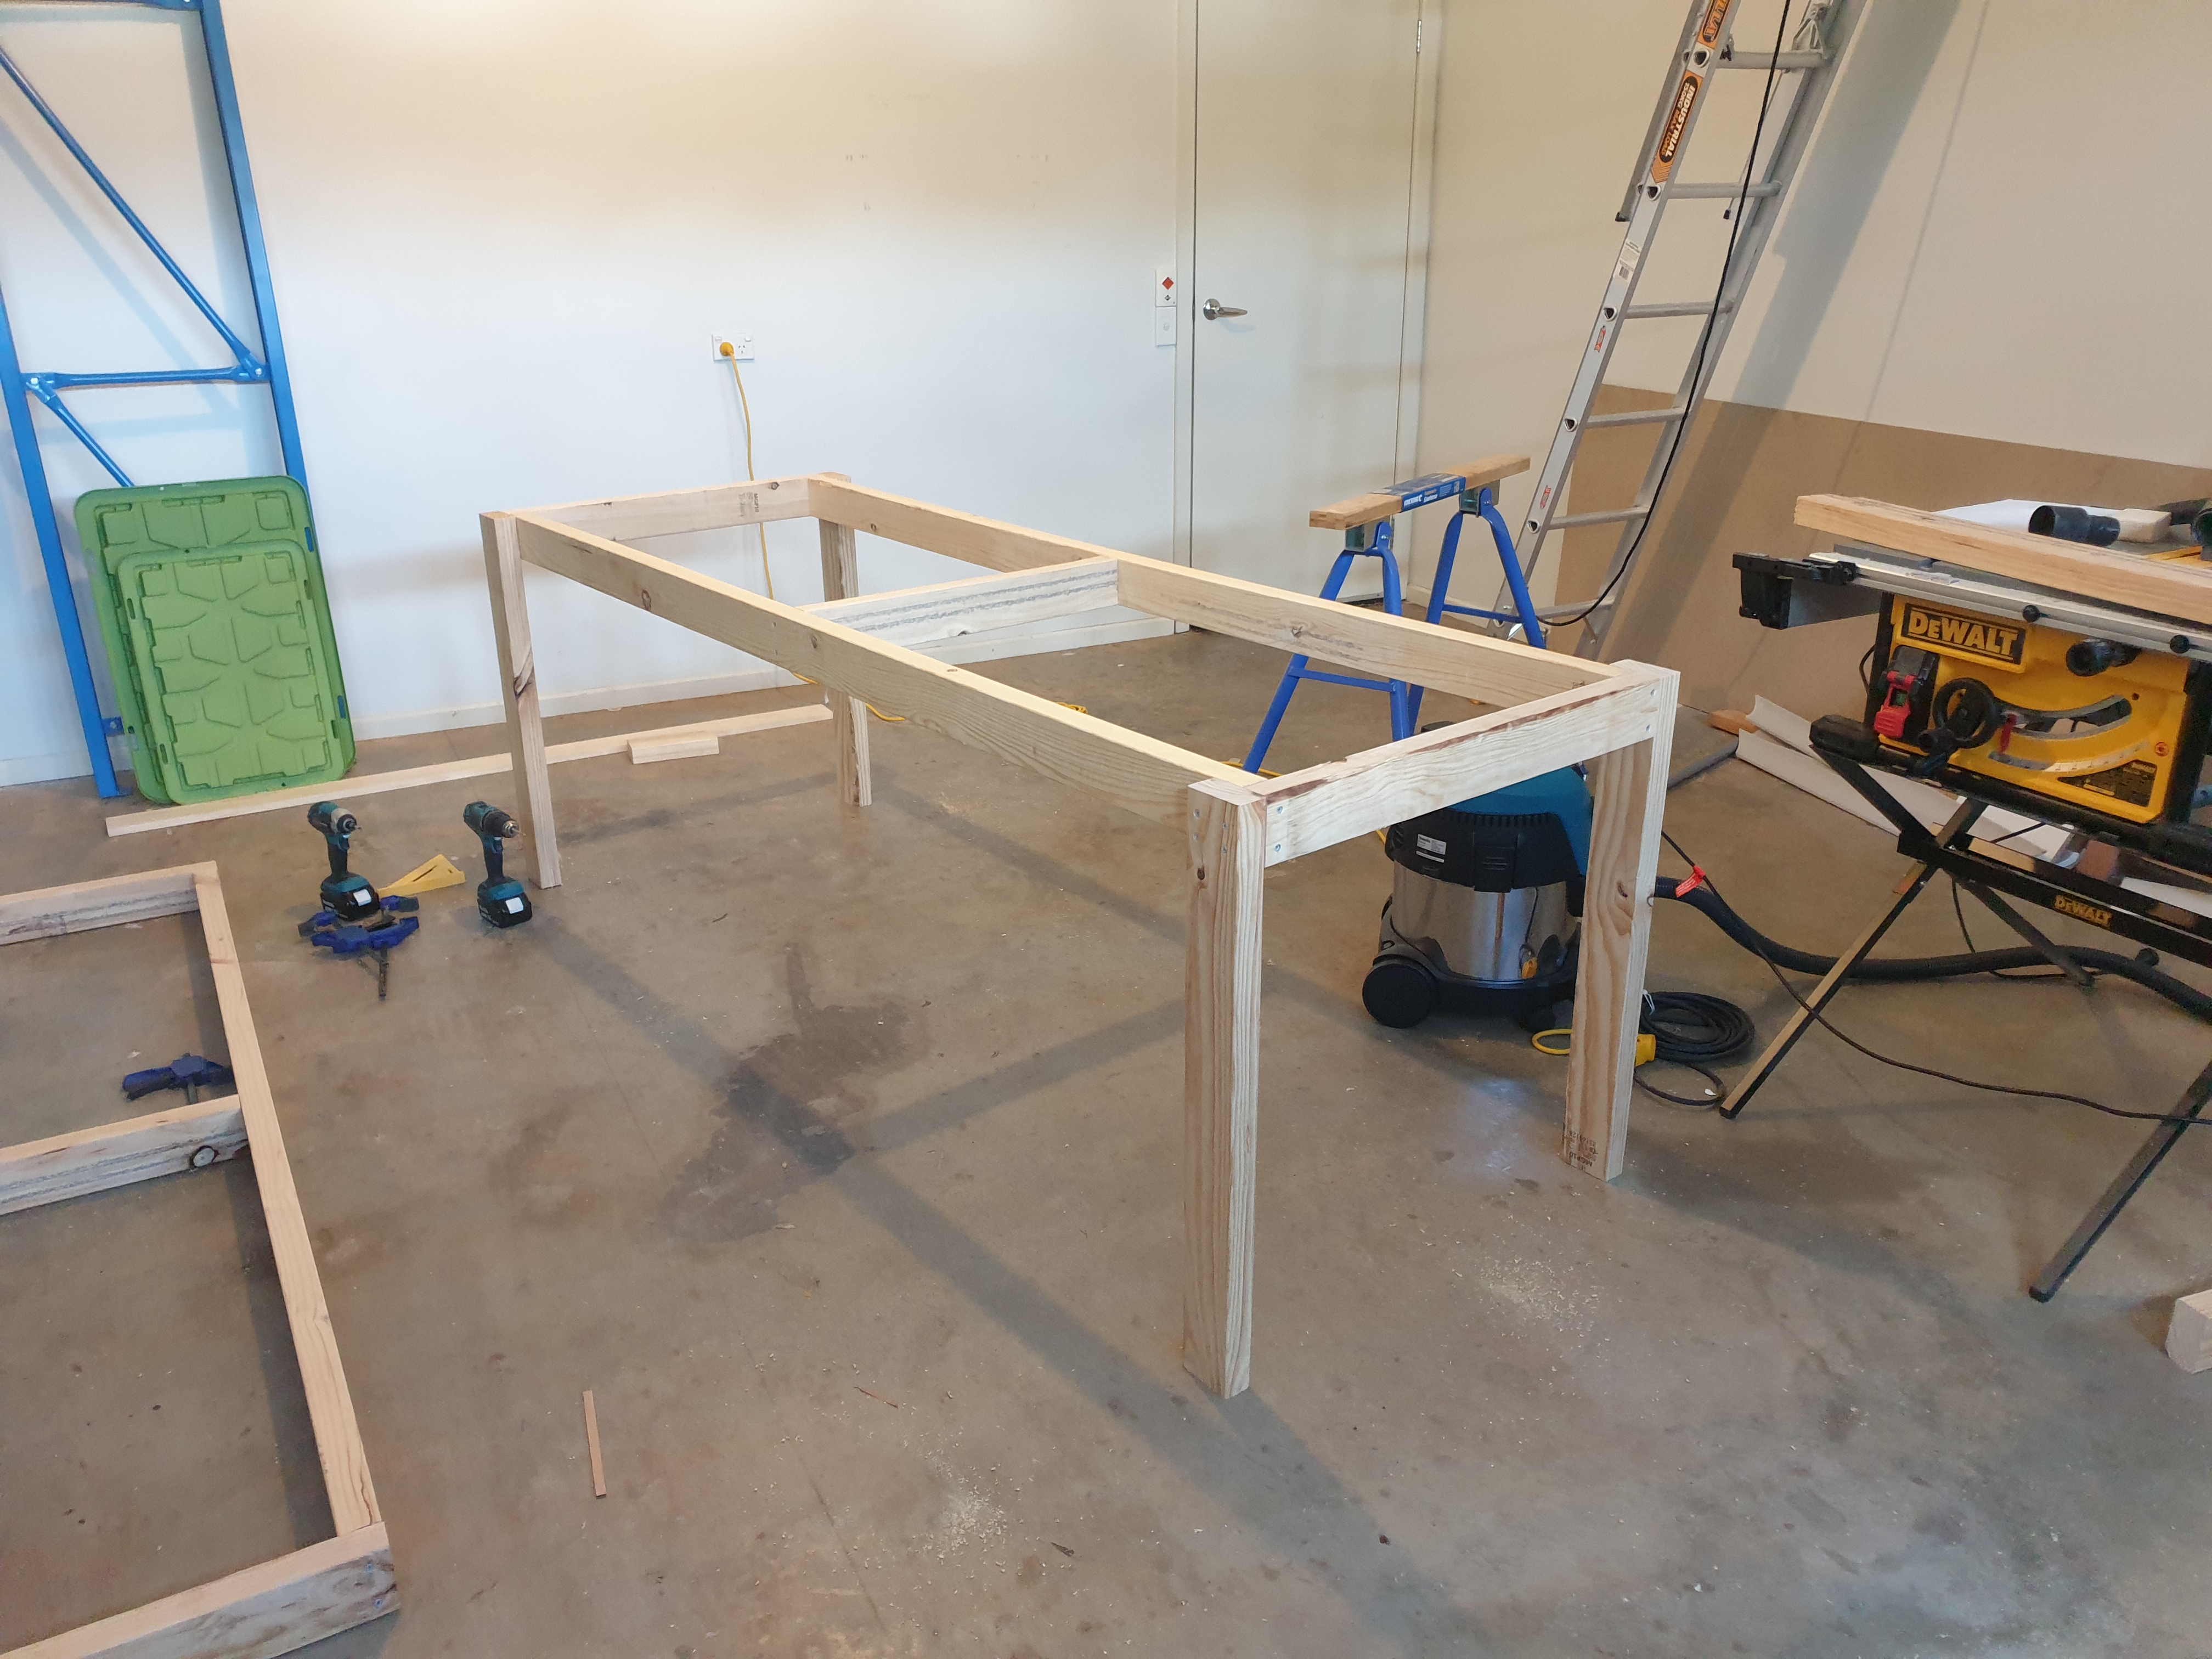
All four legs are attached. Maybe I can stop here?
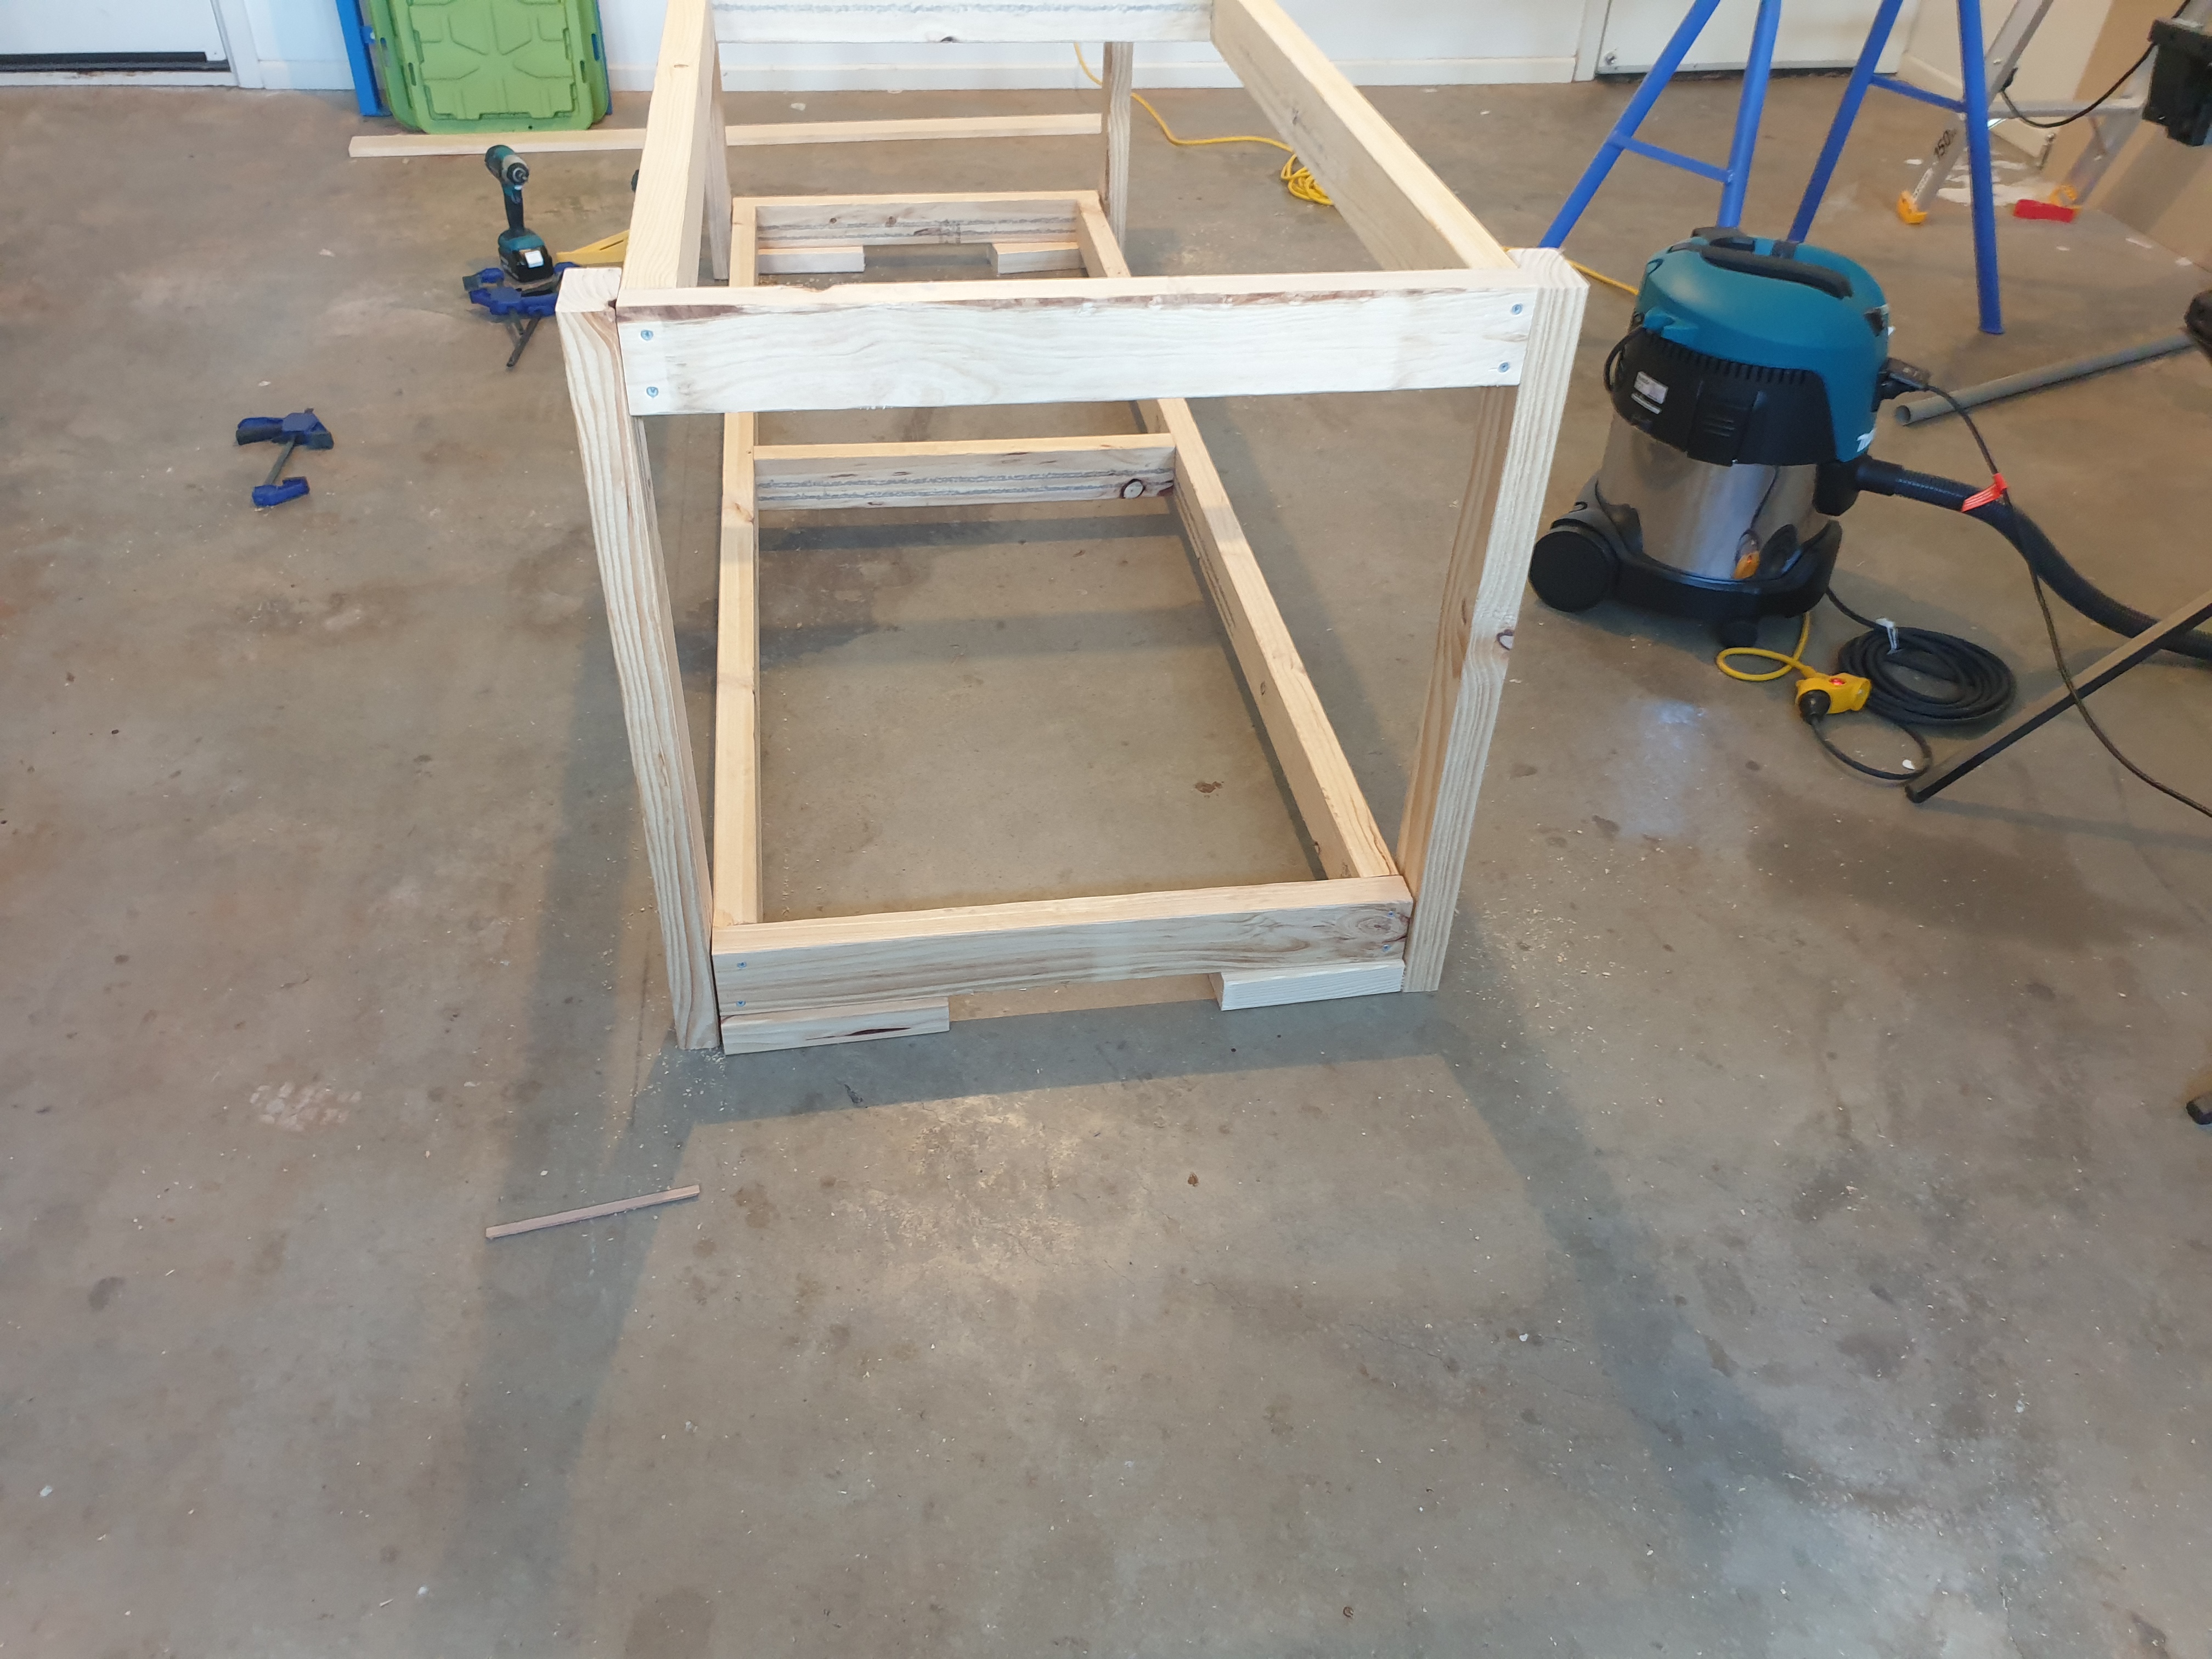

Lower box element is propped up on some spare timber offcuts to get the height right. Then clamped in place ready to be secured with screws. As in attaching the legs to the upper box, each leg gets 4x screws to the lower box.
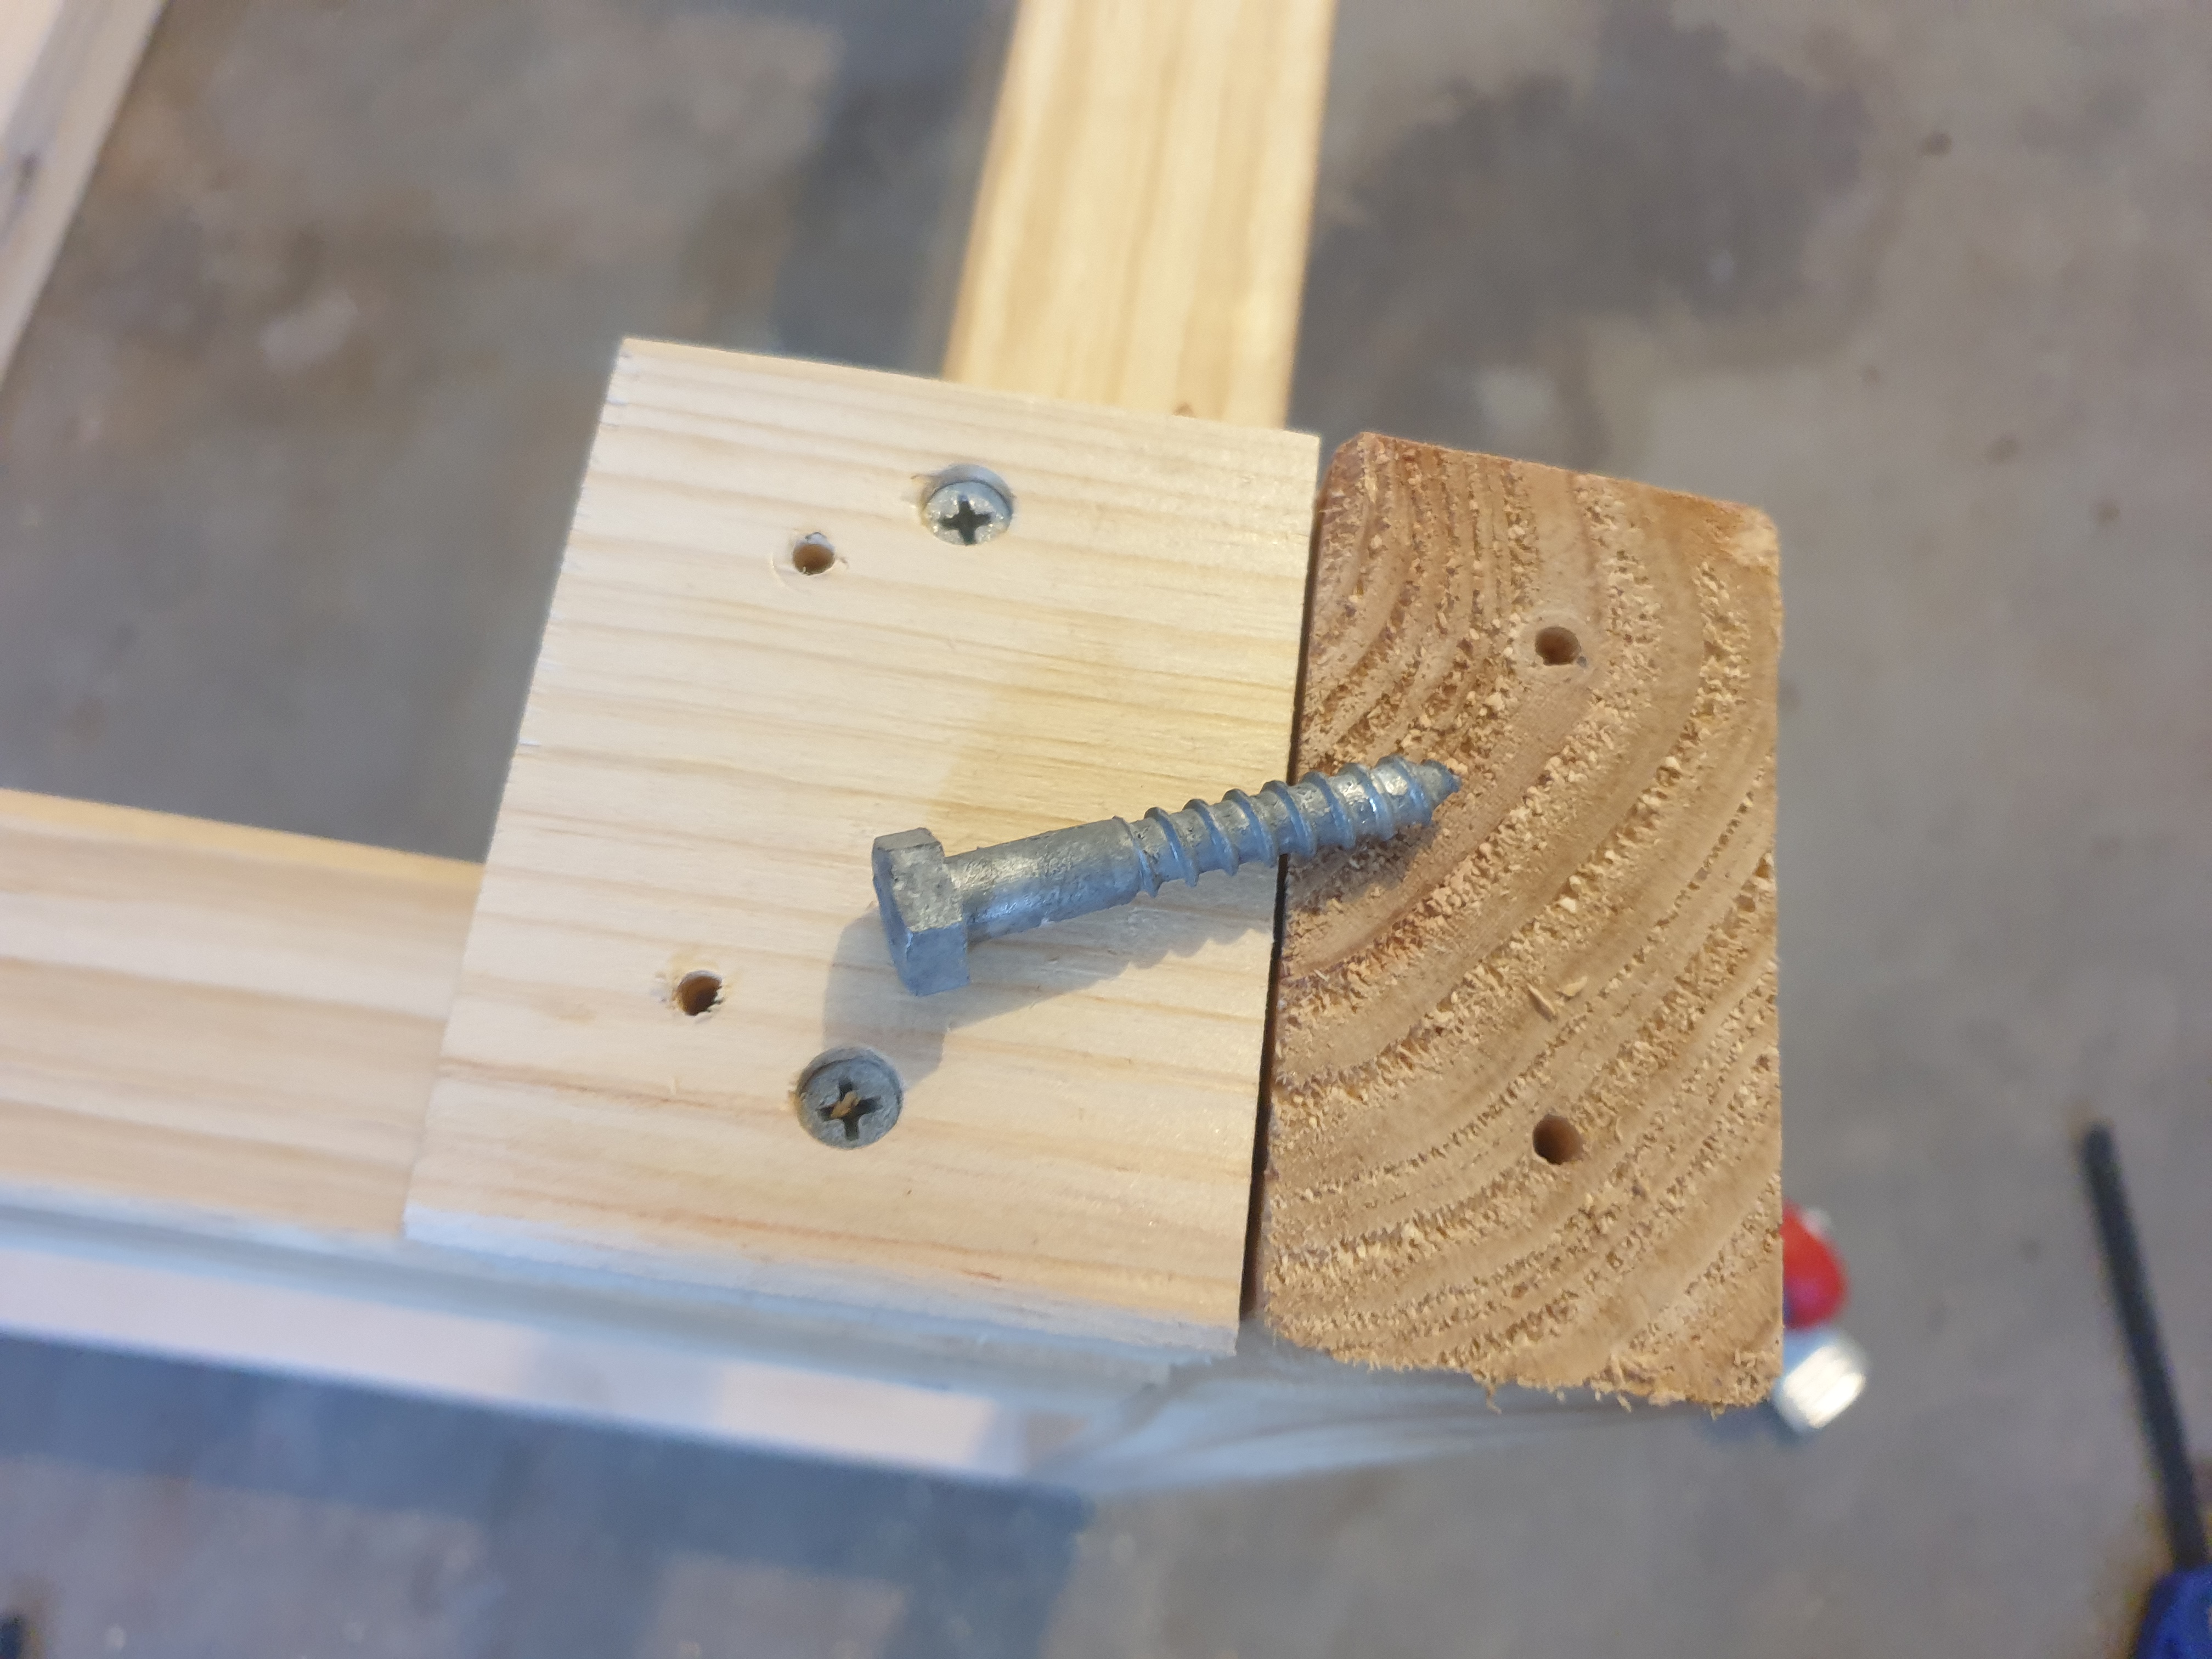
A small block is added to the base of each leg to provide a ‘foot’ big enough for the castor wheel base. Then I held the base in place and marked and drilled pilot holes for the 4x lag screws. Very important to drill pilot holes for these; otherwise, the large screws will cause the timber legs to split easily.
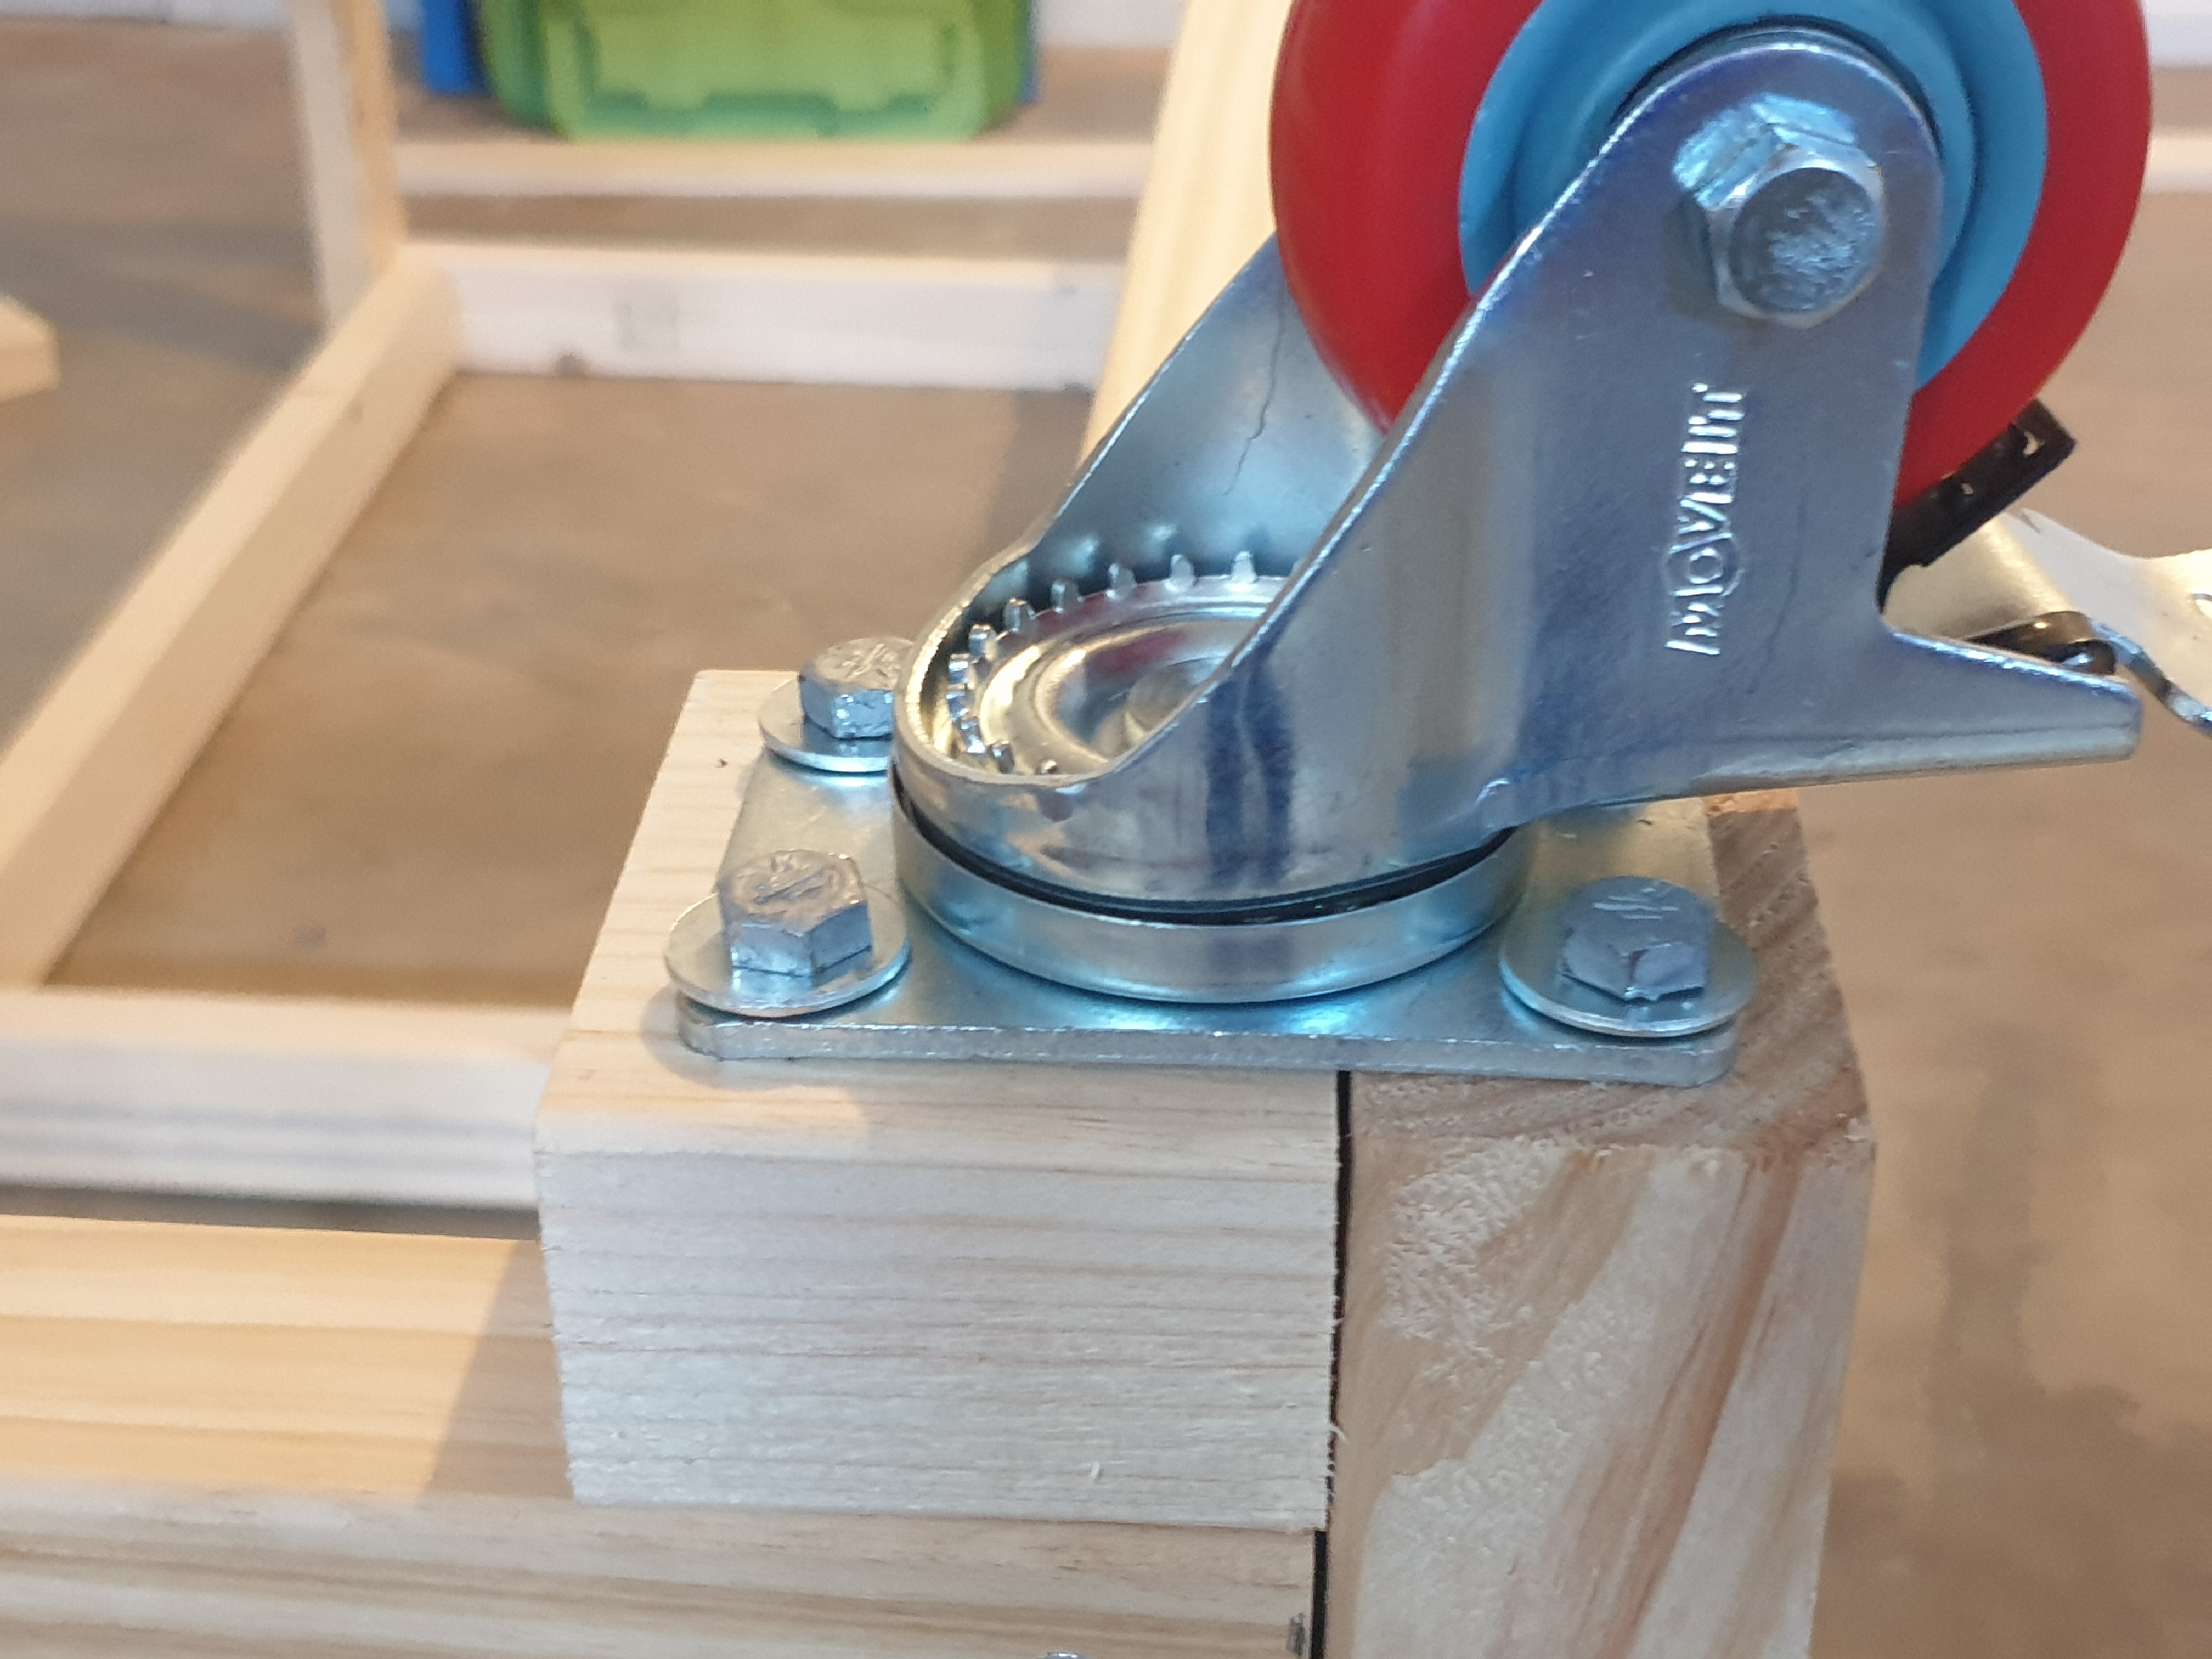
Wheel fixed in place with the lag screws. Feels solid as a rock – I think something else would give long before the wheels break off.
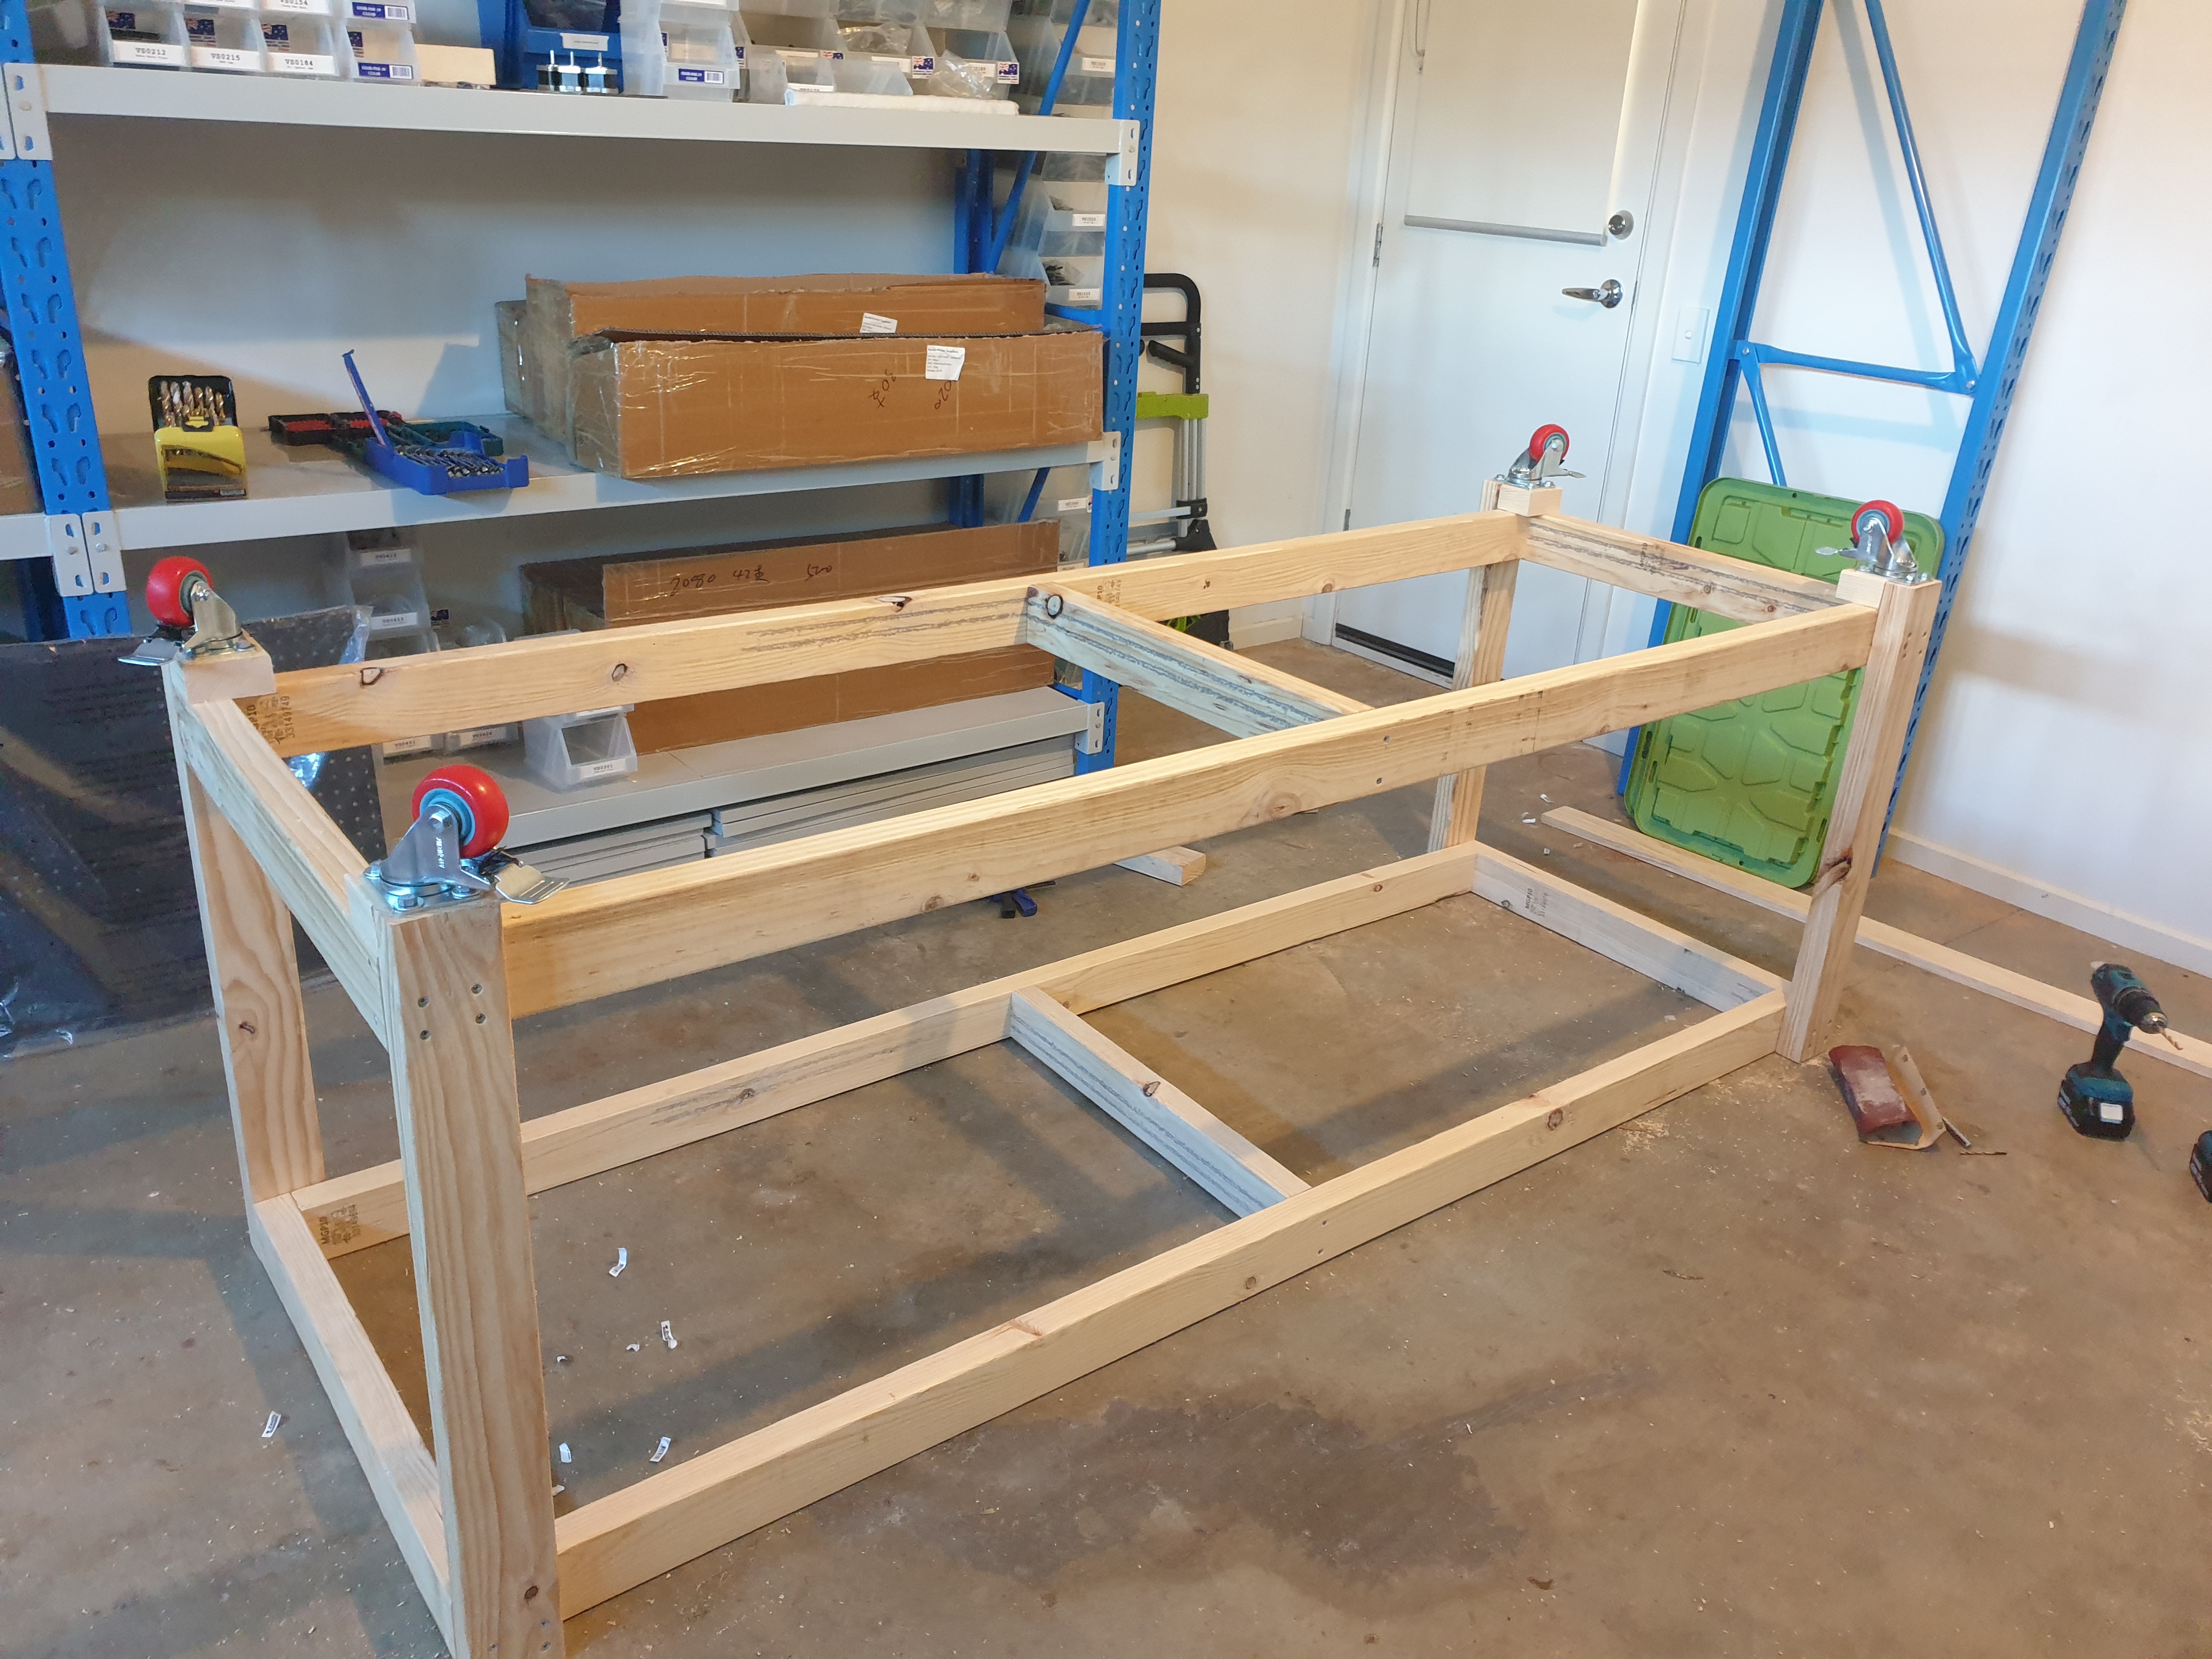
All wheels are attached.
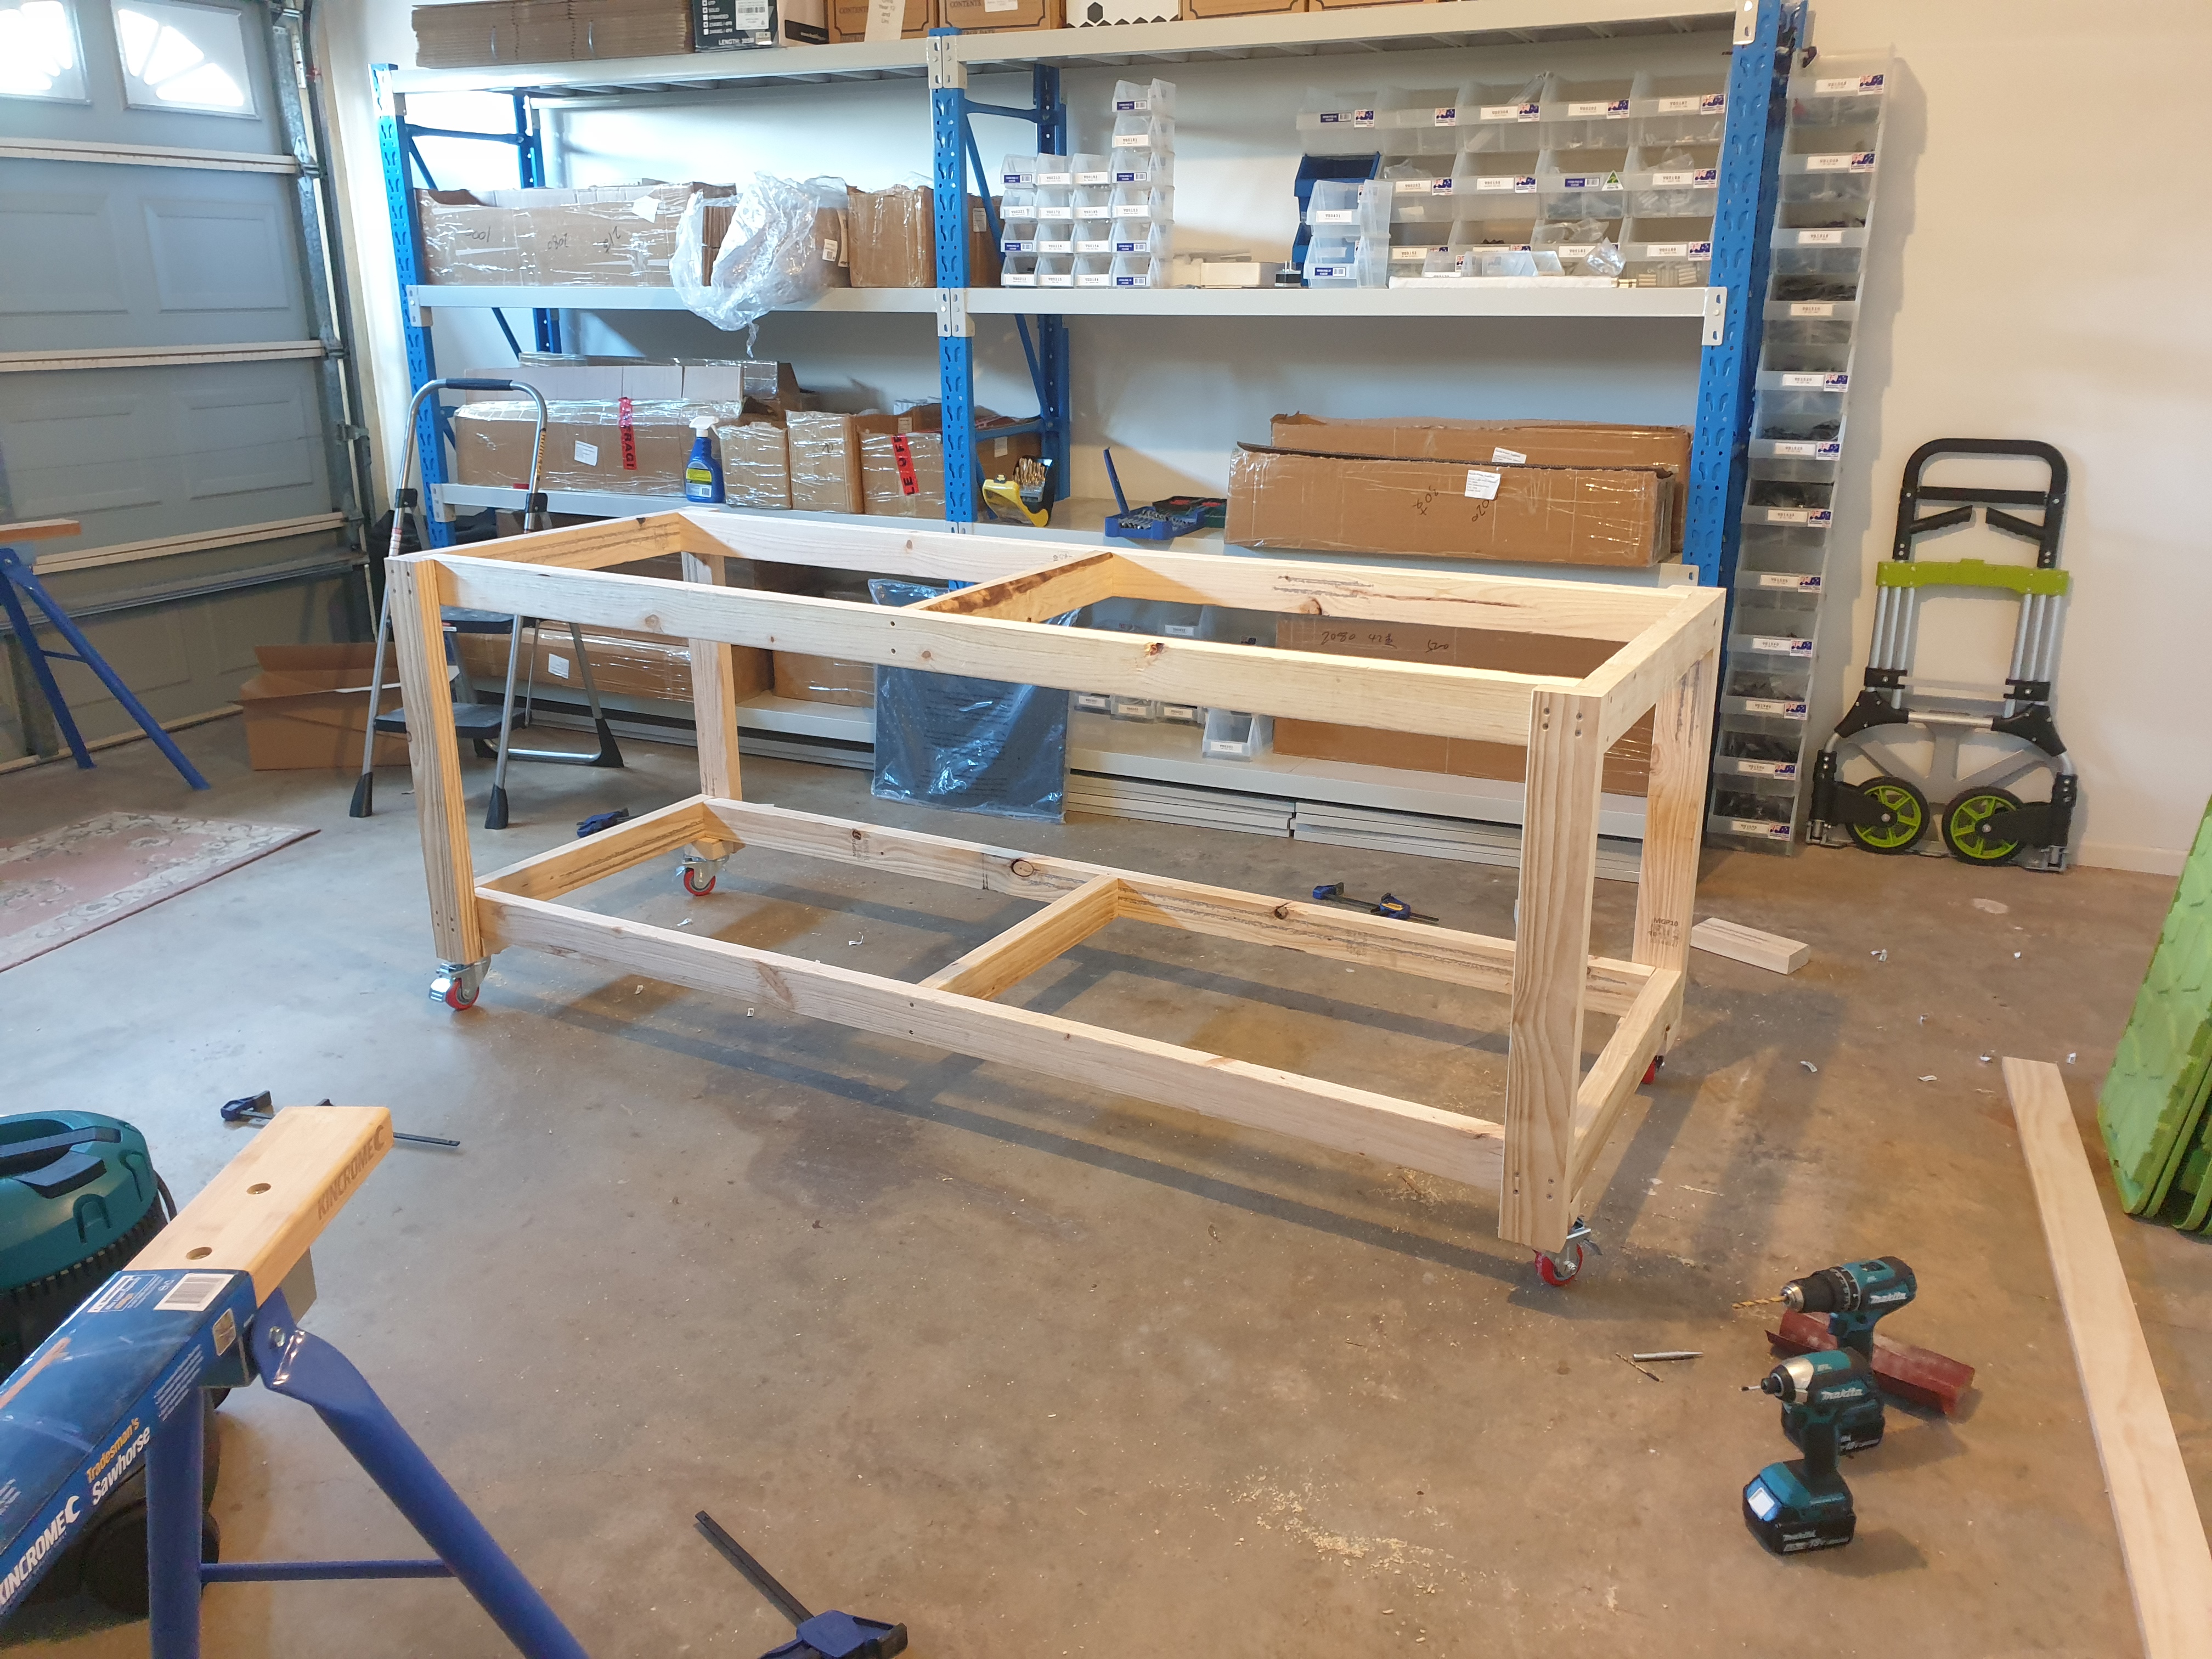
Flipped over and rolling around!
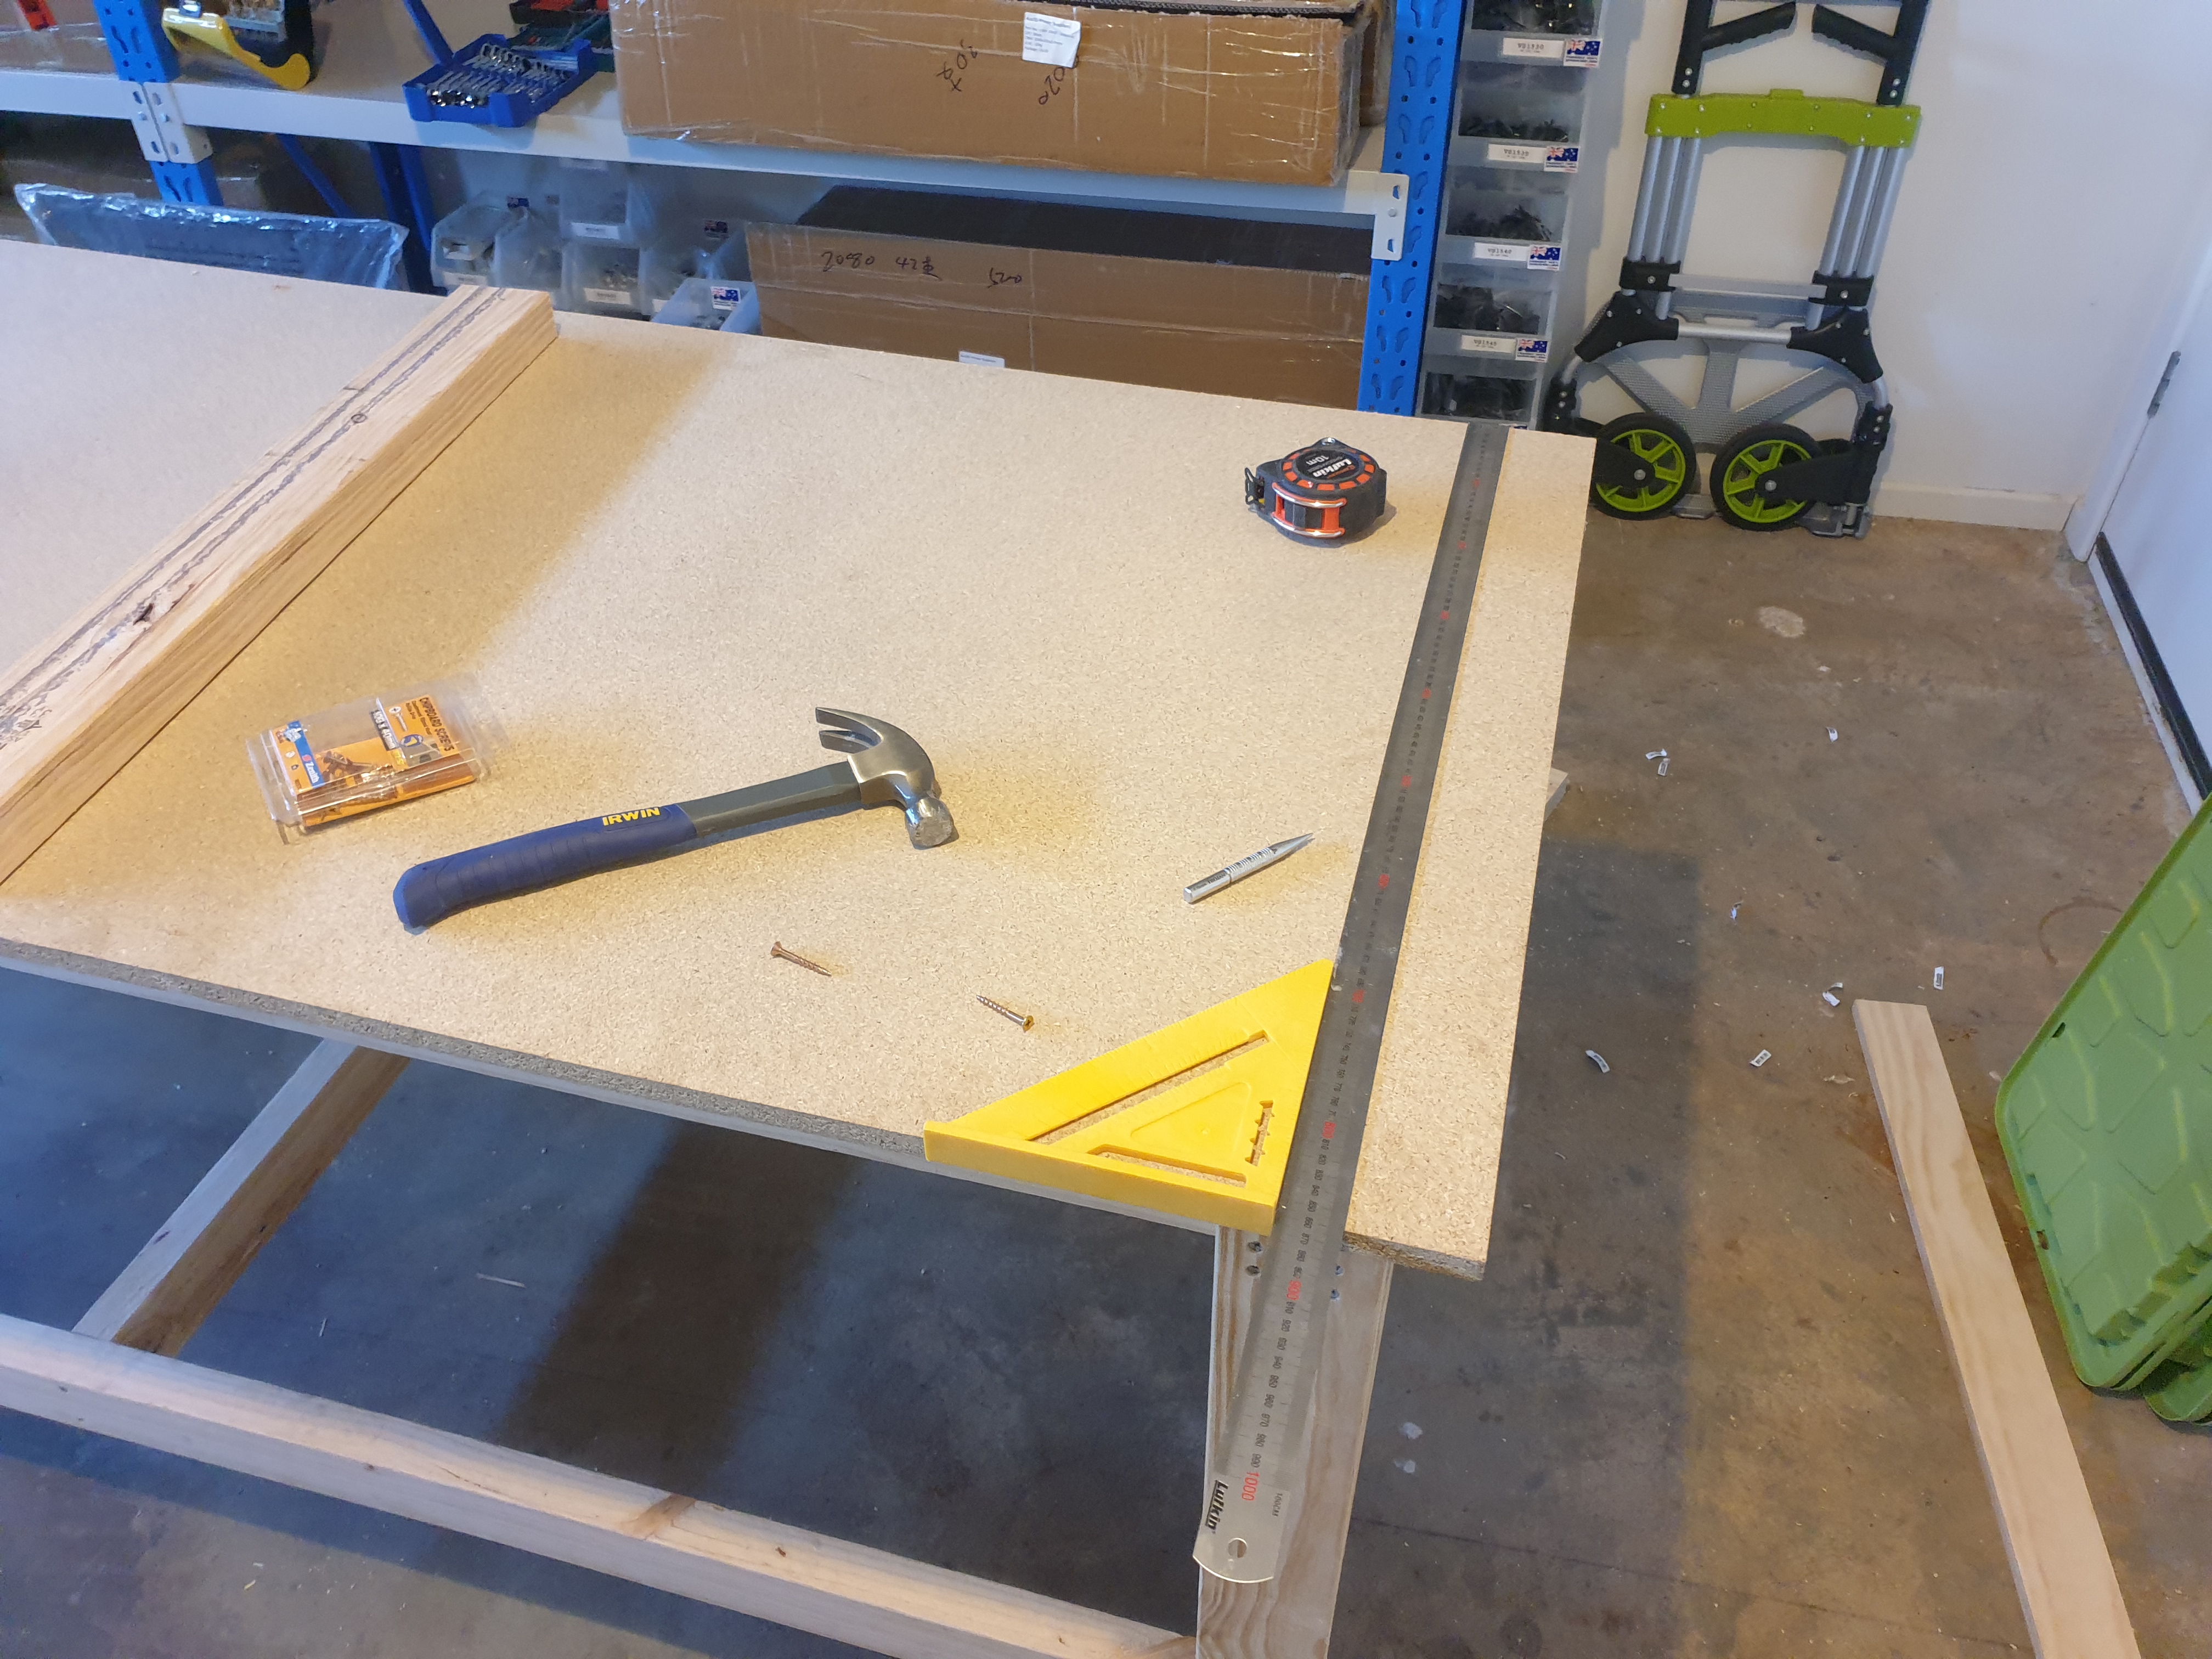
Now let’s secure the top surface. I used self-drilling chipboard screws, but did still drill a small pilot hole for each one.

Though the screws are visible from above, they’re countersunk a bit below the surface and aren’t going to be in the way.
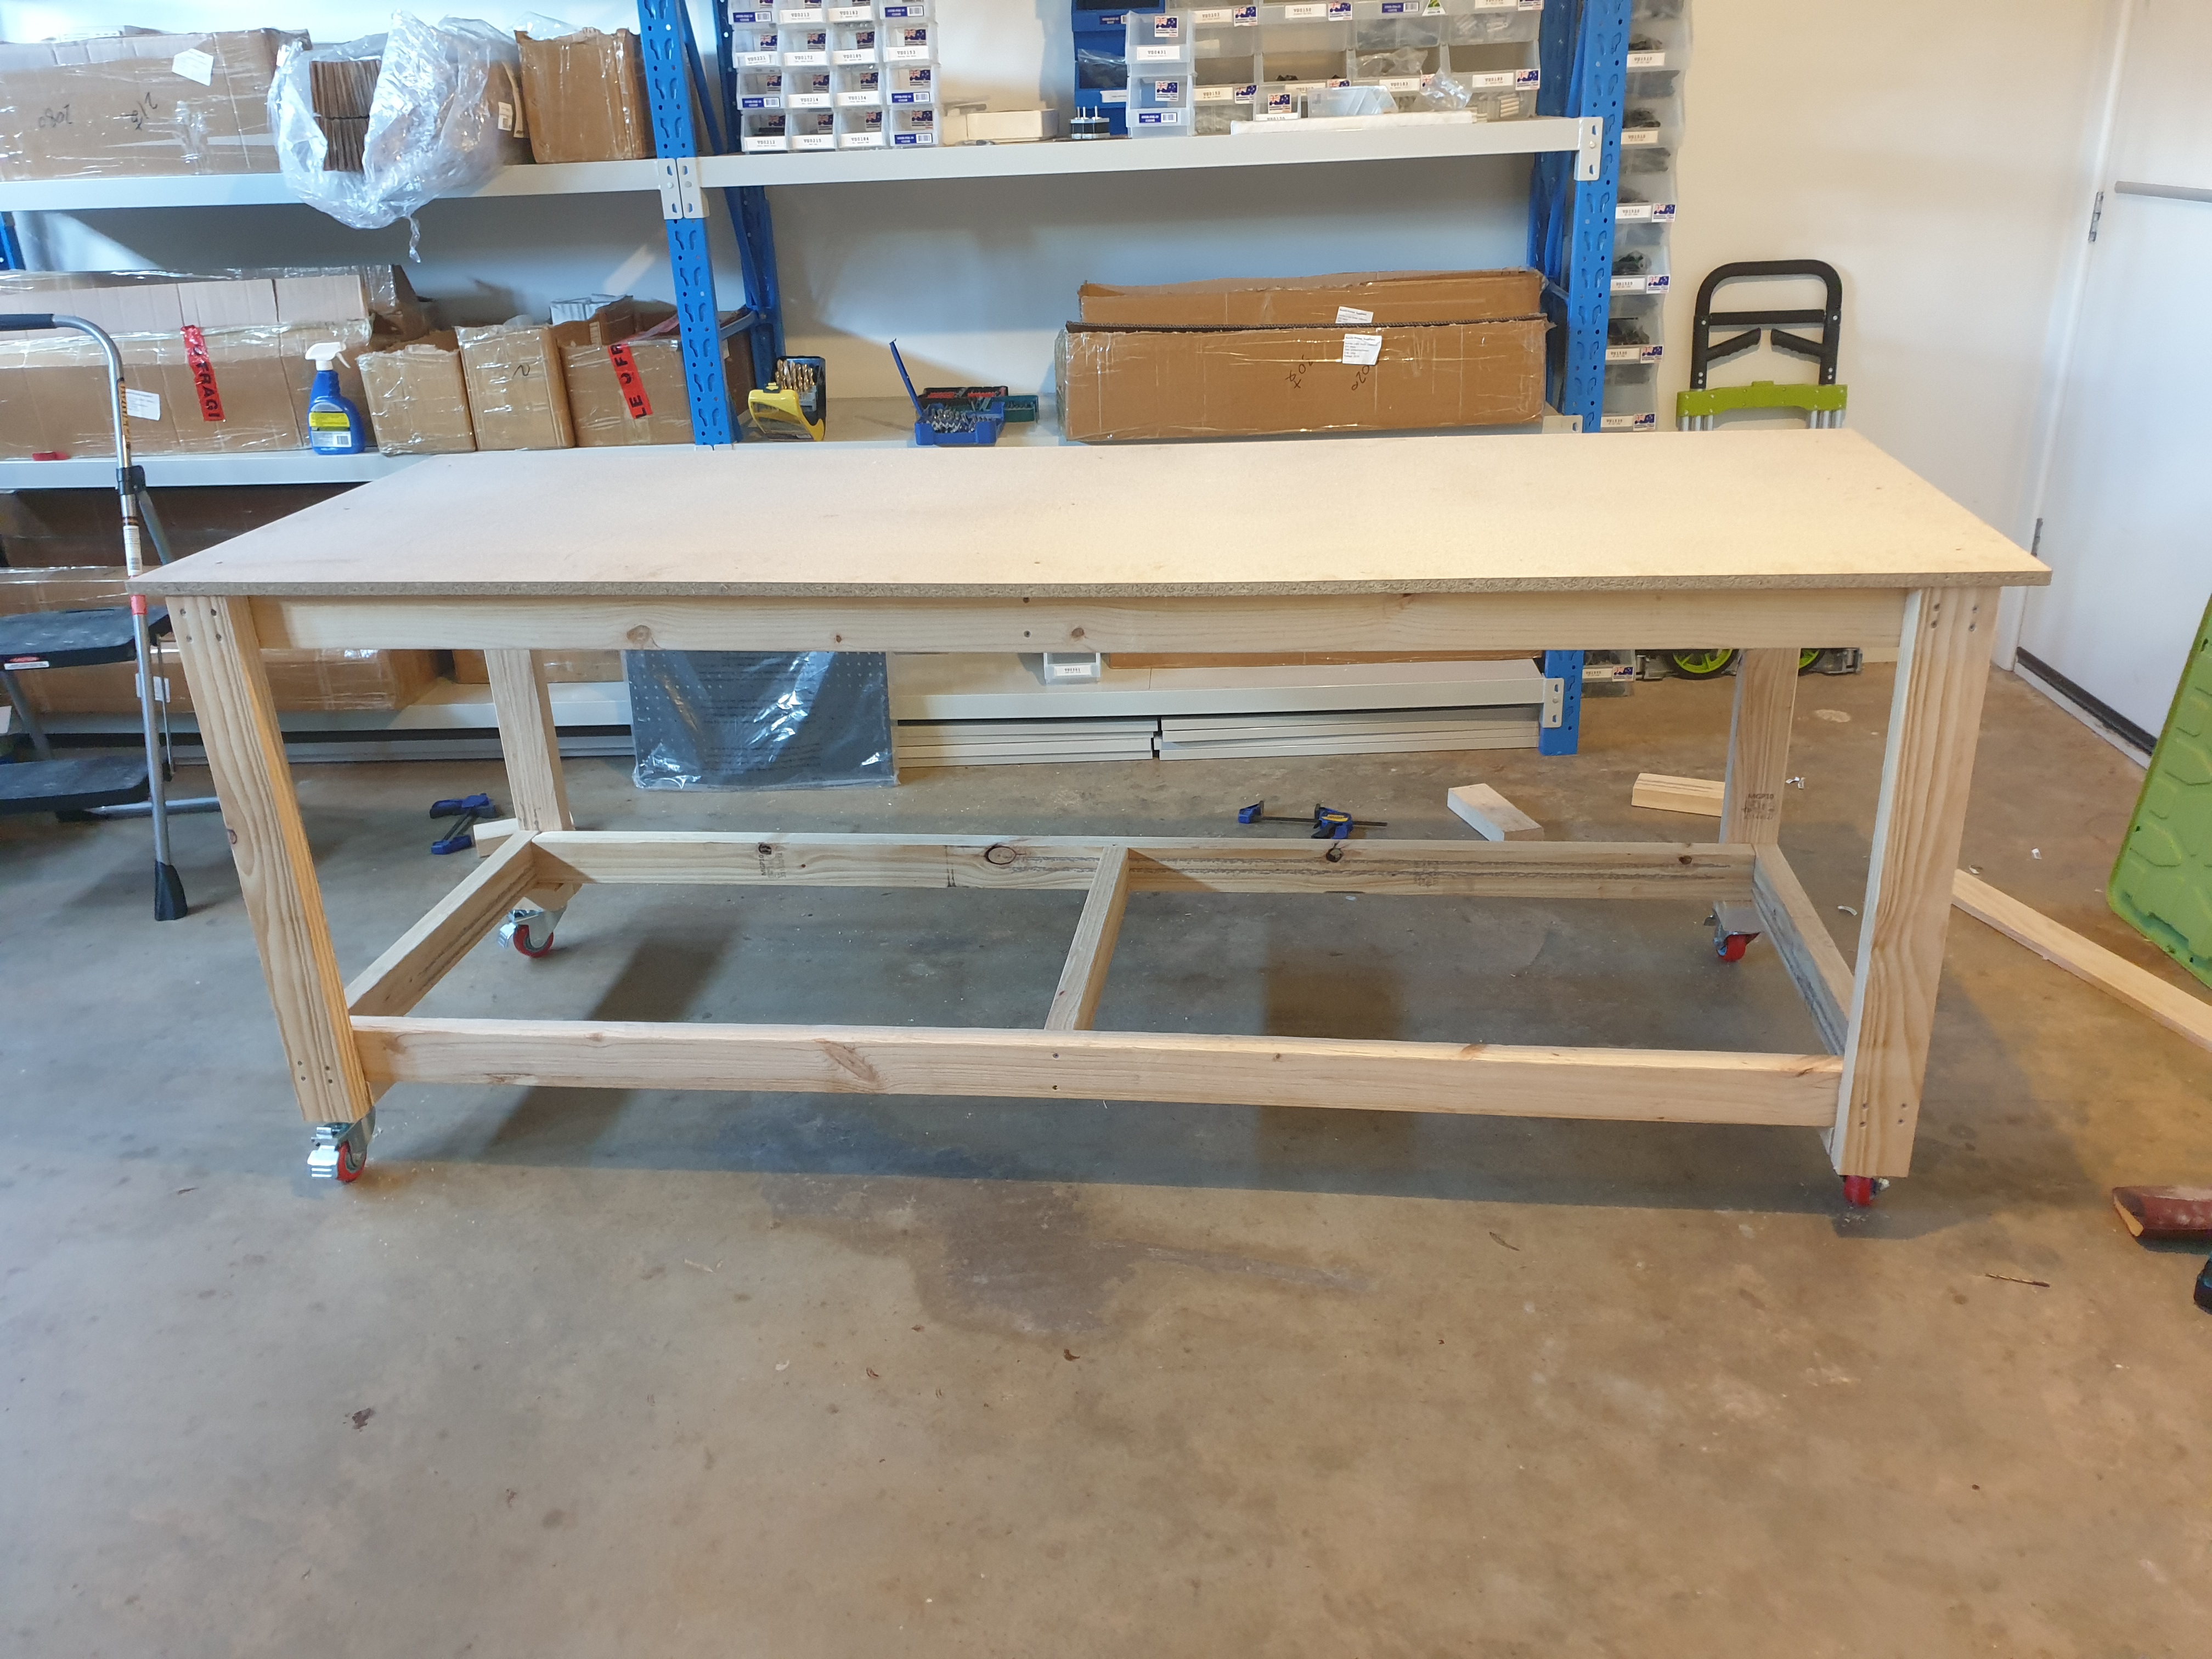
Surface all installed! I don’t have the other bit of MDF for the lower shelf, and the shops are closed for the day now – doh! Will have to grab that next time.
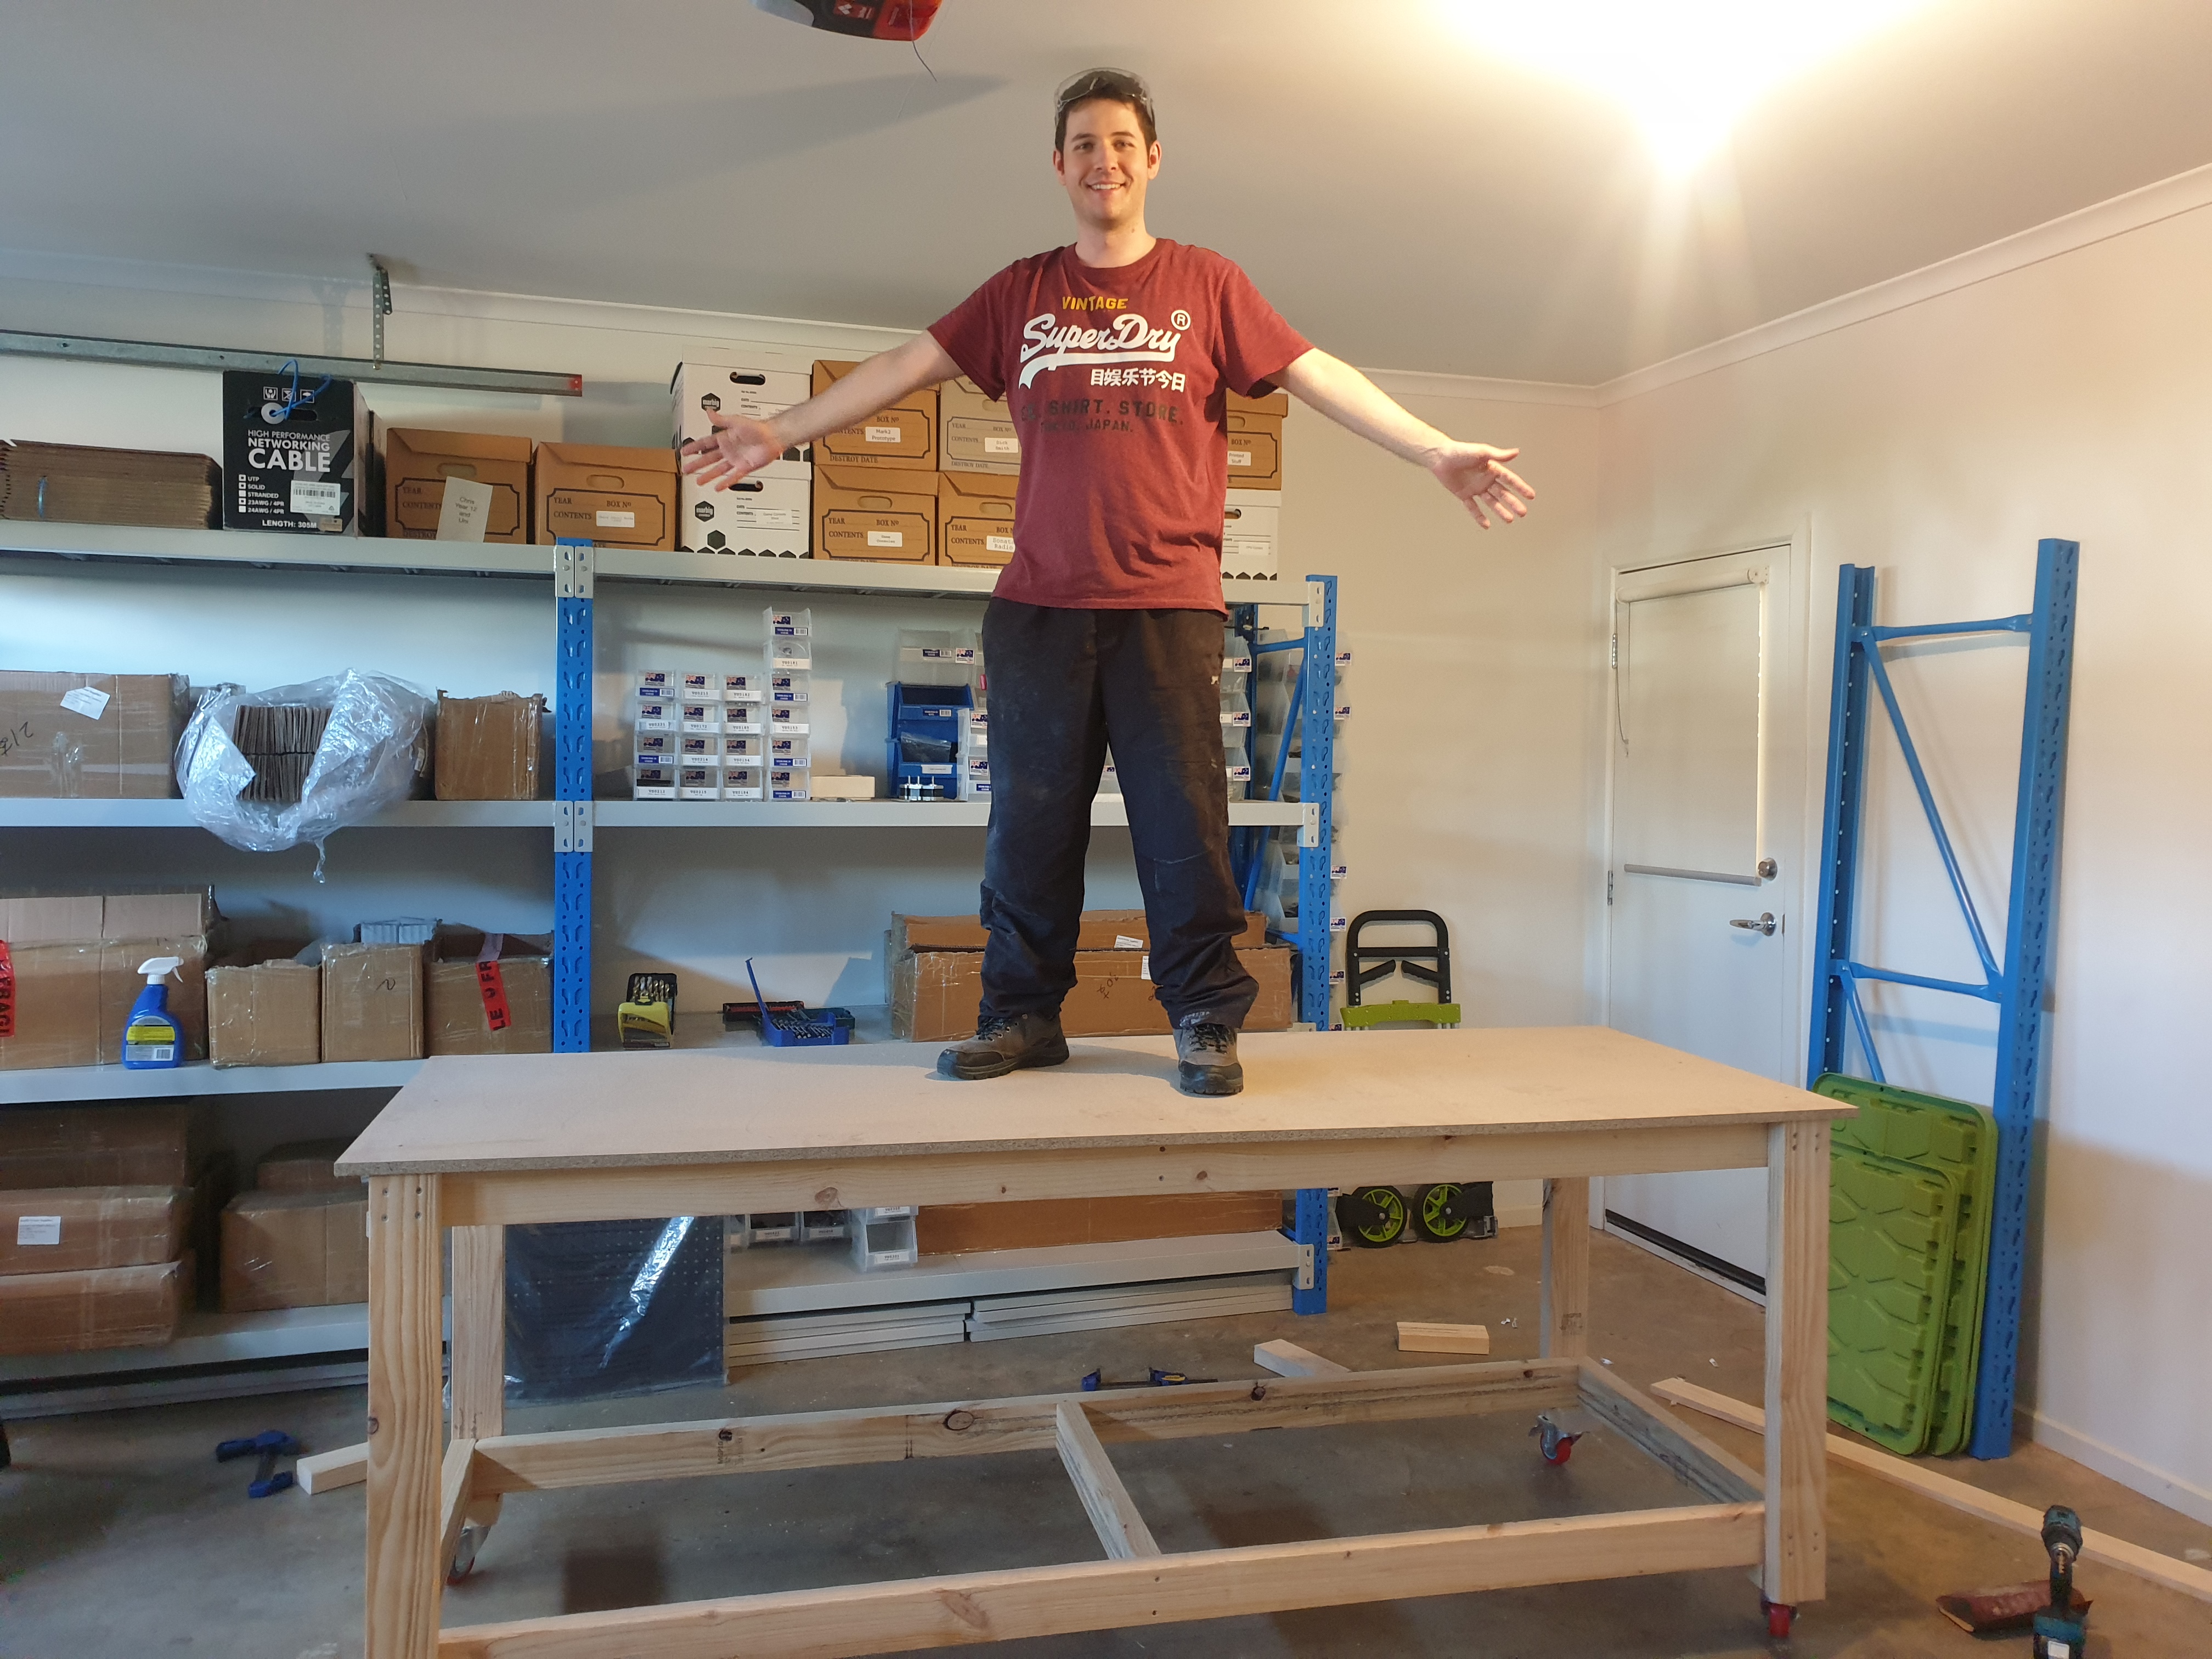
Obligatory stress test (once I remembered to lock the wheels, of course – otherwise, a different kind of stress test).
Not a creak, no motion at all – excellent! Feels very sturdy.
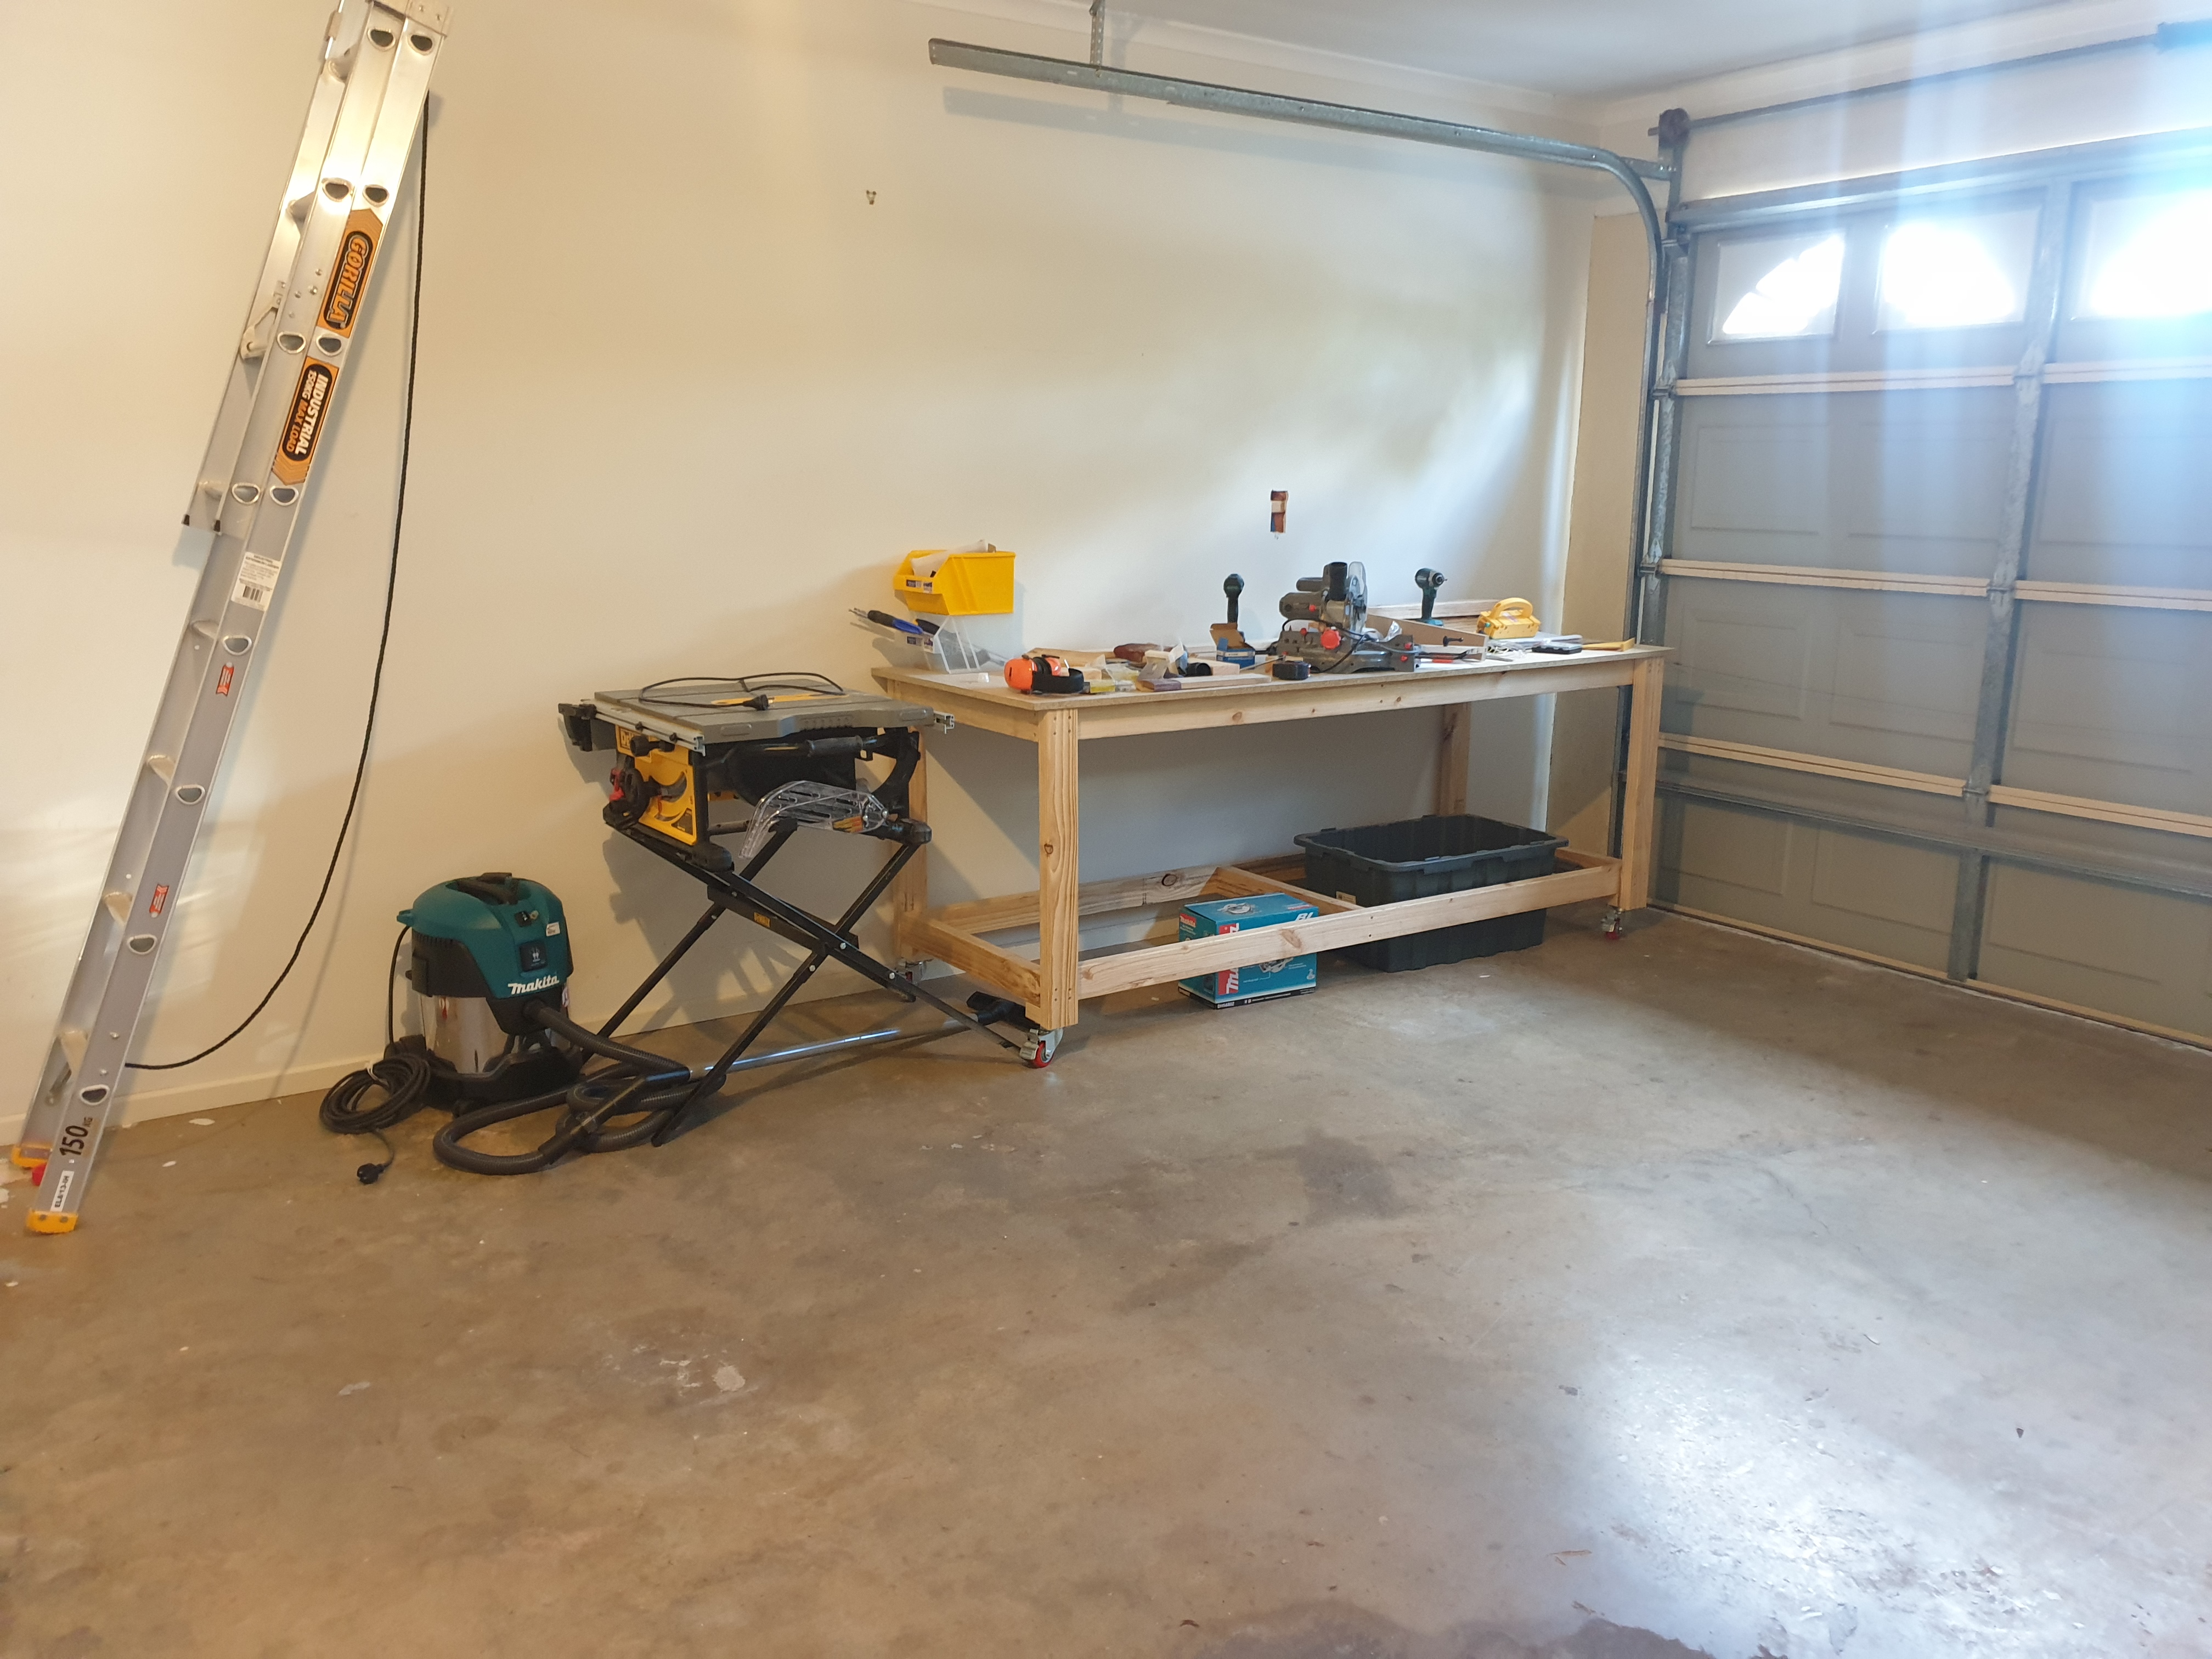
It’s also very easy to move around. I wheeled it over to the wall and started tidying. Somehow tidying led to it being covered in tools – I don’t claim to understand this.
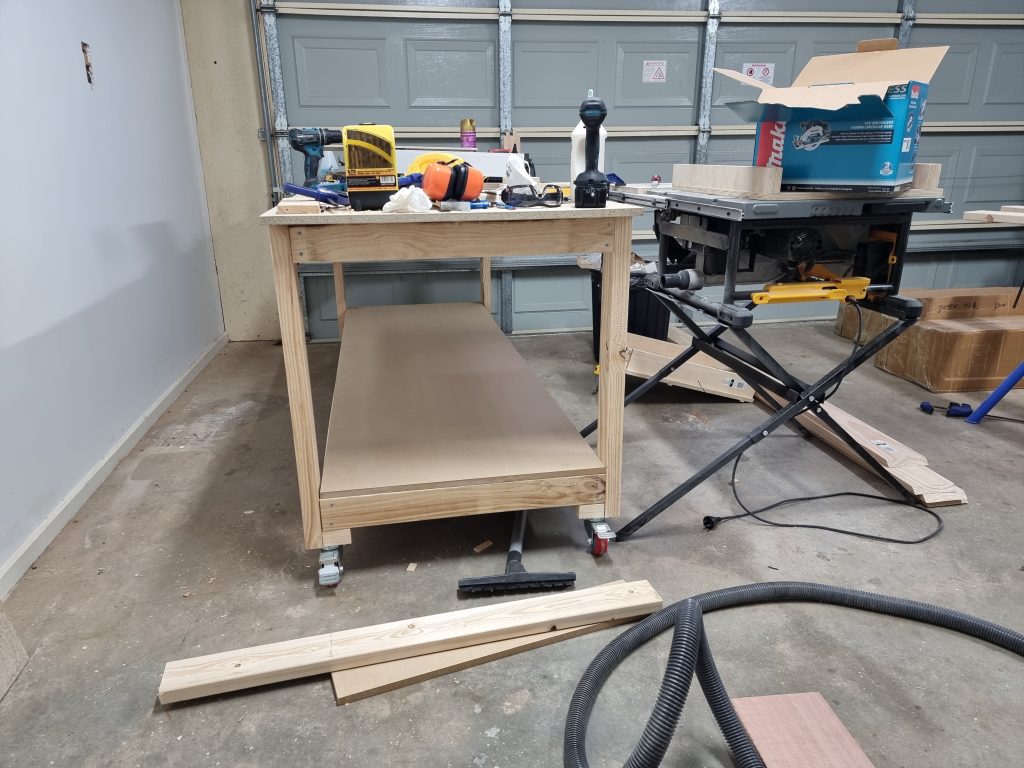
MDF for the lower shelf was bought and installed a little later (okay, 2 months later…) – but it came together well:
Conclusion
Overall, a simple, sturdy workbench that I’ve been very happy with so far. There are endless ways you could put something like this together, and I make no claim that this build is special or has any advantage – it’s just something that has worked well for me.
There is a tiny amount of slack in the castor wheels, even when locked – this could be annoying if you were planning on using the workbench for fine woodworking: if you were planing, chiselling, or sanding, I could see the small movement may be annoying. If that’s your use case, I’d suggest ditching the wheels (or finding some that can be retracted when you don’t want to move the bench).
Leave a Reply