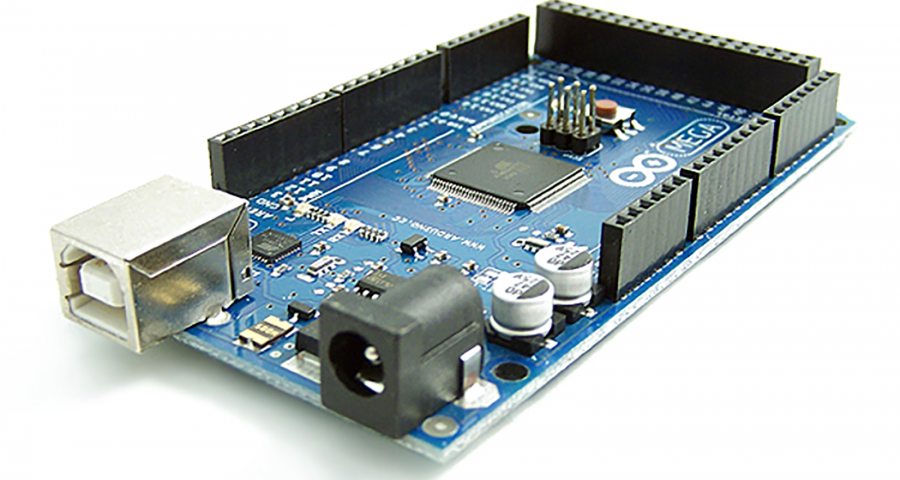
I’ve recently been working on a University project where I needed to develop software to run on Atmel’s STK-600 board – a dev board built around Atmel’s ATmega2560 microcontroller. The project is being built in Atmel Studio and is written in AVR-C++. So I could work on this project at home, I wanted to be able to run my code on an Arduino Mega I’ve got spare. Both boards use the same ATmega2560 AVR – so why not?
At first I thought this would be easy – and, it turns out, it is, provided you know what you need to do. When Atmel Studio builds a solution, it takes all the source files and compiles them into a single .hex file. This is also what the Arduino IDE does. The difference is that the Arduino IDE will then upload your code to an Arduino board, whereas Atmel Studio won’t upload directly to an Arduino board.
To get around this, we can just upload the file directly to the Arduino. The Arduino IDE uses the AVRdude uploader behind the scenes to take the compiled .hex file and upload it. We can do the same thing. If you’re comfortable with the command line, we can use AVRdude – if you have the Arduino IDE installed, then you already have AVRdude installed.
The easiest way to figure out what to type in the command line is to see what the Arduino IDE does when it uploads. Open an example sketch, select your board and the appropriate COM port.
Now, normally the IDE doesn’t tell us what instruction it sends to AVRdude. To see this, we need to enable verbose output during upload. Go to File>Preferences, and tick the box ‘upload’ as shown below.
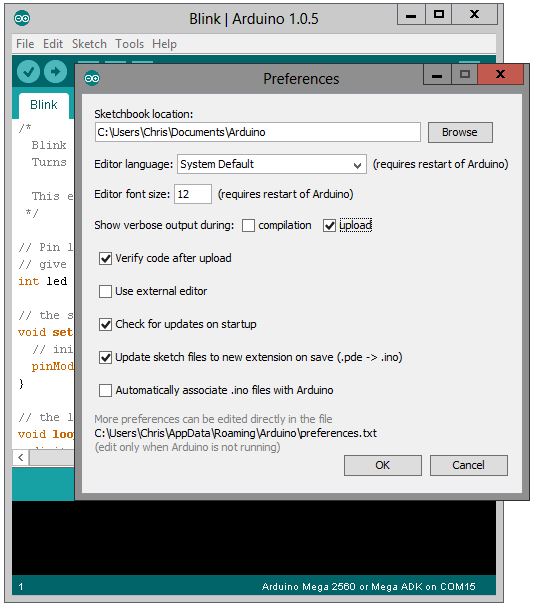
Note: You should also untick “Verify code after upload”. I forgot to do this for the above image.
Now, if you go back to the sketch and hit upload, we should see the console fill up with a bunch of info. What we need is in the first line or two:
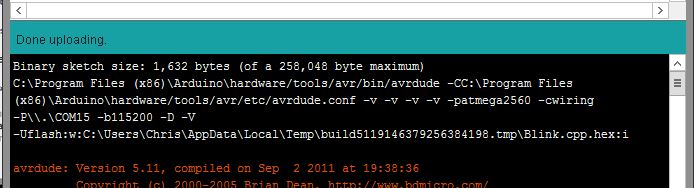
Extracting what we need from this, we’re left with:
avrdude -v -v -v -v -patmega2560 -cwiring -P\\.\COM15 -b115200 -D -V -Uflash:w:C:\Users\Chris\AppData\Local\Temp\build5119146379256384198.tmp\Blink.cpp.hex:i We call AVRdude, tell it which AVR we’re programming, which programmer to use (wiring), the COM port and Baud rate, and then specify the location of our .hex file.
Note: If you have an older version of AVRdude (pre 5.11) then wiring may not work as a programmer. You could try using the STK500 programmer, or update AVRdude.
If you’re building a project in Atmel Studio like I am, your .hex file will be located in your “project_name/debug” folder. The name of the .hex file should be the same as the name of your project.
Anyway, if you run this code from a command prompt window, it should upload your .hex file to the Arduino.
However, if you’re anything like me, you might find yourself uploading your code every two minutes to test something. Maybe you don’t like using the console to upload your code. Either way, there’s a graphical solution that can be a bit quicker and easier to use.
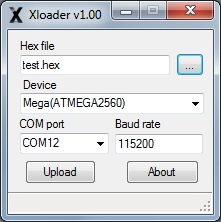
Xloader is a tool that allows you to select a .hex file, select your Arduino board and select a COM port – and then hit upload. If you make a change to your code, you can just rebuild in Atmel Studio and hit upload again – done. This makes AVR development as quick and easy as using the Arduino IDE, and it’s saved me plenty of time over the last few weeks.
Note that only one program can access a given COM port at any time – for instance, if you want to use the serial monitor in the Arduino IDE, you’ll need to close that before uploading using Xloader – otherwise, you’ll get an error. This is true for the command prompt method as well.
Hopefully, this helps someone out. There’s nothing too complicated in here, but it did trip me up when I first tried to switch from the STK600 development board to the Arduino Mega.
If you’ve got any tips or suggestions, or need a hand, post a comment!
Leave a Reply