I’d been thinking for a while that I’d like some way to know if I’ve missed anyone at the door – I get a lot of deliveries for work, and it’s not uncommon for me to miss something every now and again. Being able to see when someone has rung the doorbell would be a handy thing – so I decided I’d figure out a way to do that.
The easy solution would be to buy a “smart” doorbell – there are a growing number of WiFi-based video doorbells available that could be set up to do something like what I want. However, I thought there were a few drawbacks with that approach:
- Doorbells like that tend to be relatively expensive
- Such doorbells either need to be hardwired for
power, or frequently recharged - Most rely on their own “cloud”-based services
- Just buying something wouldn’t be as much fun!
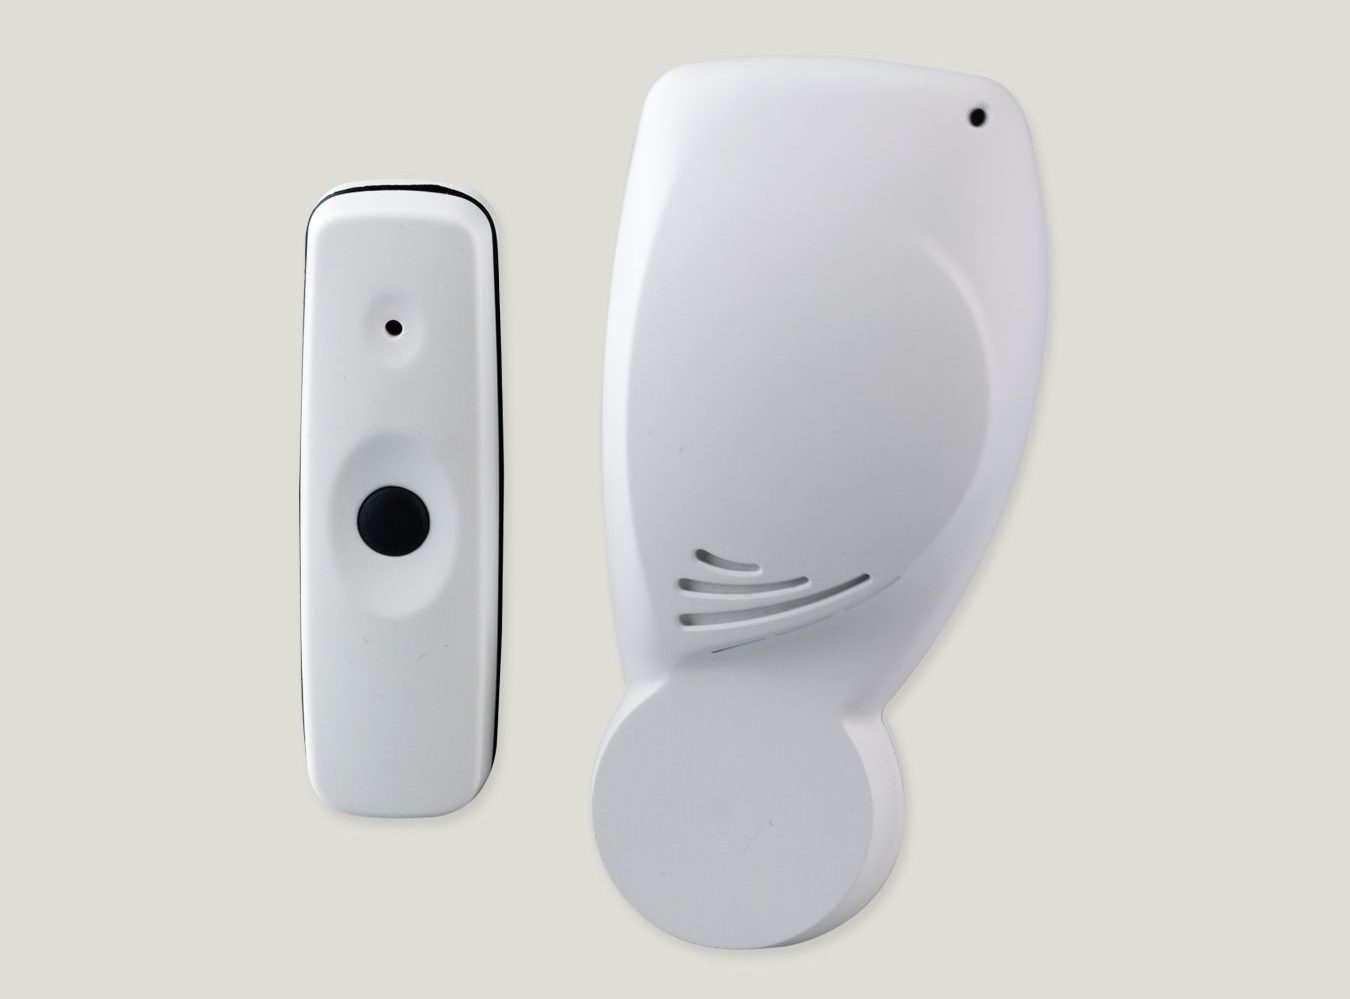
So, I decided to find a DIY solution to this problem. I have a doorbell that works well at the moment – the label informs me it is an “HPM D641 Wireless Door Chime”, and while it’s a relatively inexpensive unit, it has always worked as intended.
My ideal goal is that I end up with something that can email me when the doorbell is pressed – then I can just check my emails to see if and when the doorbell was last pressed.
There are two parts to a doorbell system like this – the transmitter that goes near the door (battery-powered) and the receiver that sits somewhere in the house (AC powered). I thought it made more sense to modify the indoor receiver, because:
- It’s AC powered, so I don’t have to worry too much about the power draw of whatever circuitry I add (compared to the power budget imposed by the small AAAA battery in the transmitter, anyway)
- It’s physically larger, so I have extra space to work in
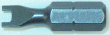
The next step in figuring out how I’ll go about this is to get a look at the inside of the doorbell receiver. I thought this would be quite easy – the receiver is a fairly large plastic part held together with screws, so there shouldn’t be too much to pulling it apart. Unfortunately, the screws themselves posed an unexpected challenge – they’re special security screws!
The screws were sat so far down into the plastic housing that I could hardly see what driver bit they needed, but I tried to compare the head of the screw with the different options I had at hand. I spent a while searching through my screwdriver sets – dozens of security bits I’ve never used before, but naturally, that bit I need isn’t one that I have.
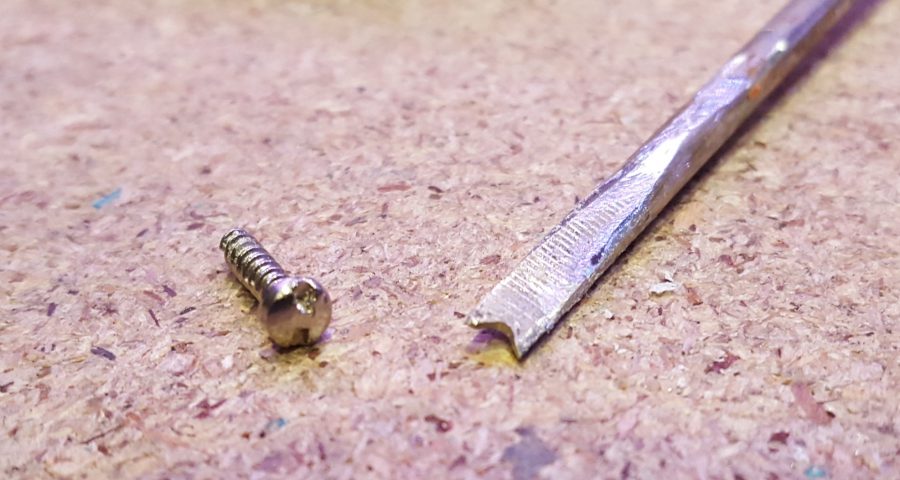
Eventually, I was able to identify them as a type of anti-tampering screws known as spanner-head screws (with the help of the handy website here).
My initial enthusiasm for disassembling my doorbell was quickly diminishing – getting stuck on the first, and what should be the easiest, step, was frustrating. I searched around online, and figured out a few places locally I could probably buy a suitable driver bit – but it’s New Year’s Eve, and that means most places are shut for the next few days. Really not what you want when you’re starting out on a project.
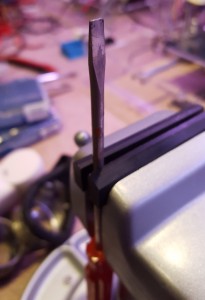
After a bit of thinking, I realised I might be able to make a ‘spanner’ screwdriver by hacking up a sacrificial flat-head screwdriver. I had my doubts, but with a few days to wait otherwise I decided to give it a shot.
I found a screwdriver that would fit inside the recessed shafts for the screws and tried to roughly guesstimate how far apart the two ‘prongs’ needed to be. The screws were quite small (M3, M2.5? 5/50ths and 1
Apparently, screwdrivers are made out of fairly sturdy stuff – who knew? It took a little while to whittle it down, and my
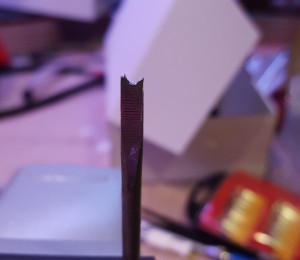
Still, we’d come this far – time to test it. I inserted the screwdriver into the cutout for the screw – and it got jammed right before it reached the screw. Fantastic! Apparently, when I’d tested if it would fit earlier, I’d confused it contacting the screw with the diameter of the screwdriver slightly increasing enough to get jammed in the hole.
Much more
I tried again, and after turning the screwdriver back and forth a little, I felt it very securely fit into the notches on the head of the screw. Victory! The screw was removed easily and photographed for all to see.
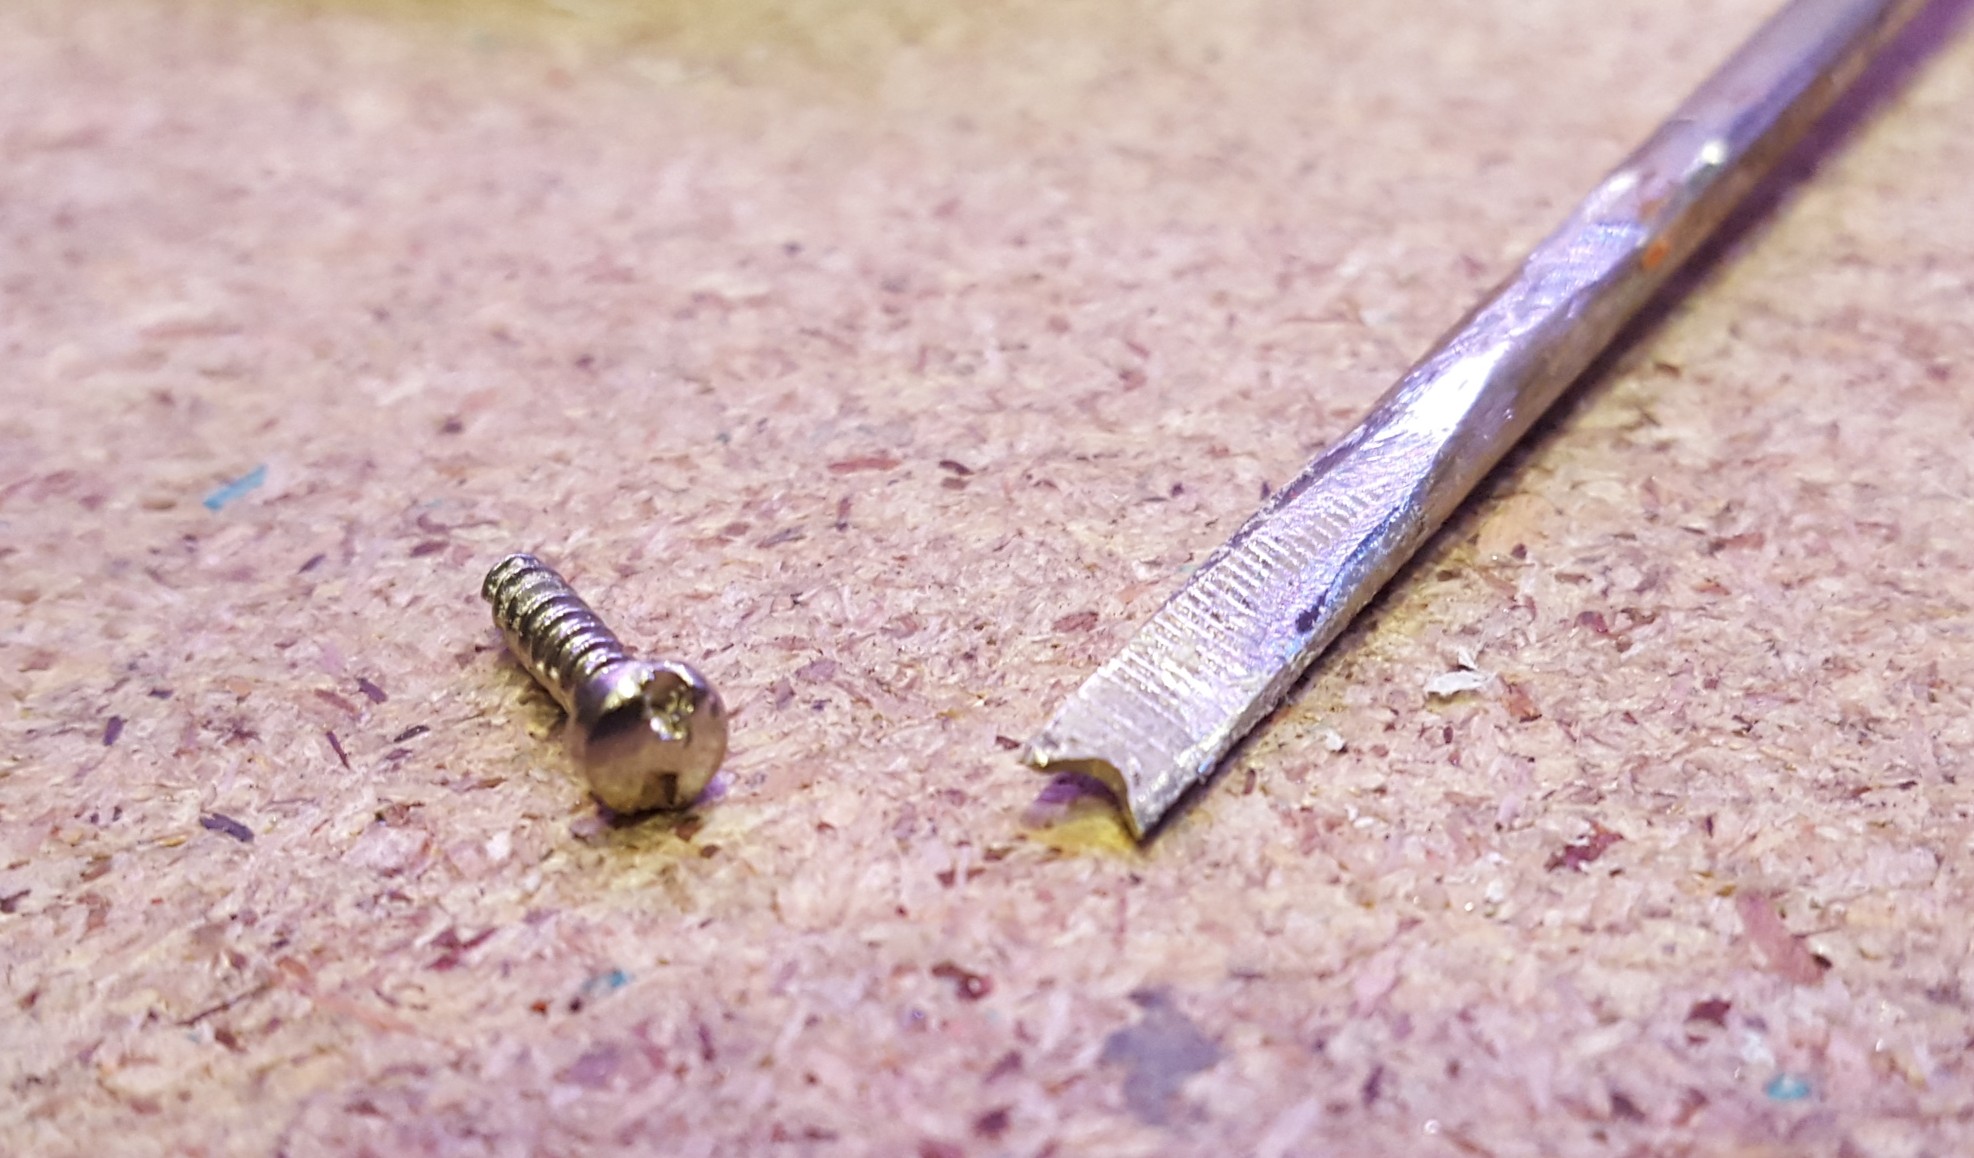
Several screws followed suit, each swiftly removed by my precisely-modified screwdriver. Eventually, I was able to get the doorbell open.
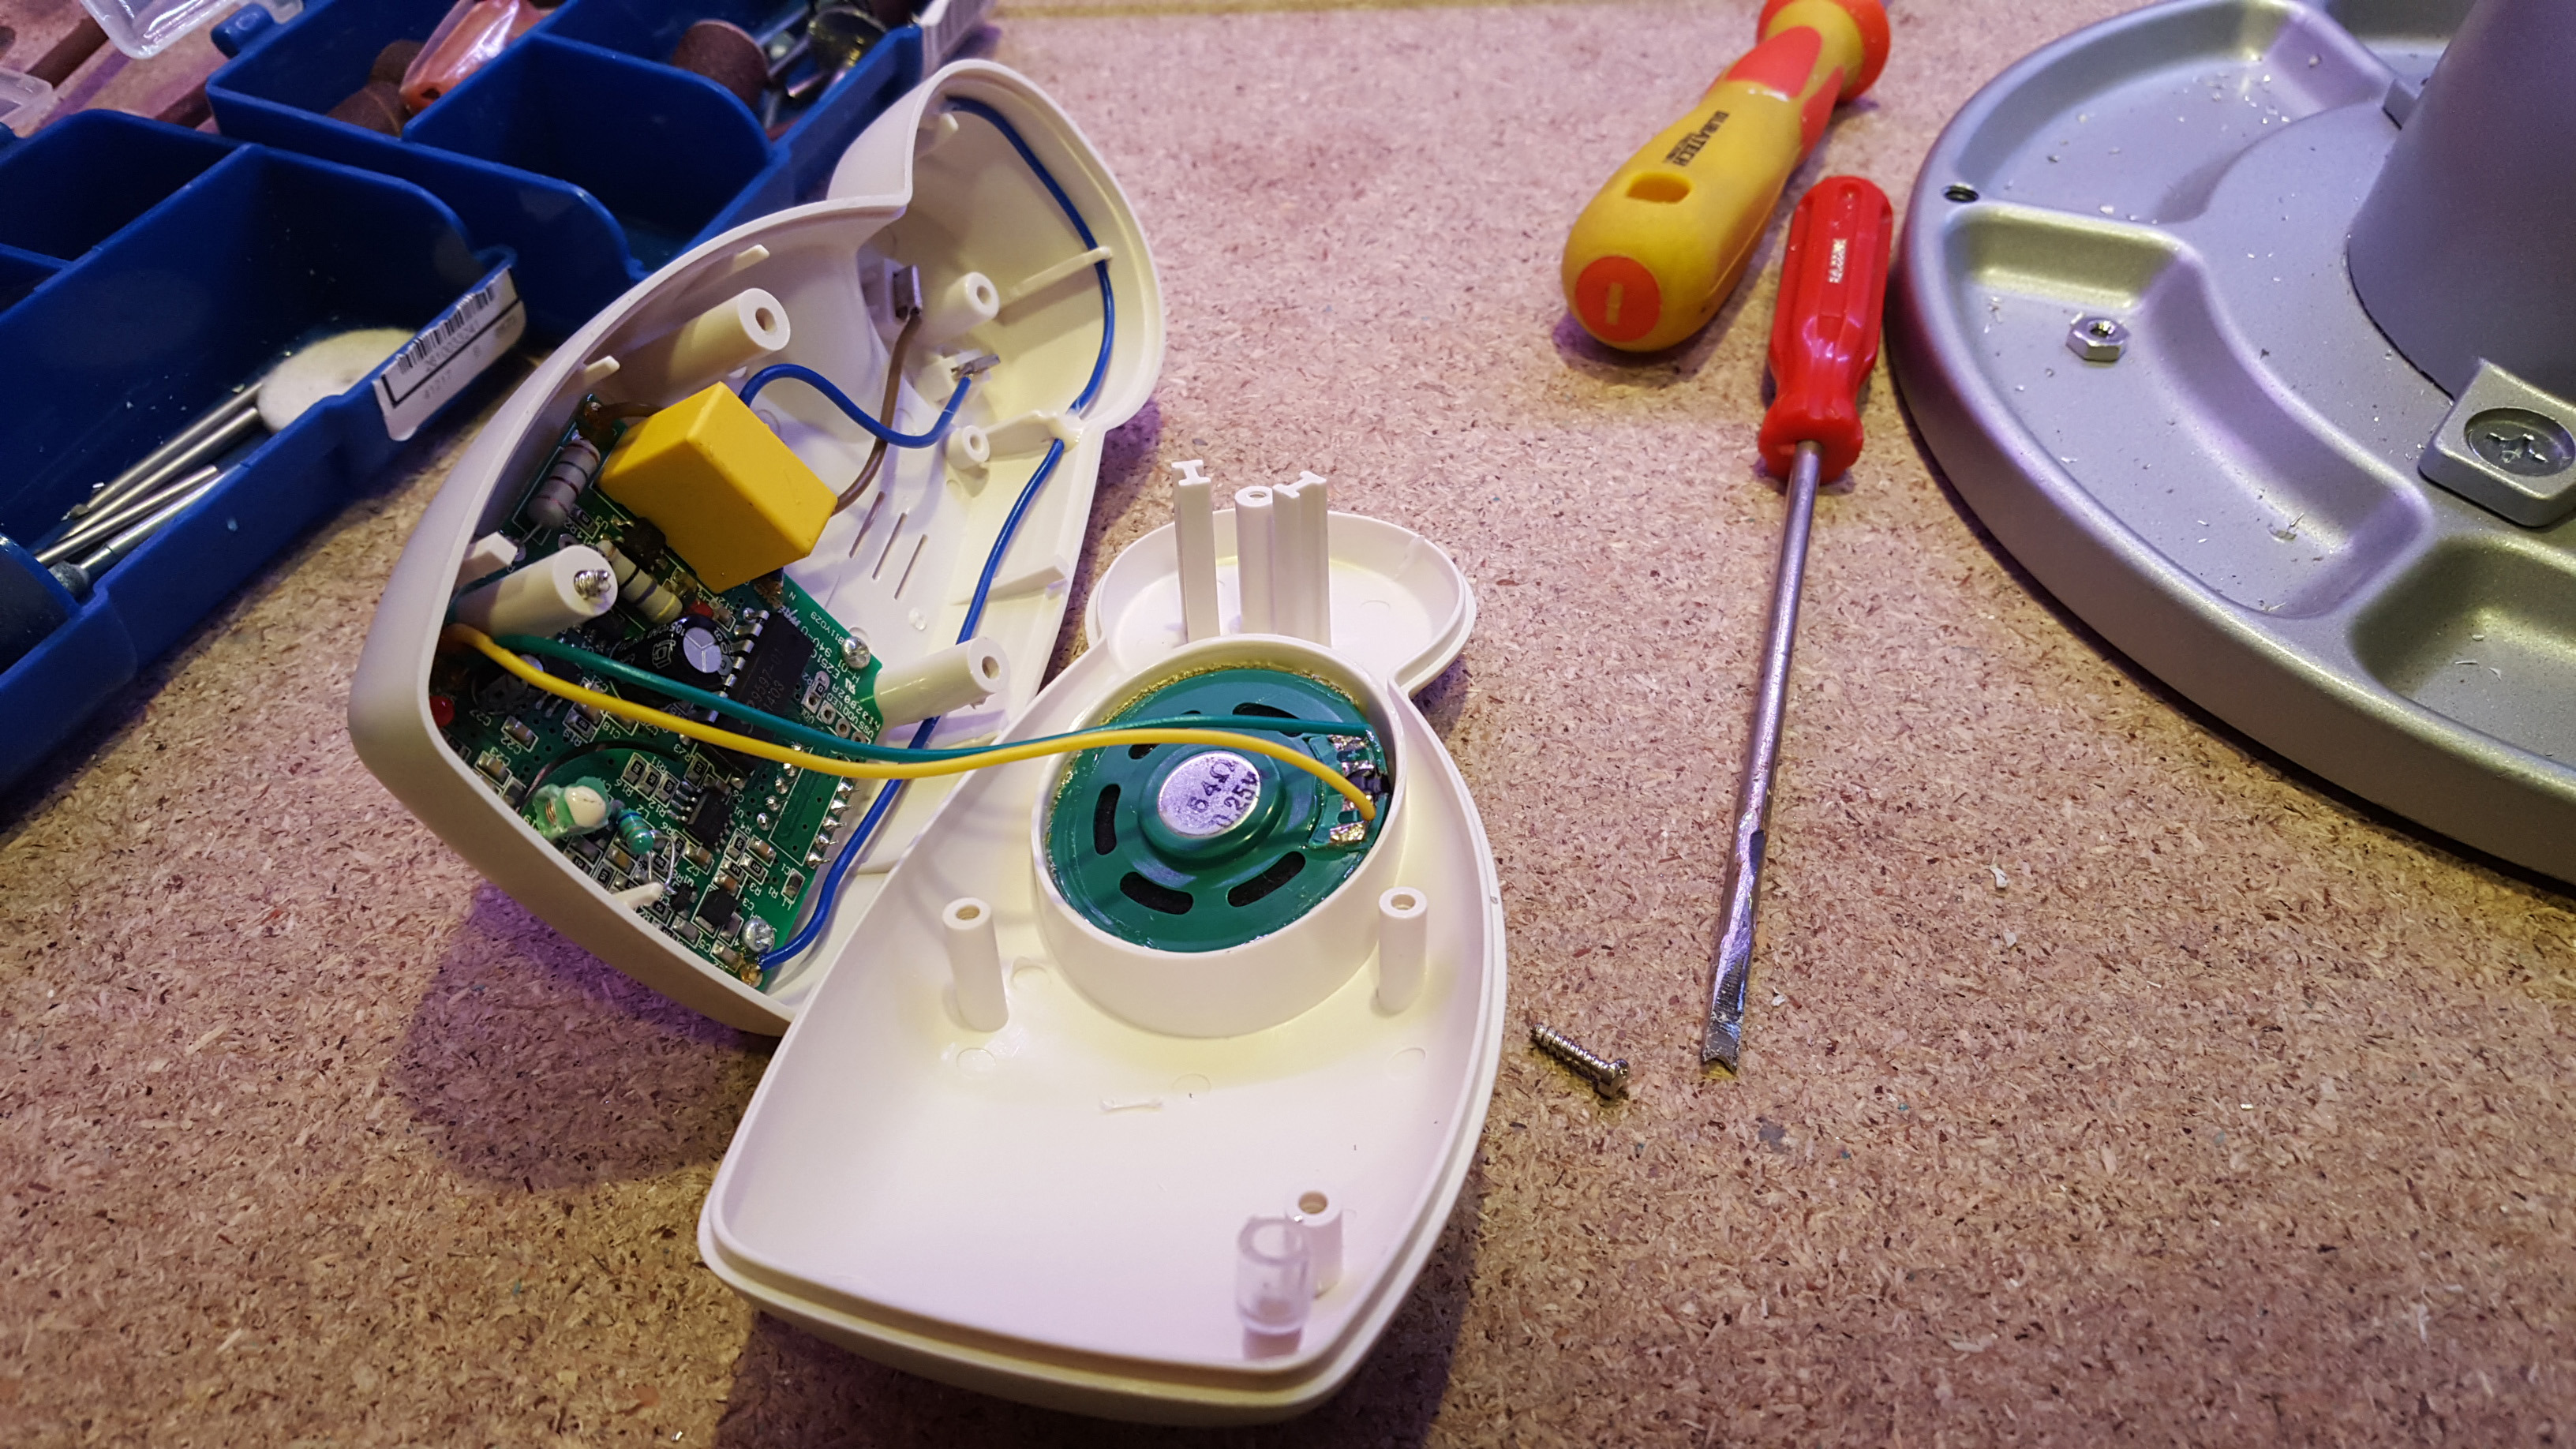
Well, that’s the hard part done – now I just need to figure out how to get my doorbell to send emails, and then put it back together in a way that doesn’t terrify casual onlookers.
But for that, you’ll have to wait for part two!
Leave a Reply